Skip to content

Limited-Time Offer: Get 20% Off The SportScreen Products - Sale ends 12/5.

Cart

Your cart is empty

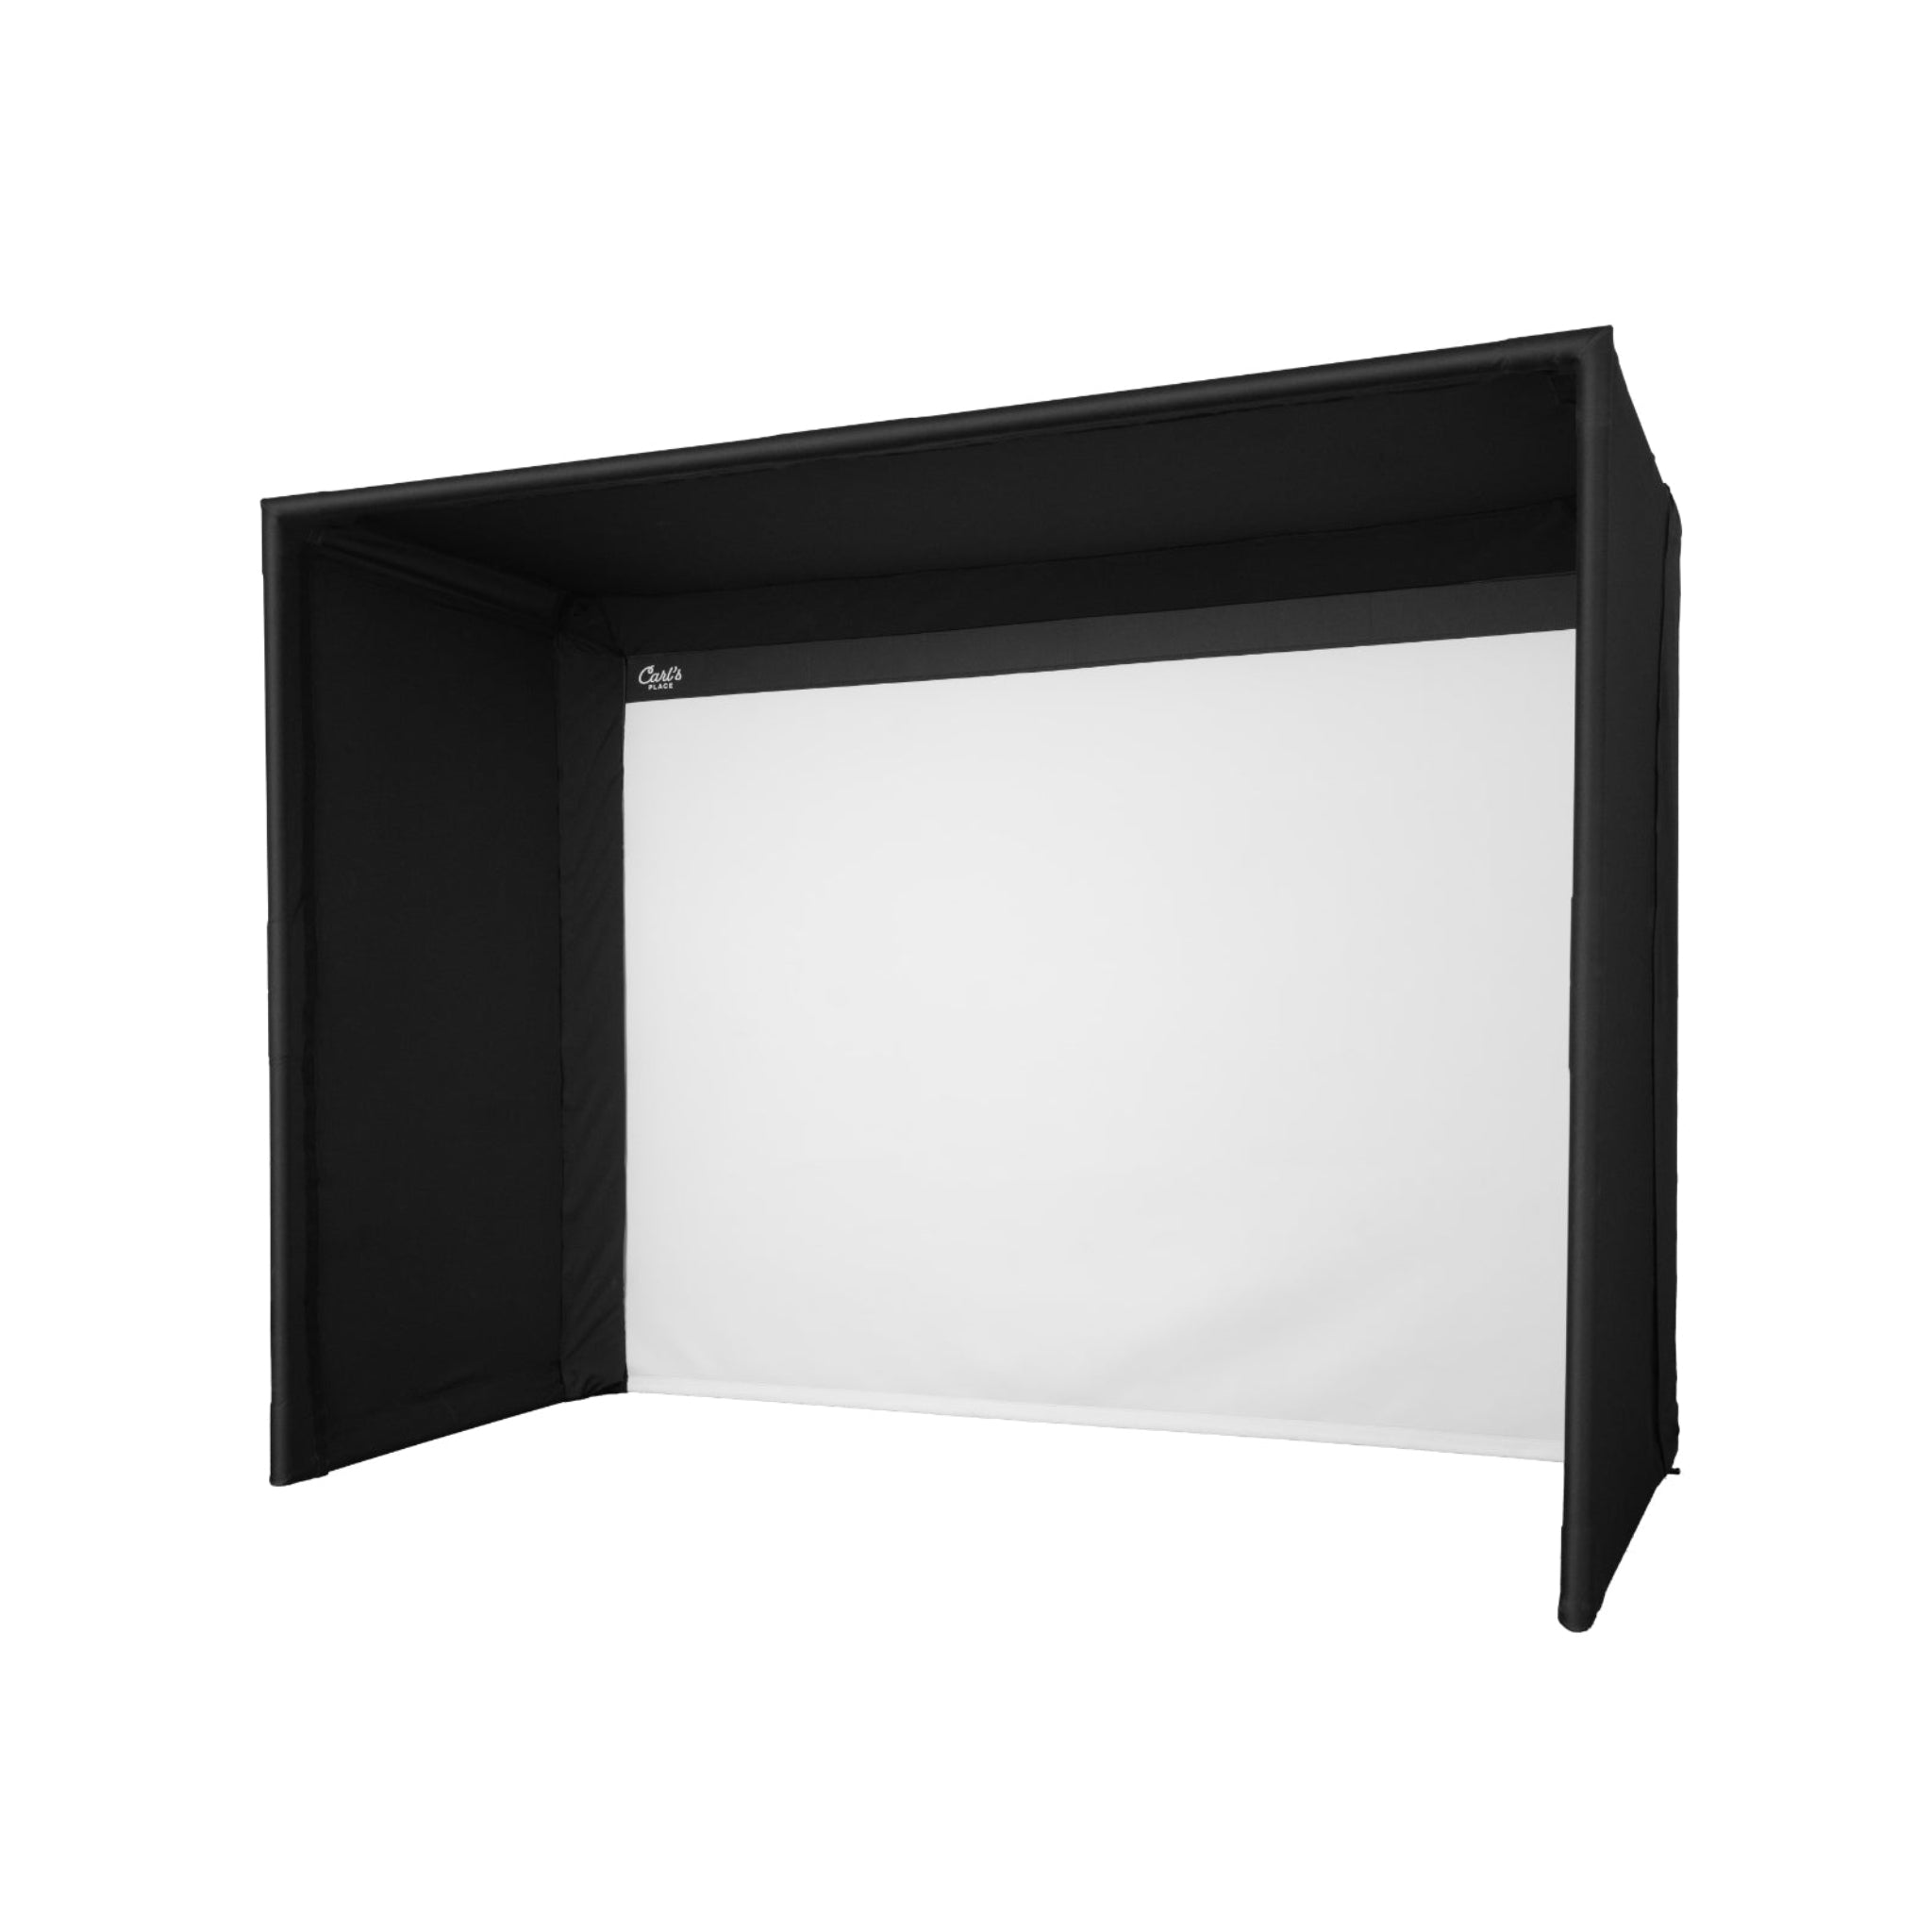
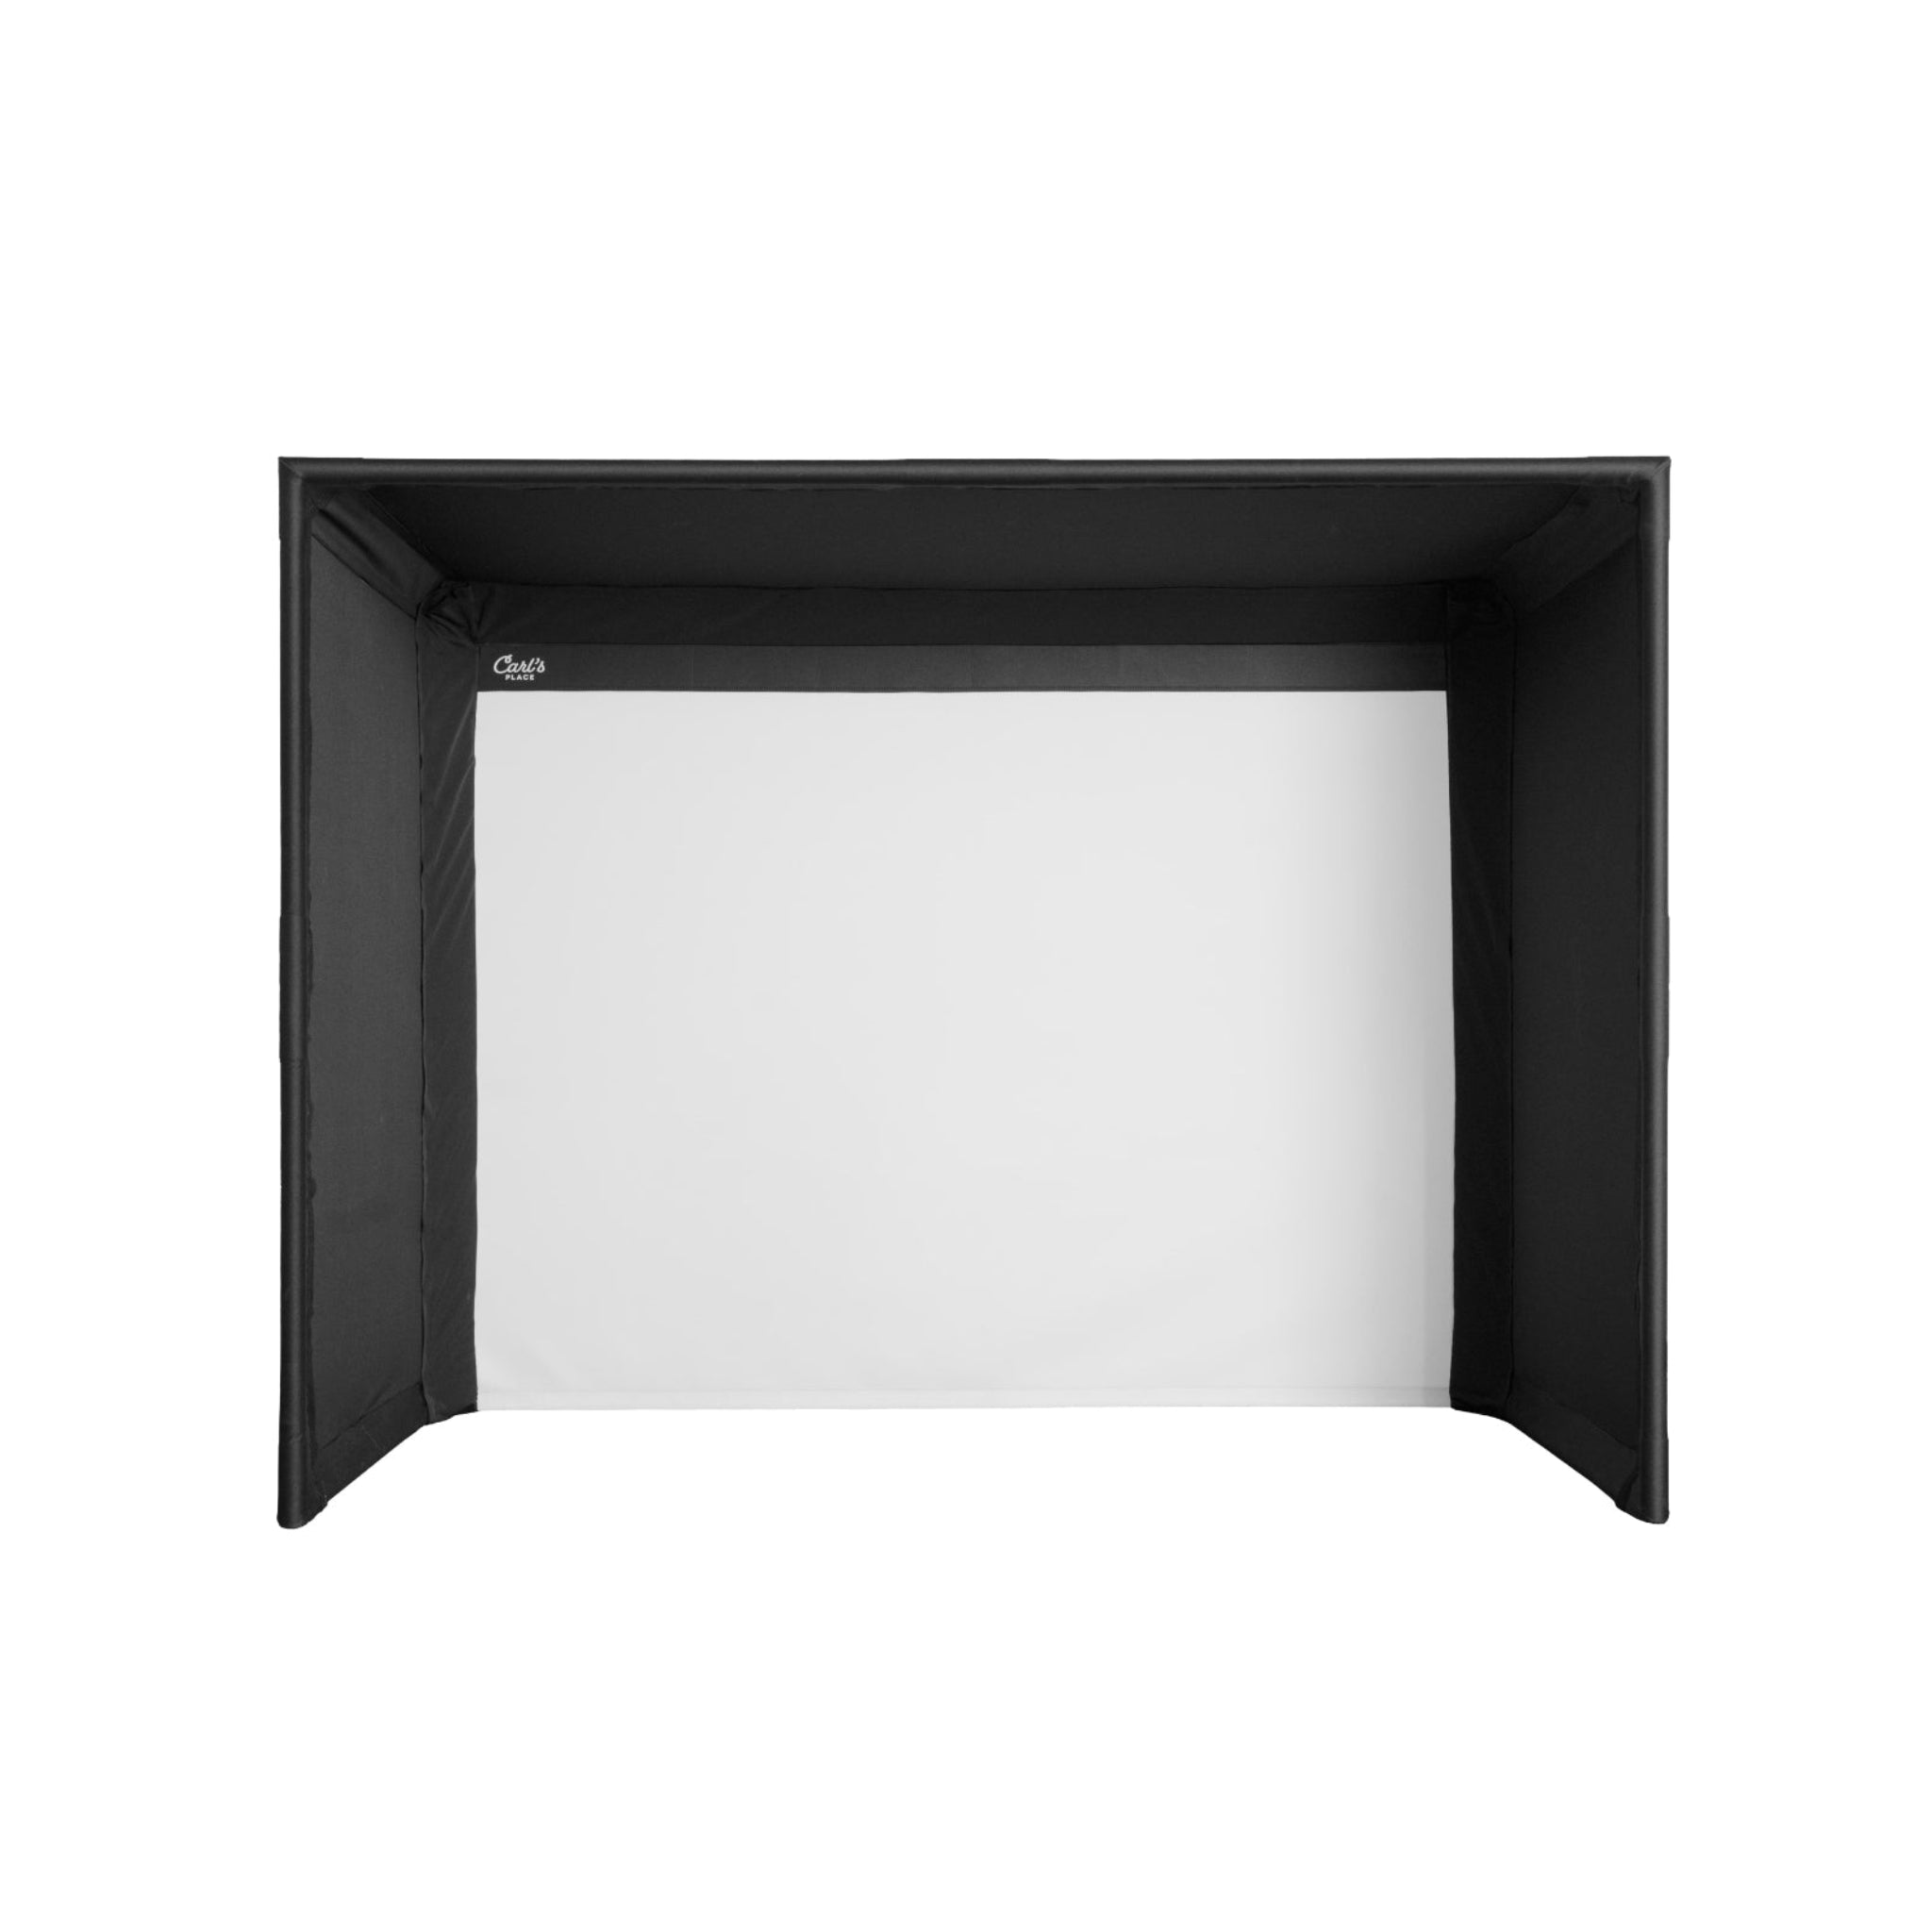
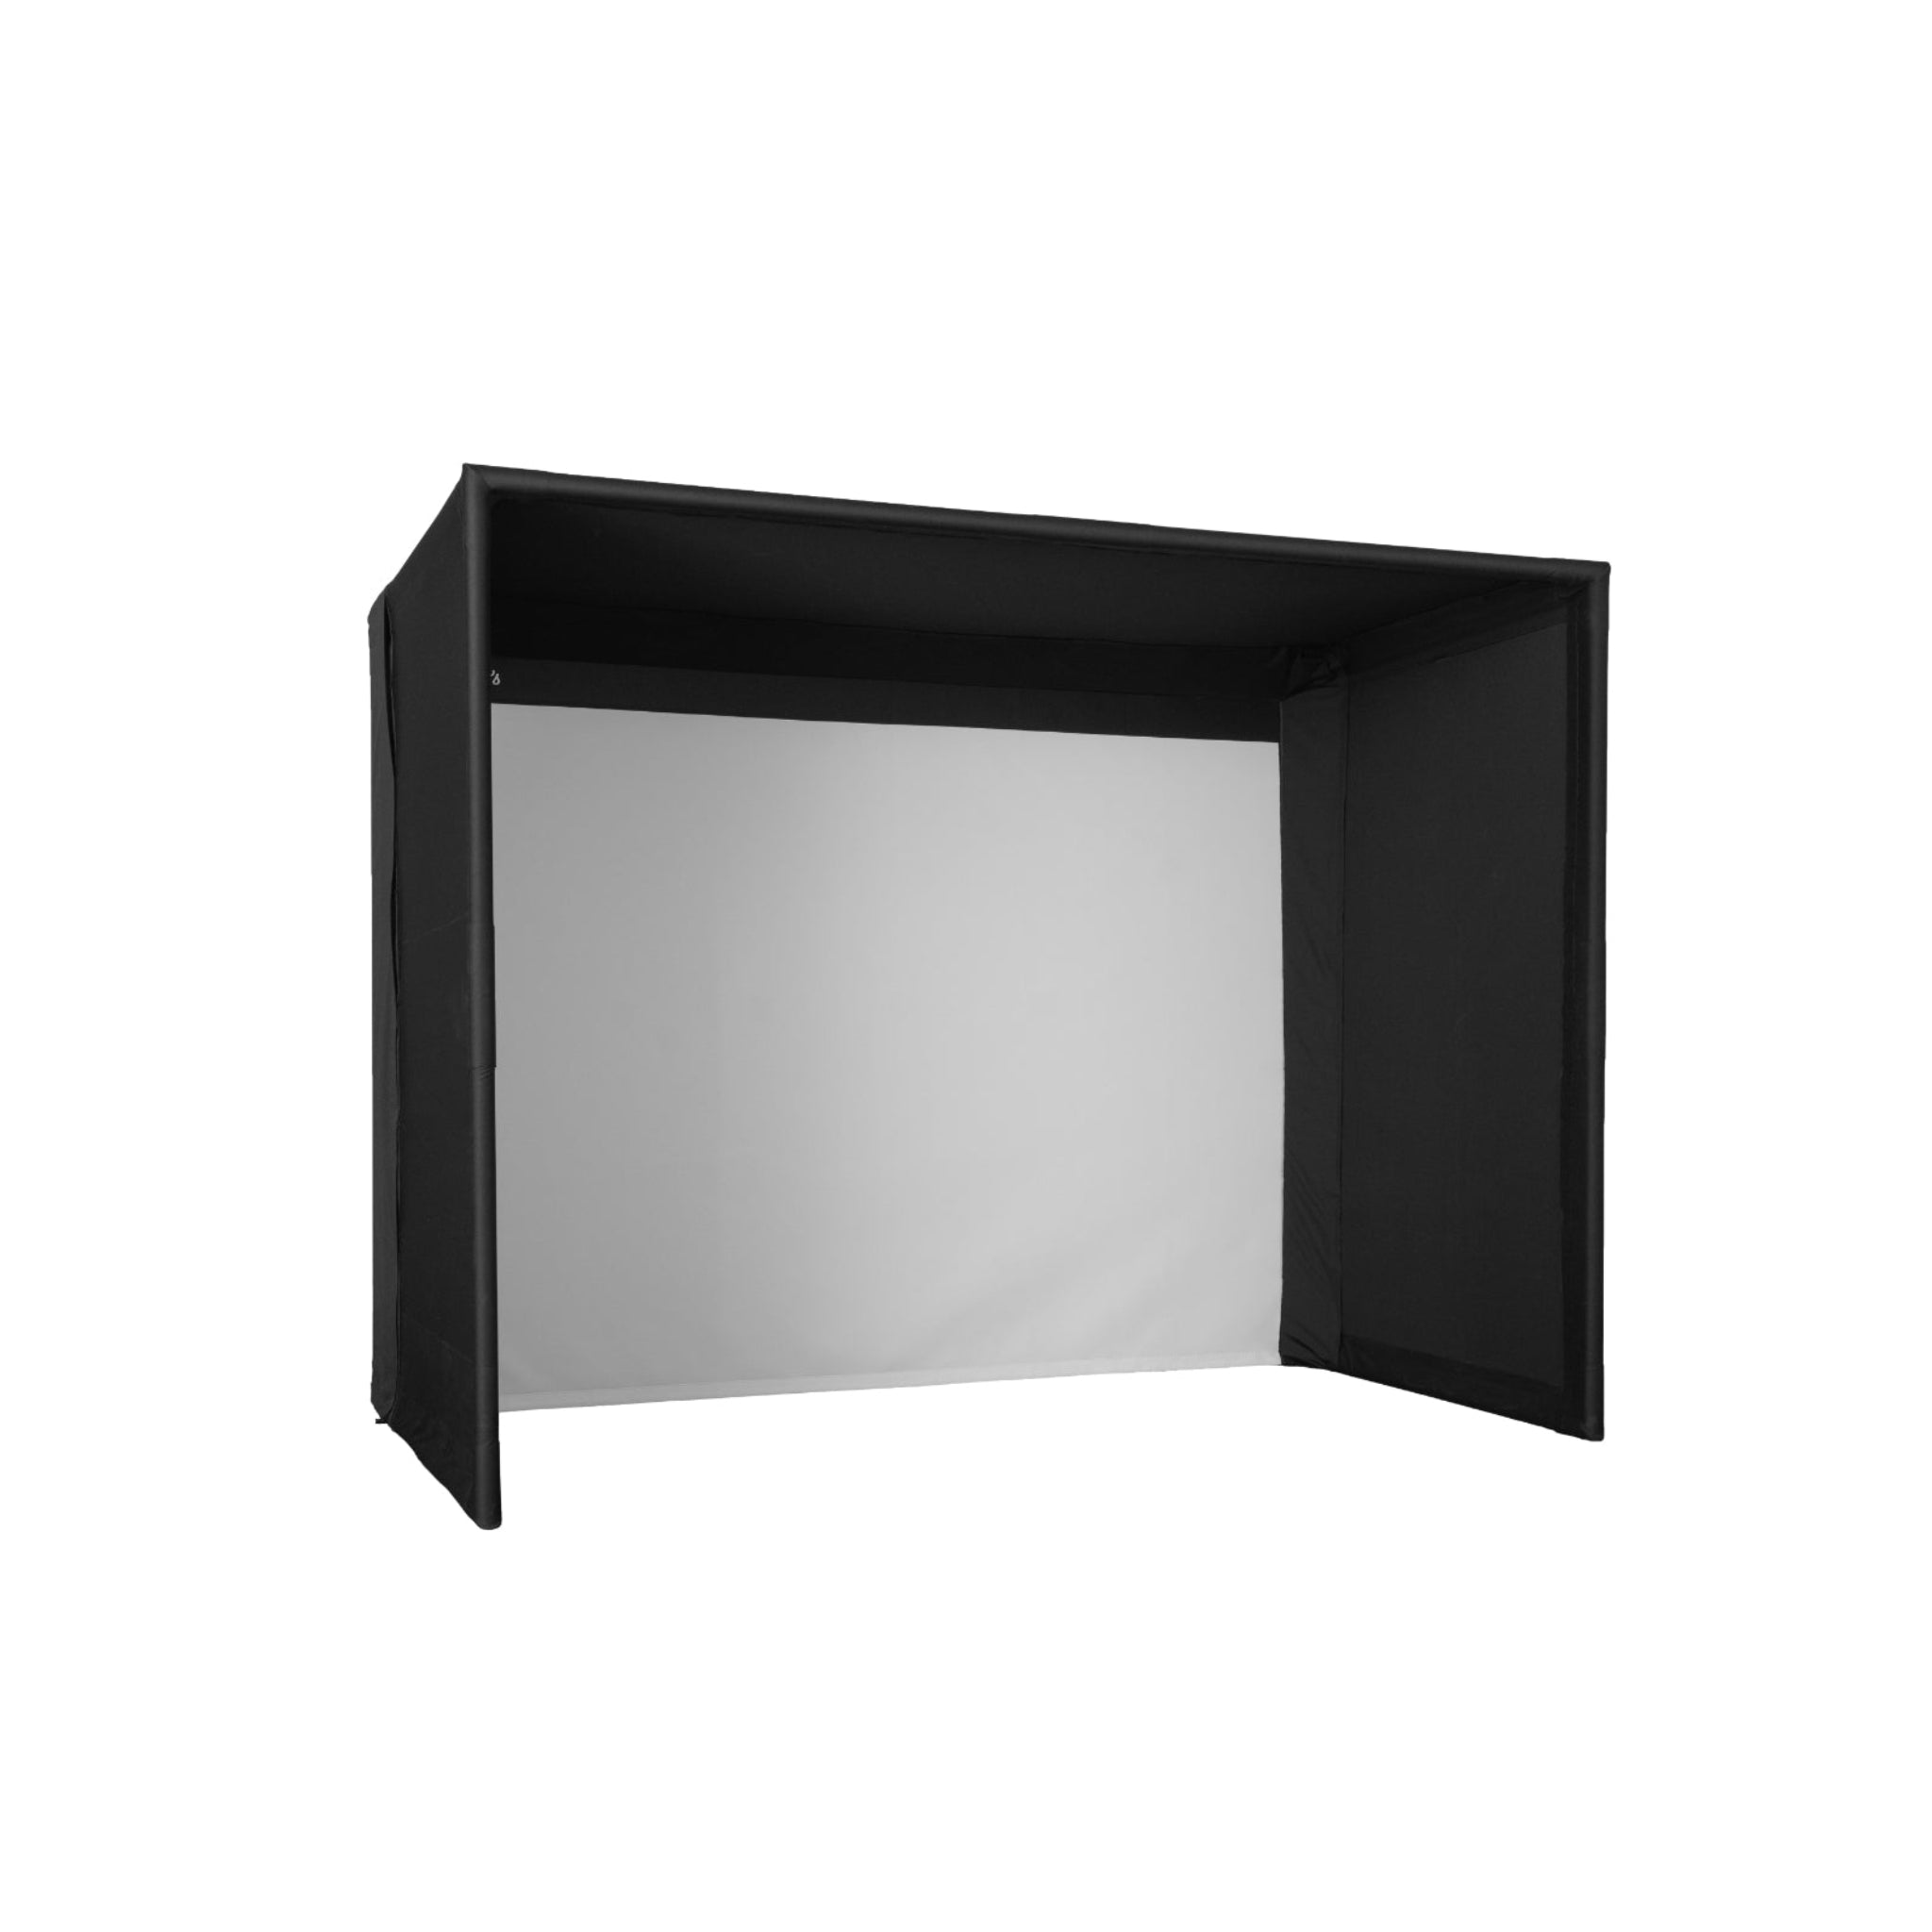
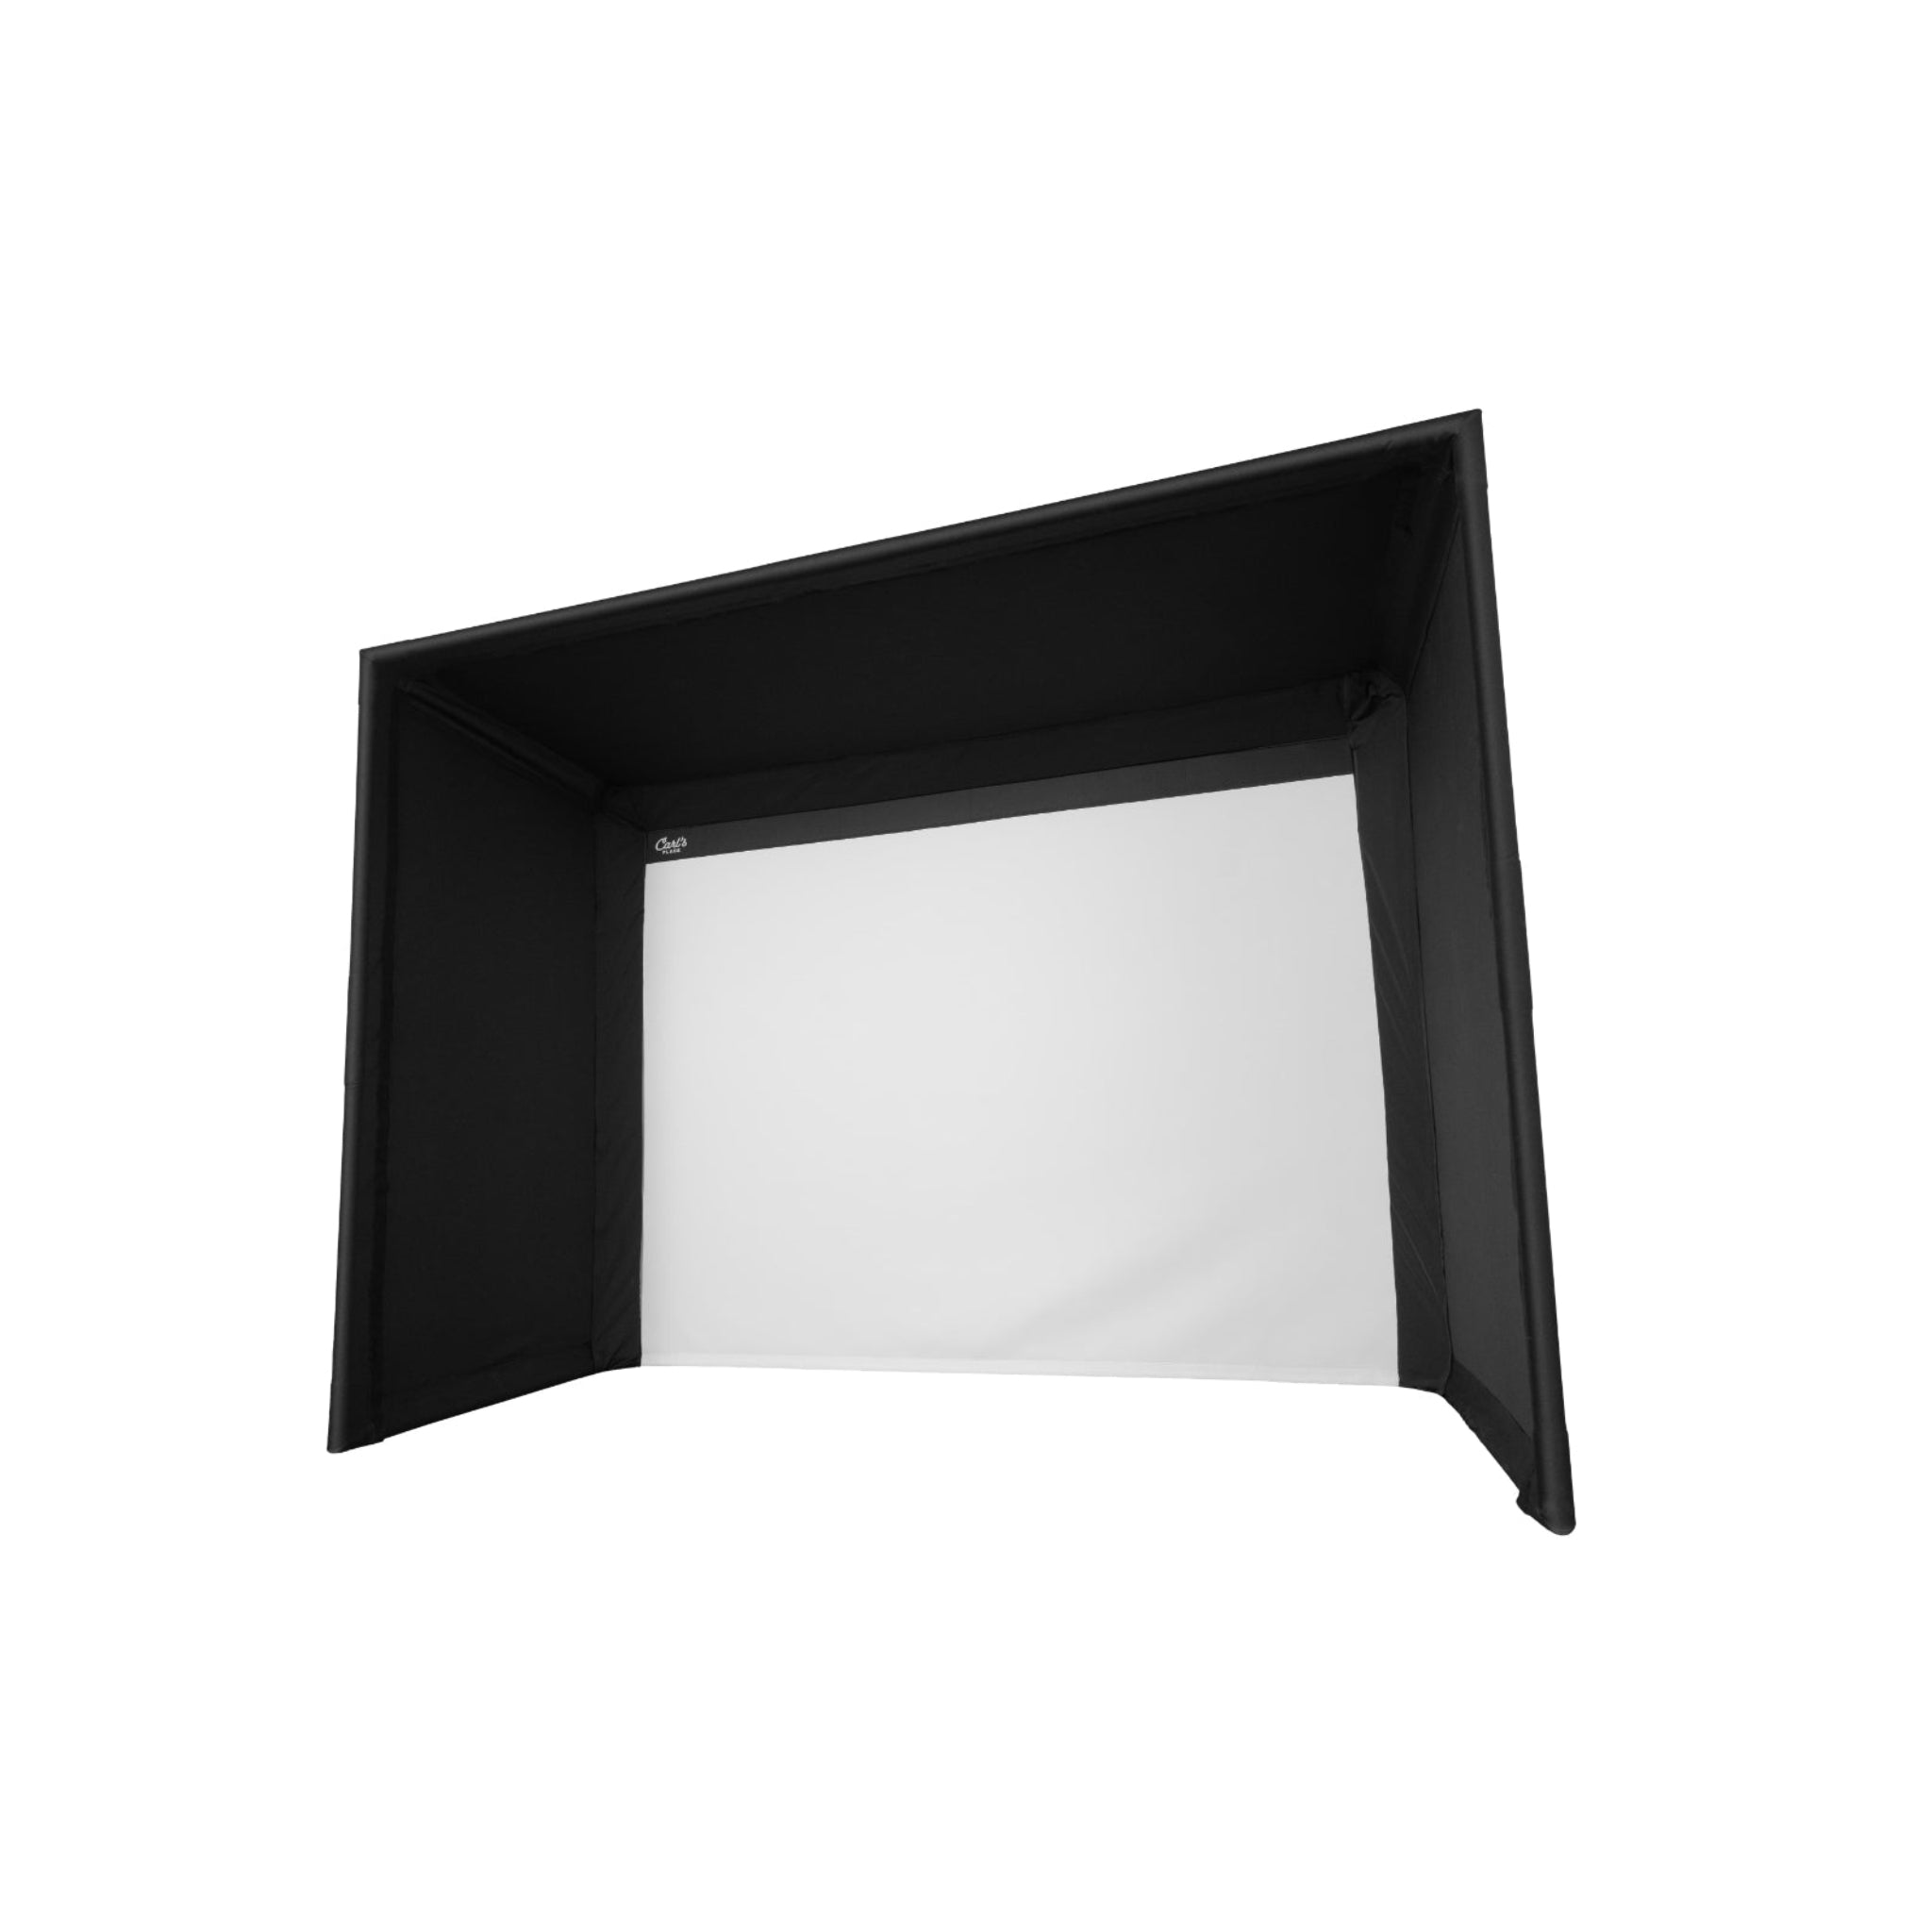
Carl's Place Pro Golf Simulator Enclosure Kit (New Model)

Sale price$3,409.95

Screen Material:
Enclosure Size | Depth:

Fast, Secure Shipping

Orders are processed promptly and shipped directly from trusted suppliers for safe, reliable delivery.

Lowest Price Guarantee

Found a better price? We’ll match it — Guaranteed.

Simulator Expertise

Talk to a Real Expert
(714) 202-9416
Mon–Sat 8AM–5PM PST

Description

Carl’s Place Pro Golf Simulator Enclosure Kit (2025 Model)

Streamlined. Stronger. Smarter.

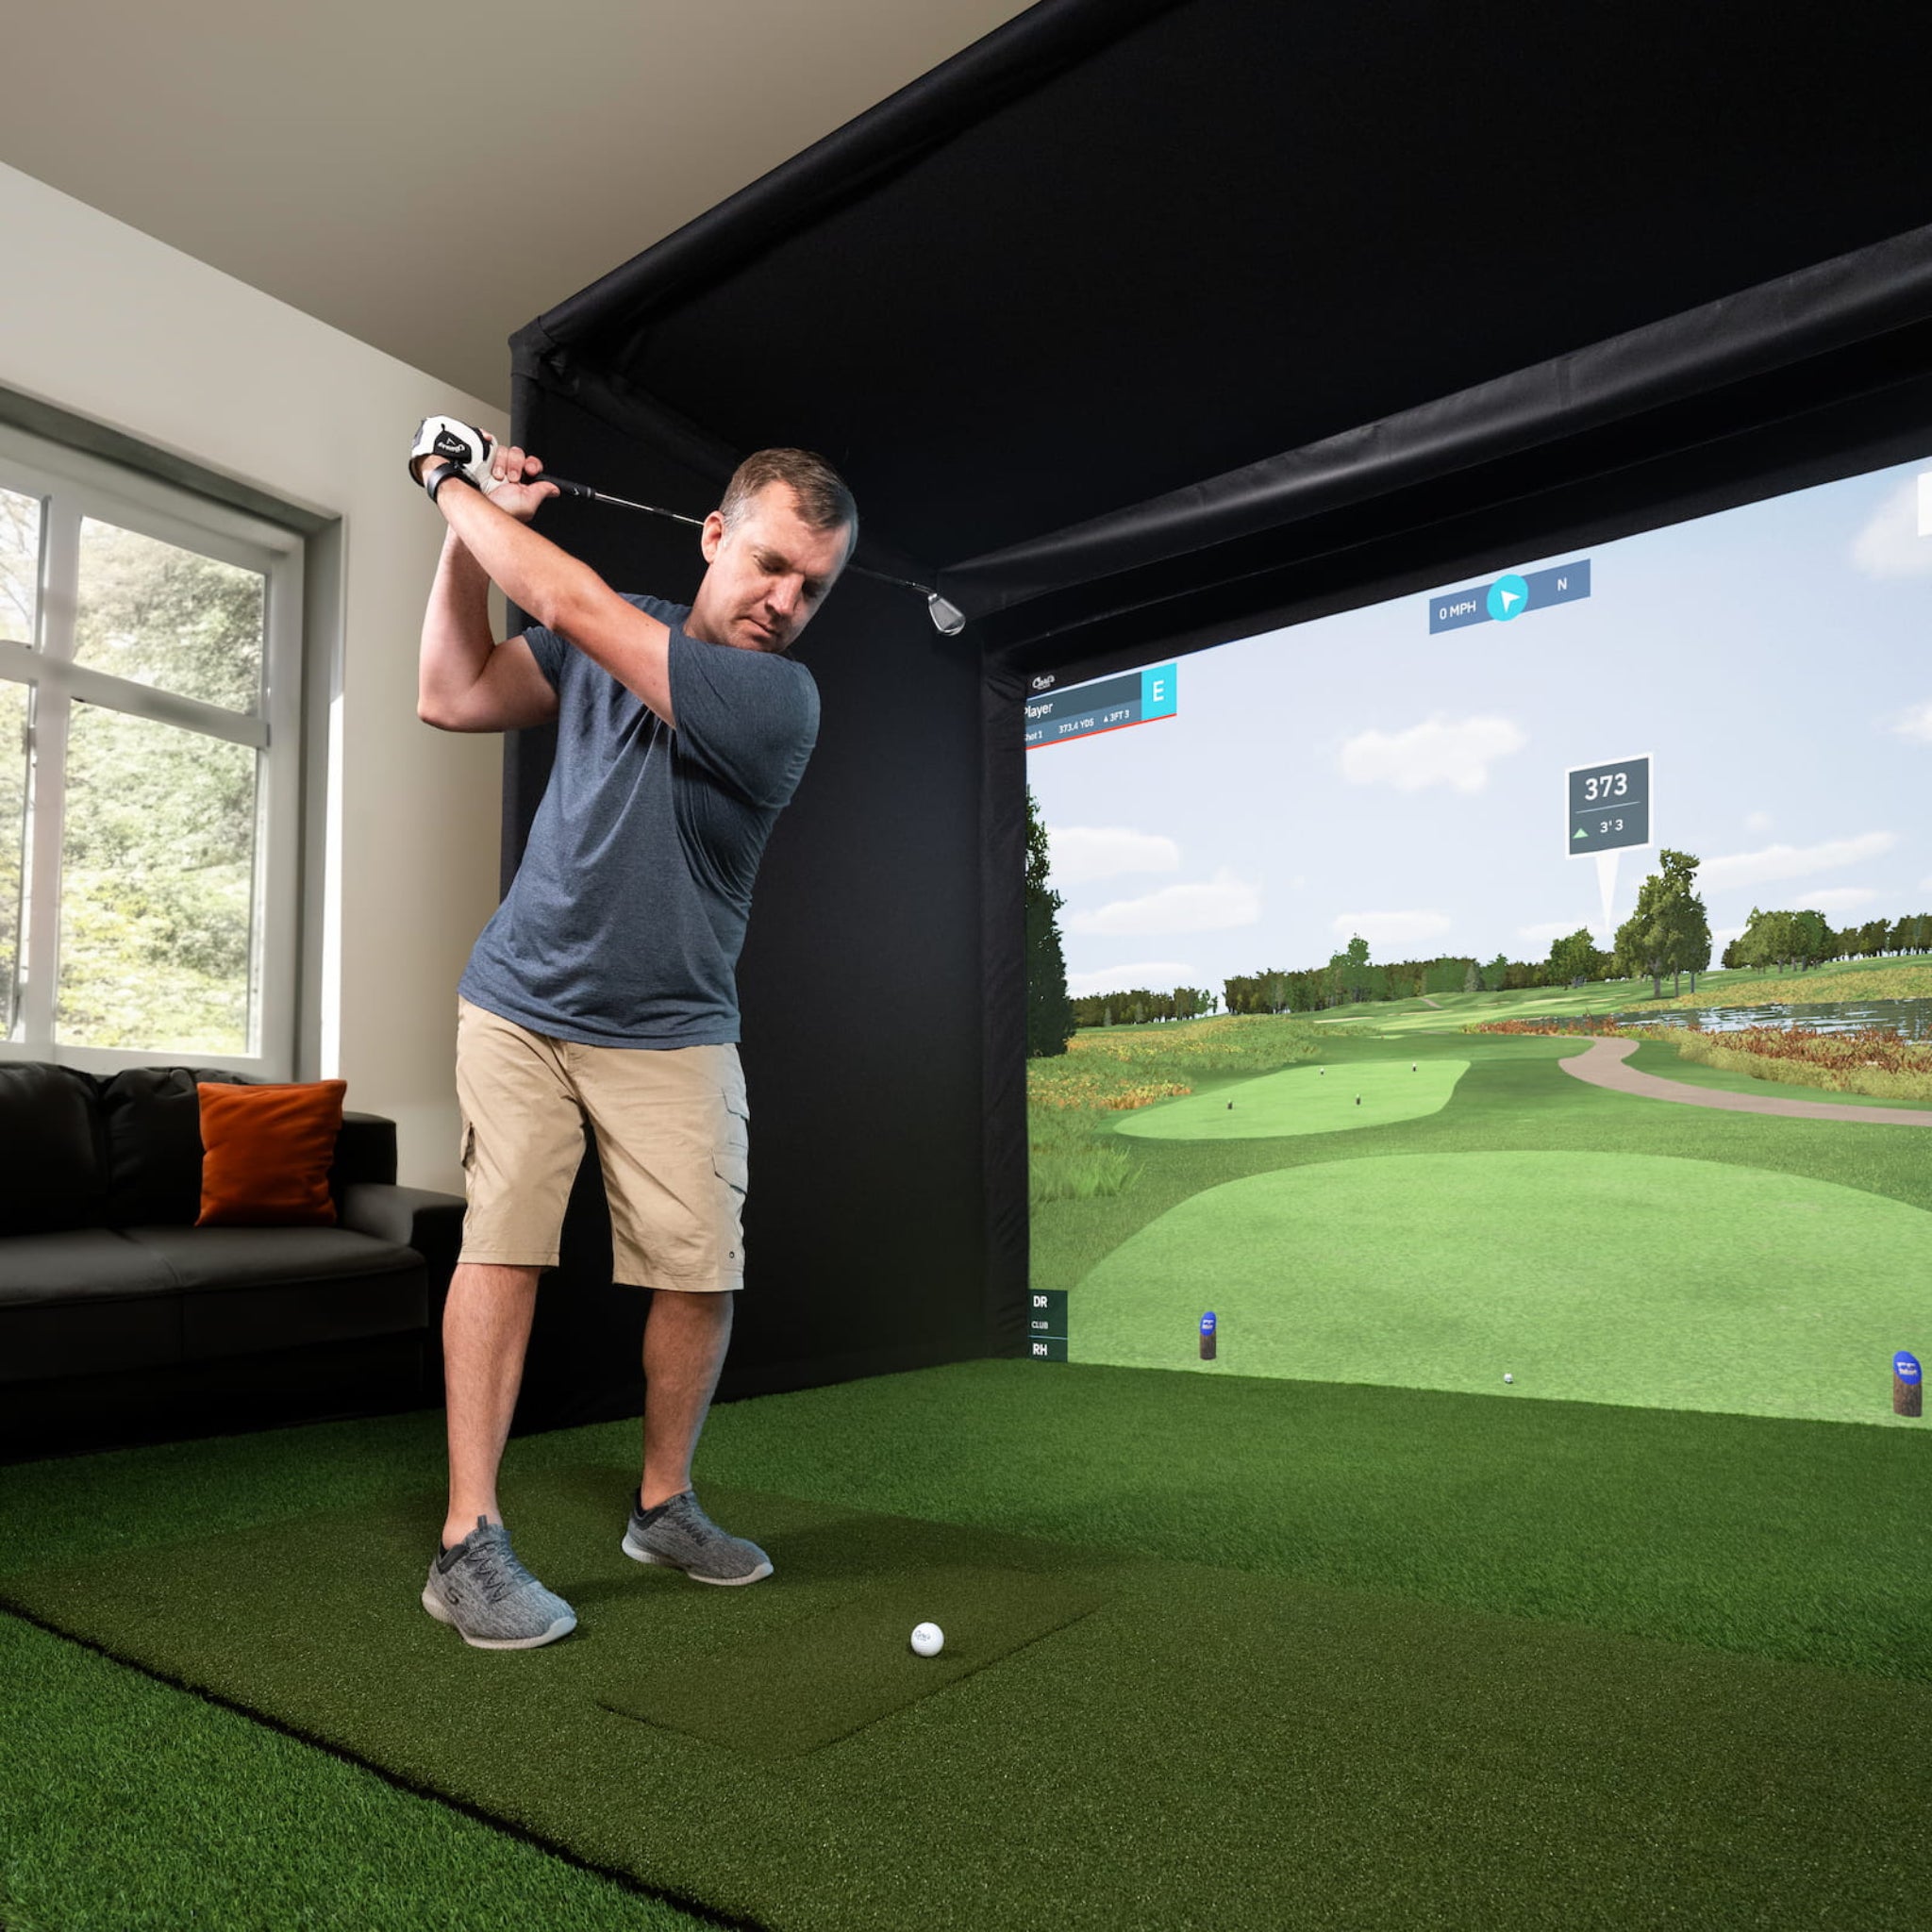
Step into the next evolution of premium golf simulation with the all-new Carl’s Place Pro Golf Simulator Enclosure Kit. Purpose-built for commercial and residential spaces alike, this upgraded system delivers unmatched realism, smoother setup, and a more immersive visual experience — All backed by years of innovation and customer feedback.


Product Features

Product Features:


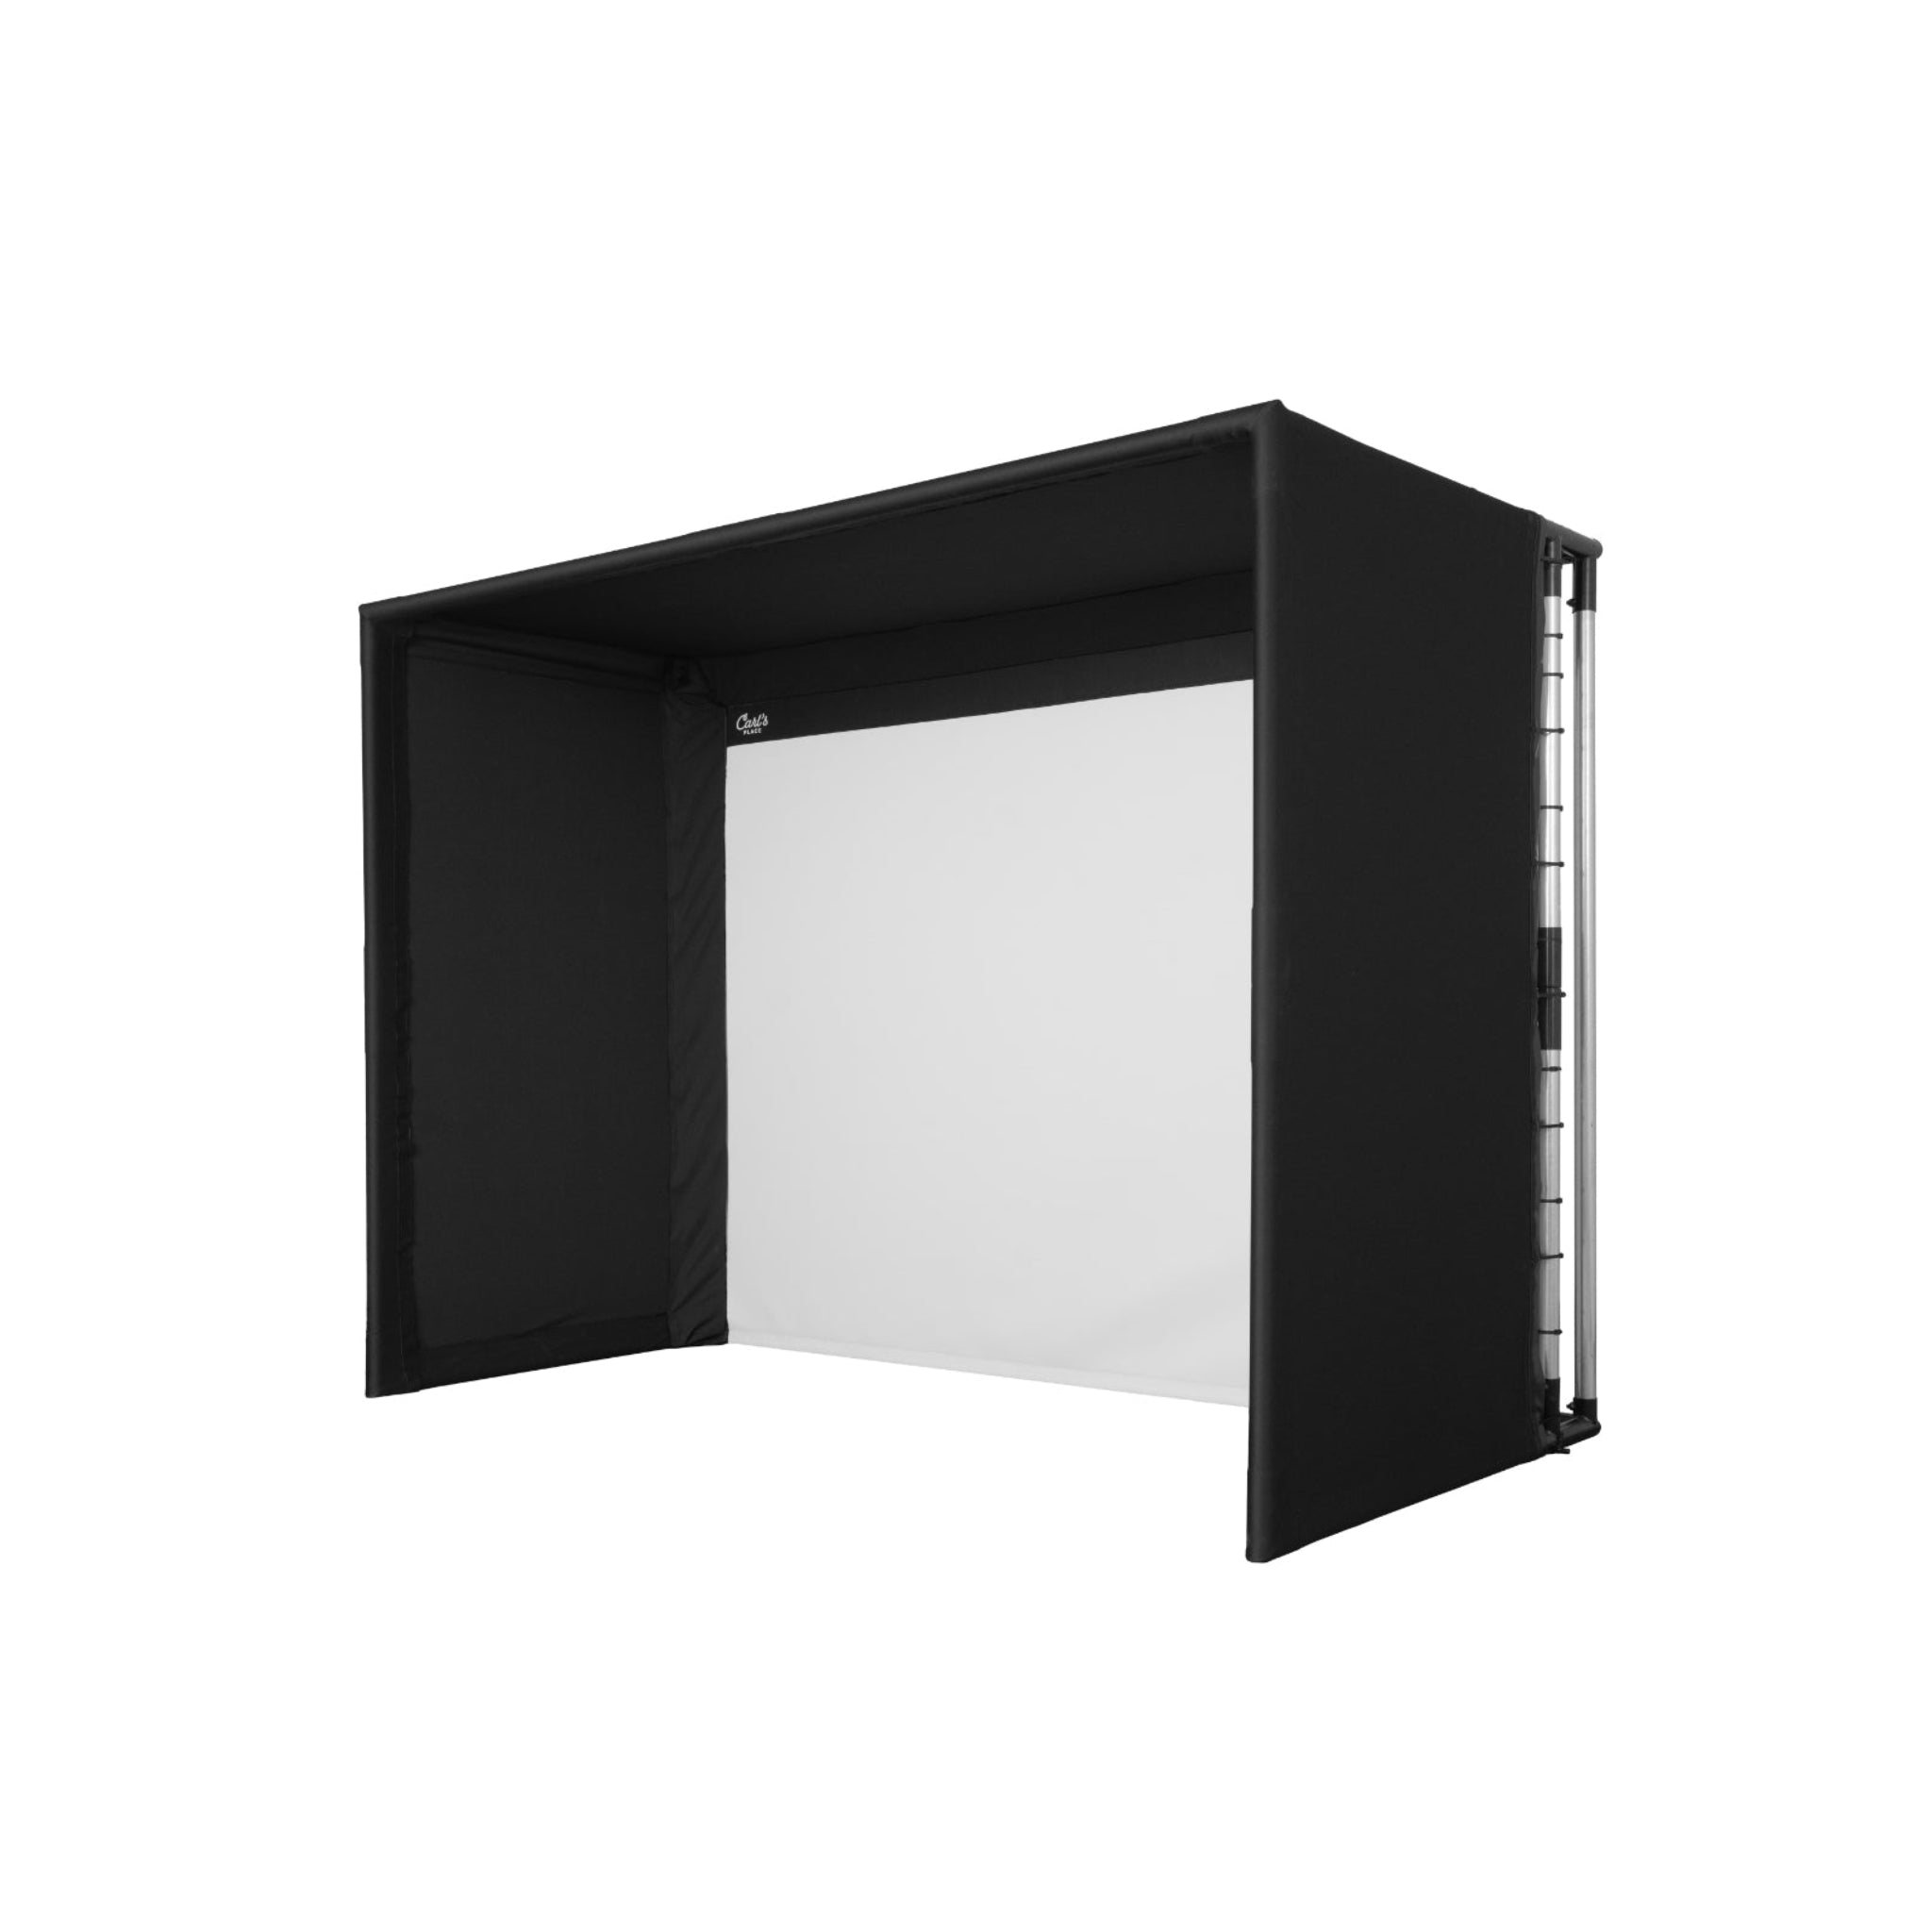
  • Versatile Crossbar System – Easily adjust the crossbar’s position forward or backward for perfect launch-monitor or projector alignment. The new modular design adapts to future technology upgrades, ensuring your setup stays current for years to come.

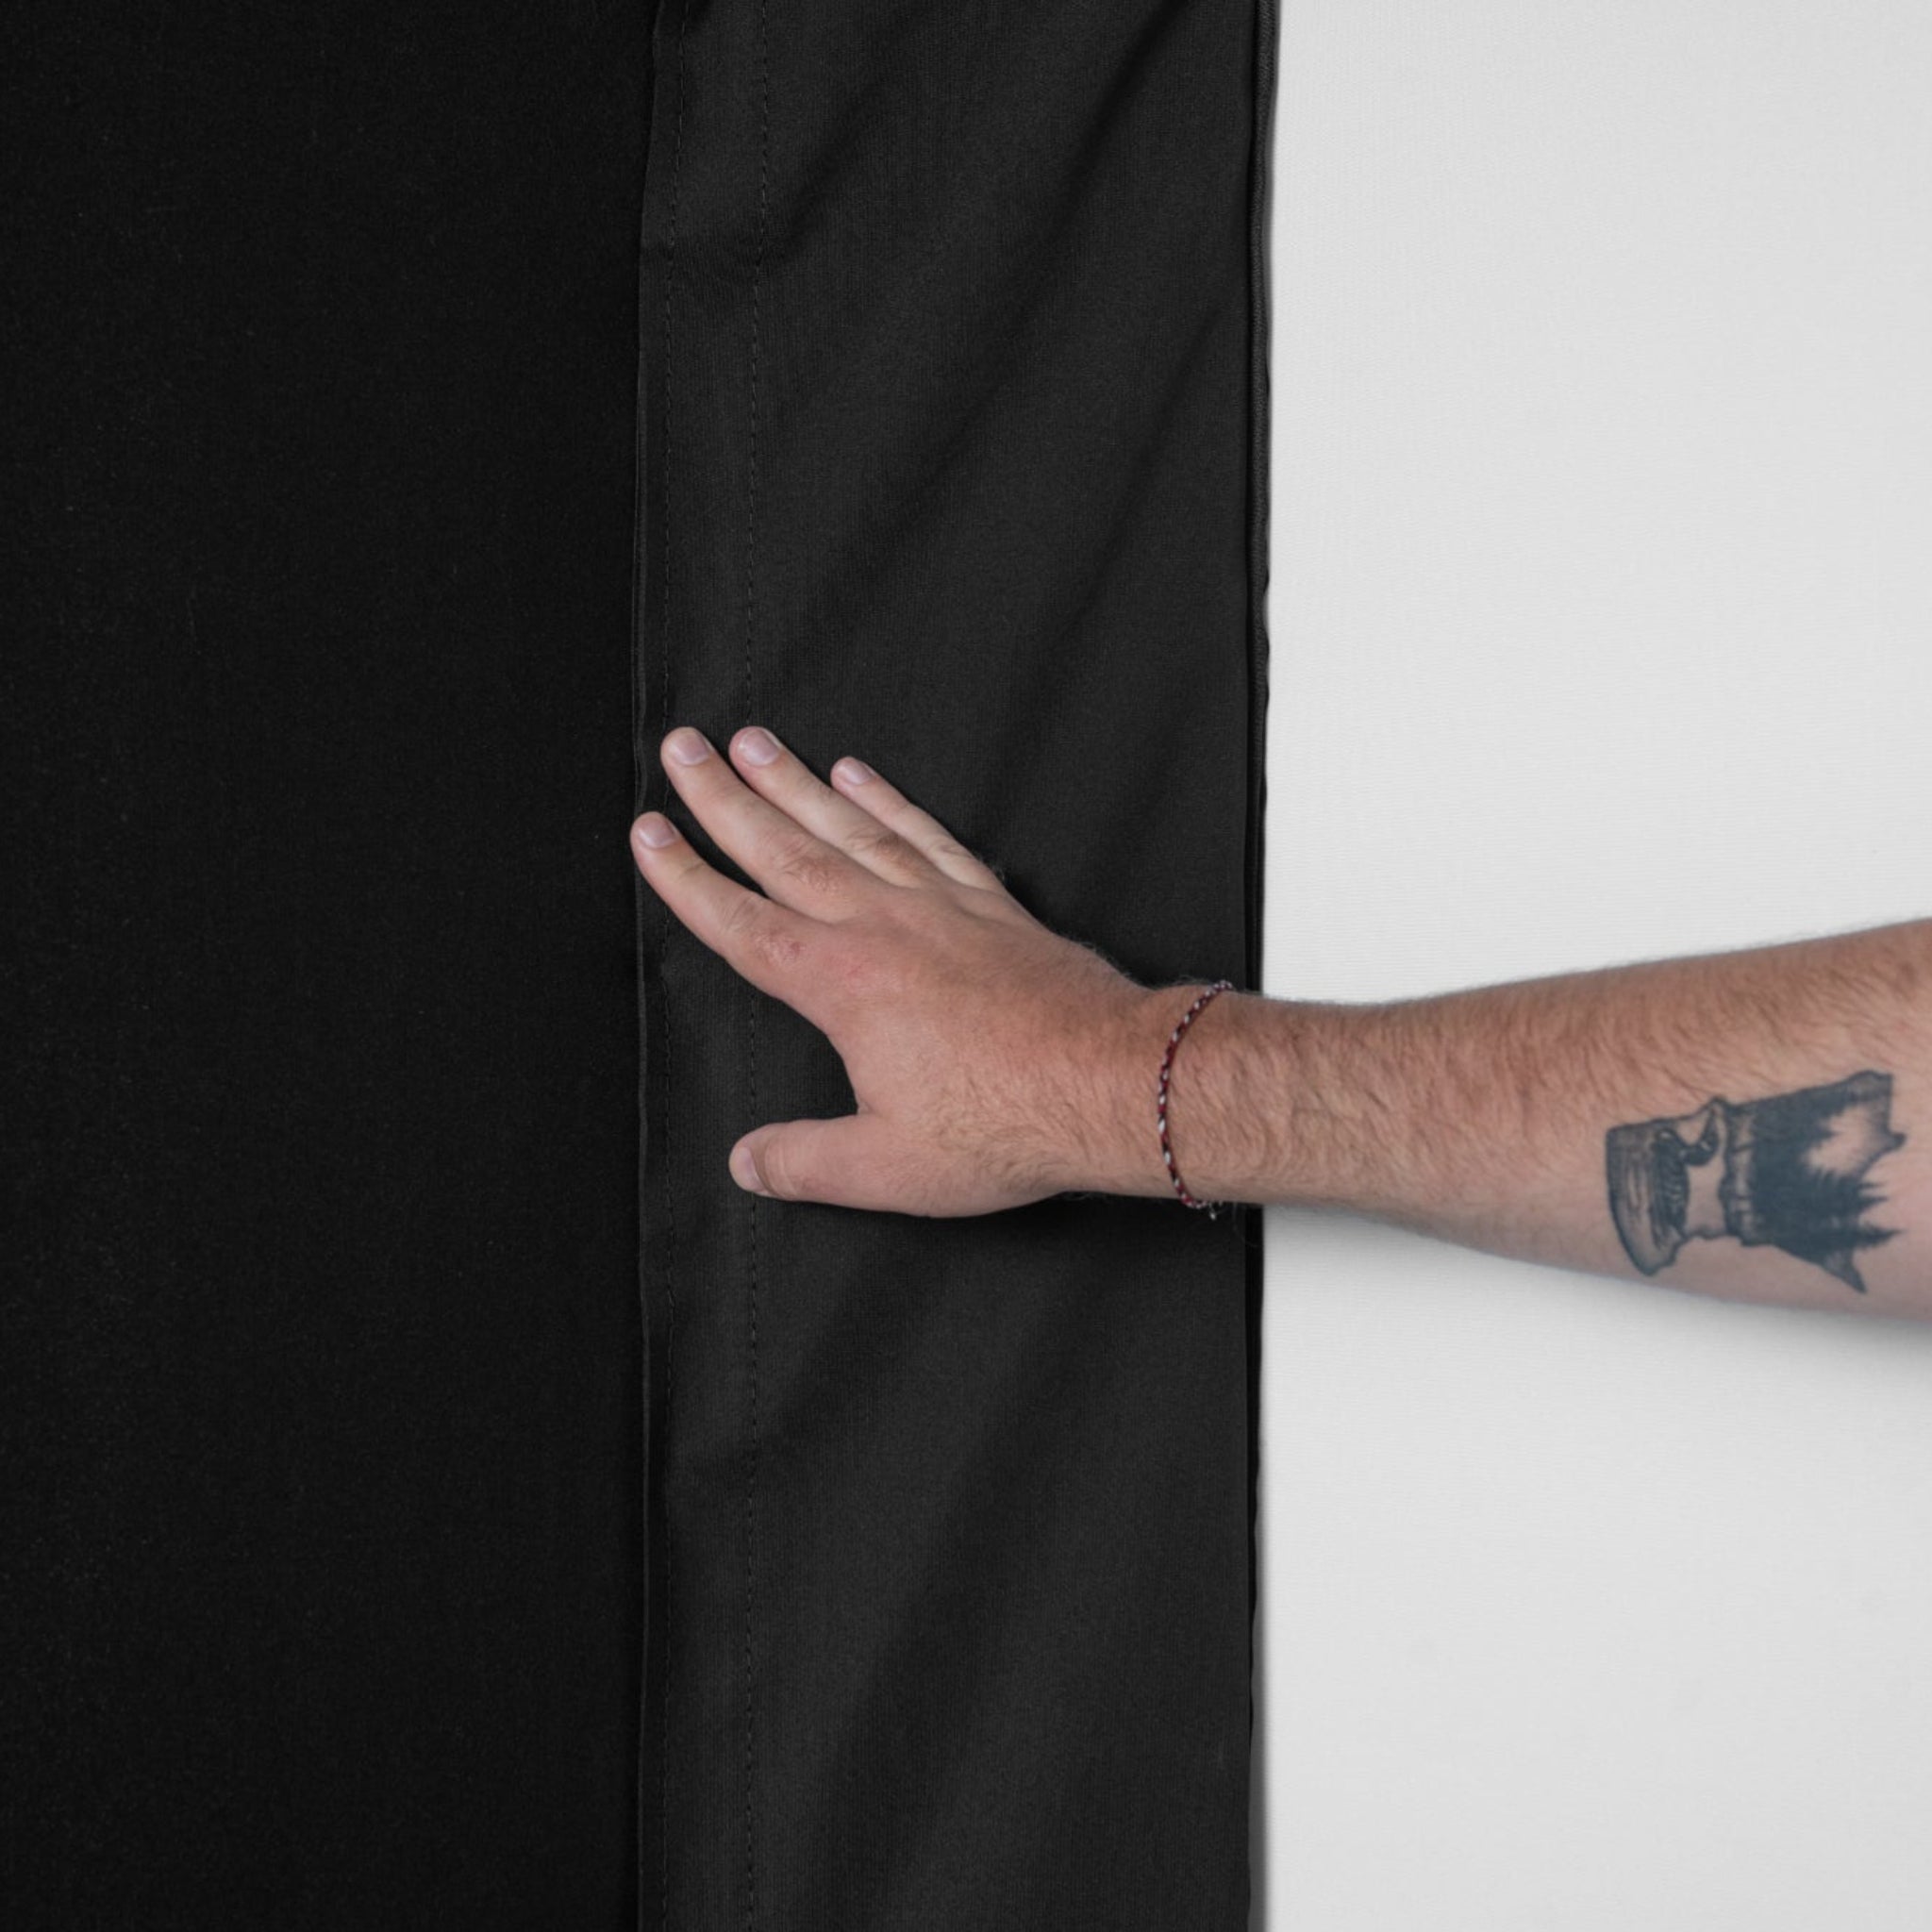
  • BlackStop™ Fabric – A thicker, light-absorbing material creates a darker environment that enhances image contrast, color depth, and overall projection quality while maintaining a clean, premium aesthetic.

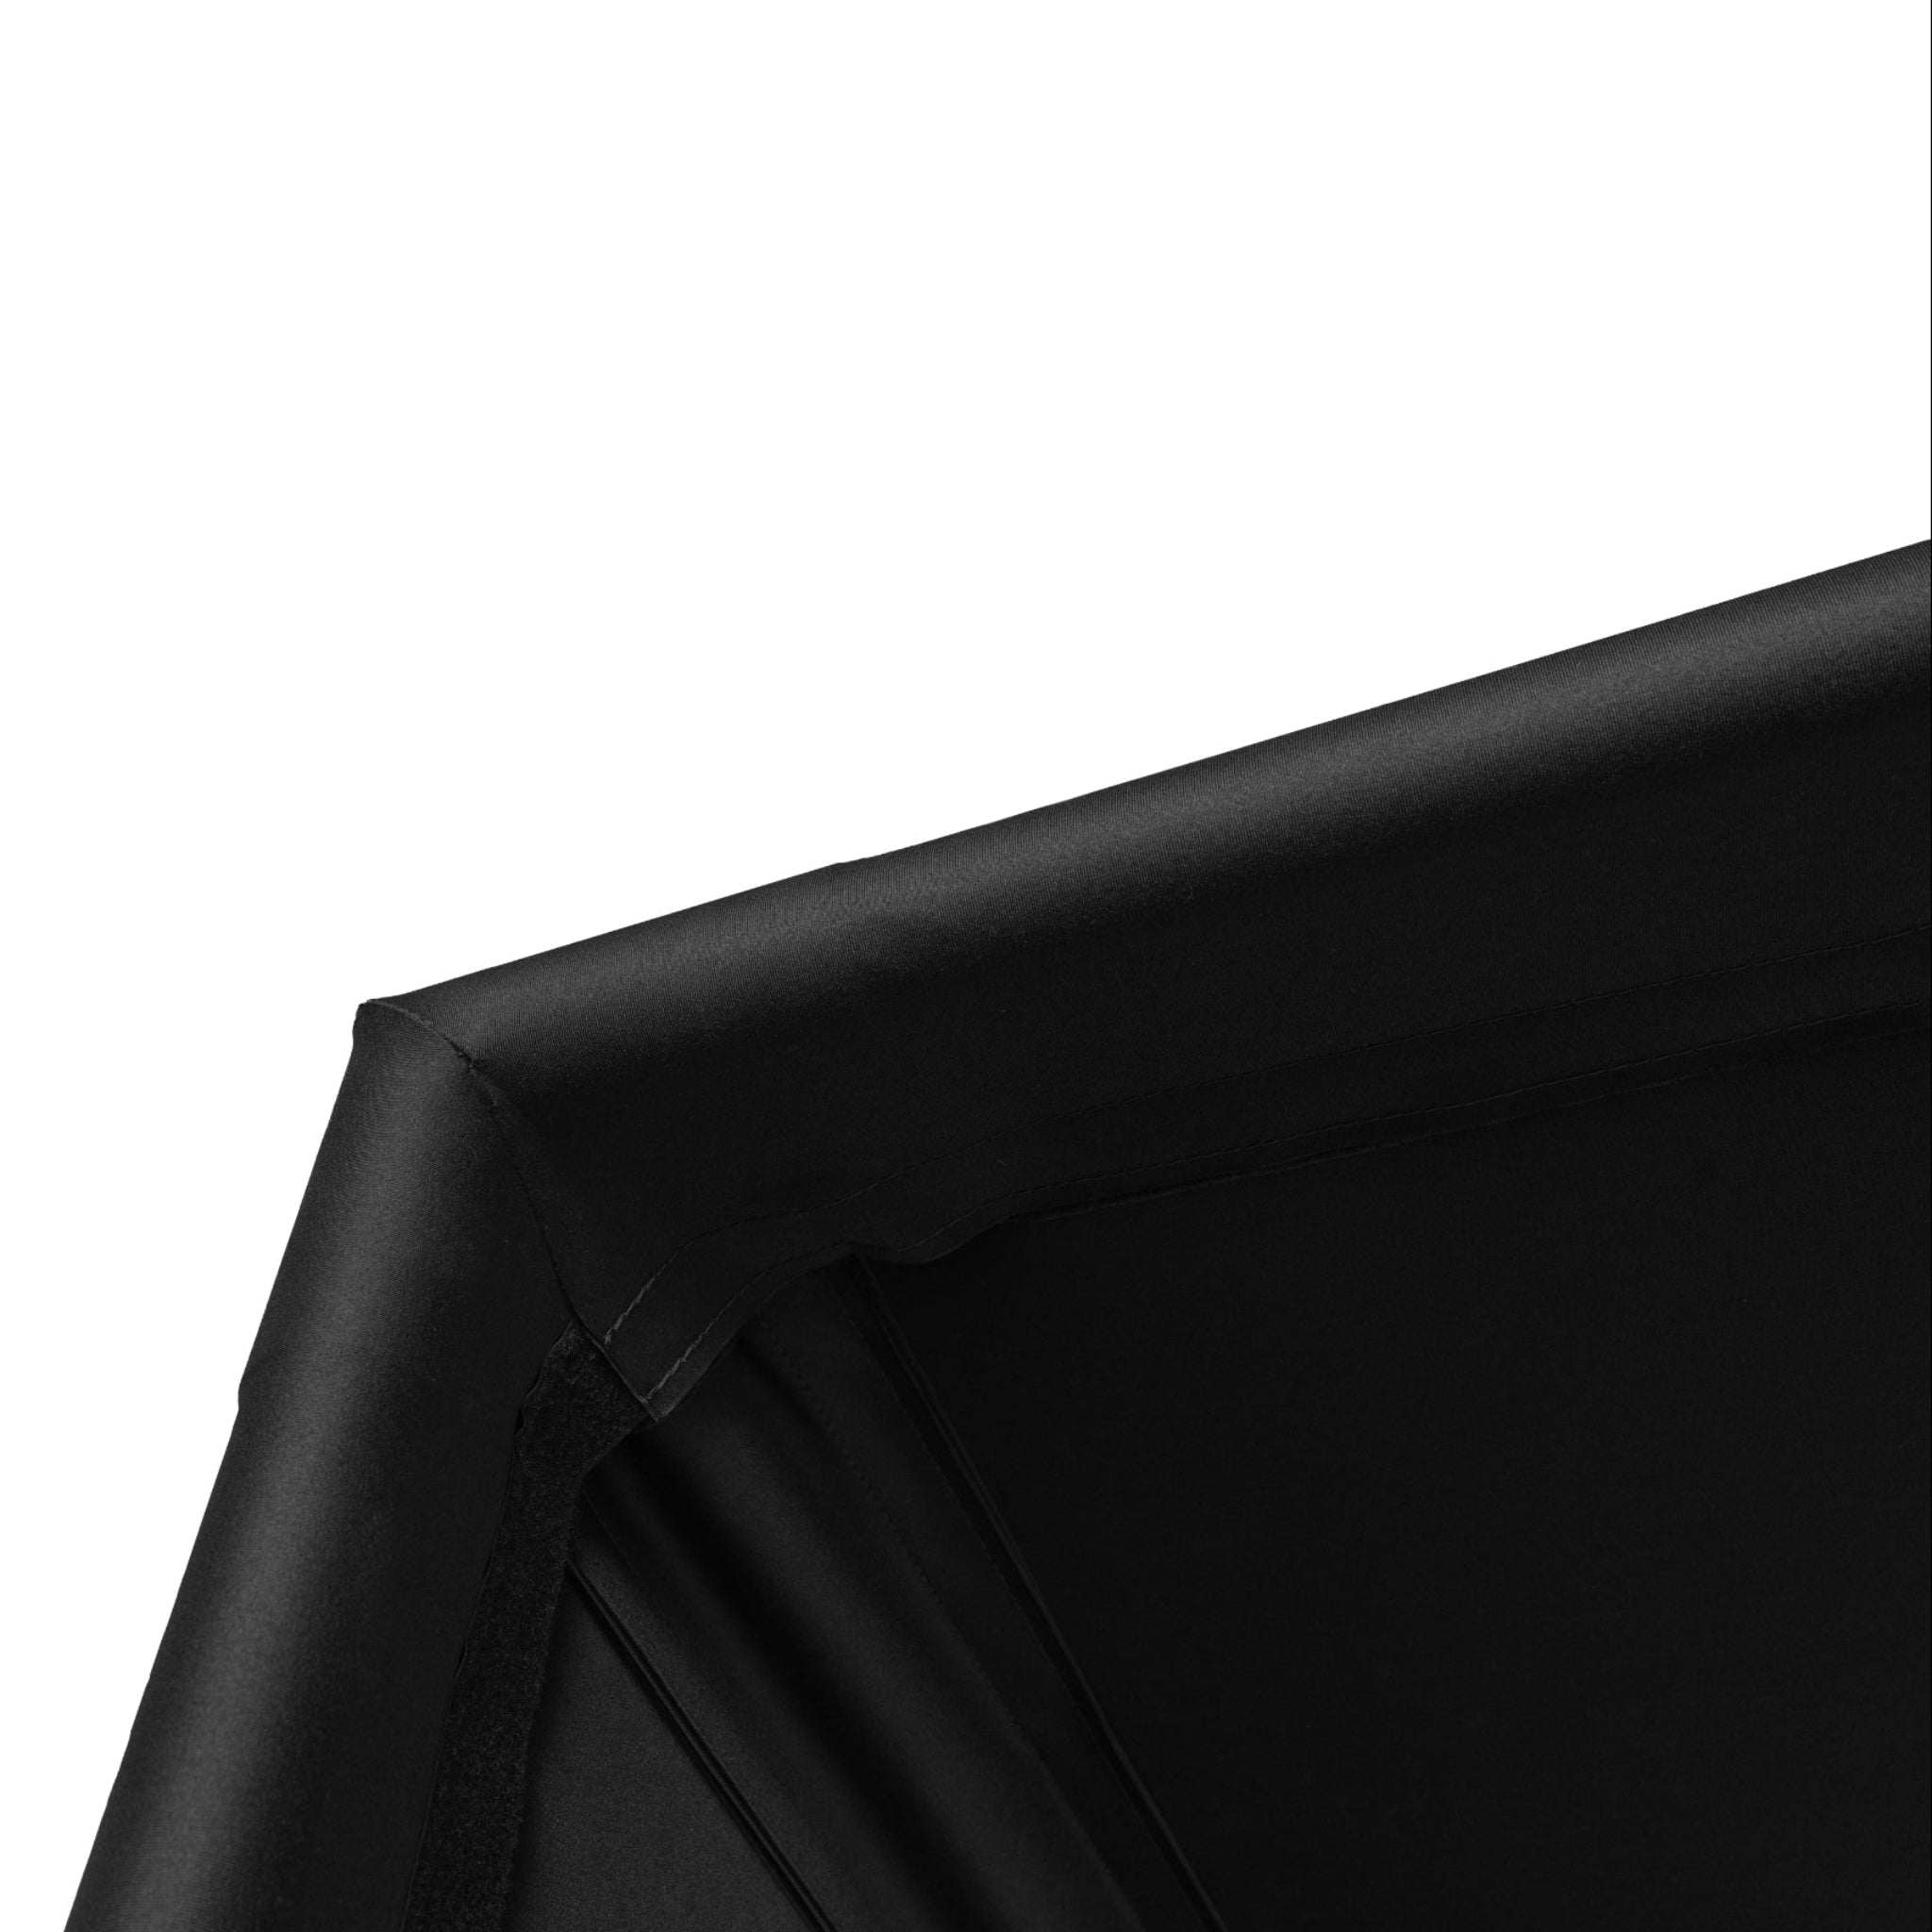
  • Detachable Flaps with Stronger Fasteners – Now separated from the main screen and secured with a wider 2” hook-and-loop strip for easier installation and longer-lasting attachment.

  • One-Piece Ceiling & Sidewalls – Simplified wrap-around construction eliminates multiple panel seams, reducing install time by about an hour while providing a sleek, uninterrupted finish.

  • Ships by Ground – Pipe kits are now ground-shippable for easier delivery and reduced freight costs.

  • Foam Inserts Included – Enhanced frame protection to absorb stray impacts and reduce rebound.

  • Increased Maximum Height – Supports setups up to 135” tall for greater versatility and realism.


What's Included

What's Included:


1. Premium Golf Impact Screen

Choose between White (brightest image for well-lit rooms) or High-Contrast Gray (ideal for darker rooms with better color accuracy). Each screen is tightly woven and tested to handle real golf ball impacts at full speed while maintaining excellent image clarity and tension.


2. BlackStop ™ Fabric Enclosure

A heavier, more light-absorbent material that transforms your simulator space into a dark, theater-like environment. Improves visual contrast and reduces ambient light reflection.


3. Steel Corner & Connector Fittings

Commercial-grade powder-coated fittings that connect securely to EMT pipes, creating a sturdy and professional frame foundation.


4. Ball Bungees and Zip Ties

Provides consistent screen tensioning for a smooth, wrinkle-free surface, while allowing quick adjustments or replacements.


5. Foam Inserts For Added Safety

Dense protective foam slides between the frame and fabric to absorb vibration, dampen sound, and prevent stray shots from rebounding into the room.


6. Detachable Flaps with 2" Fasteners

Reinforced flaps connect the screen and fabric securely for a seamless, polished finish.


7. Hardware and Assembly Accessories

All required fasteners and labeled fitting bags for easy, frustration-free installation.


8. No Surprise Shipping Charges - Get this enclosure delivered right to your door with free standard shipping included as our holiday treat to you 🎄.


Recommended Add-Ons (Sold Separately):


  • Pipe Framing Kit – Pre-cut EMT pipes shipped directly for convenience and perfect alignment.

  • Moveable Crossbar Kit – Future proof adjustable mounting solution that lets you easily reposition or upgrade your launch monitor without needing to rebuild or modify your enclosure.

  • Safety Baffles – Overhead netting that prevents high-angle shots from escaping the enclosure.

  • Back Cover Kit – Blocks ambient light and improves image contrast for a more professional look.

  • Electronic Mount Kits – Secure mounts for adding projectors, lighting, and tracking systems. 


Product Specifications

Product Specifications:


Feature

Specification

Minimum Frame Size

102”H × 102”W × 24”D

Maximum Frame Size

135”H × 240”W × 240”D

Available Widths

8x10.5, 8.5x11, 8.5x14.5, 9x12, 10x13, 10x15.5 ft

Depth Options

5 ft, 8 ft, 10 ft, 15 ft, or custom

Supported Use

Home or commercial simulator builds

Shipping

Pipe kits via standard ground

Ceiling Height

Recommended 10 ft minimum ceiling height for driver clearance and realistic swing motion. Also specifically for enclosures, allow 6"+ above the enclosure for assembly purposes.

Screen to Wall Clearance

Allow 12–16 inches of space behind the impact screen to absorb ball energy and prevent friction damage.

Side Wall Clearance

Maintain 2-3 inches of space between the enclosure frame and wall for tensioning and ventilation.

Frame Material

Commercial-grade 1” EMT steel tubing with powder-coated steel corner fittings for durability and stability.

Enclosure Material

BlackStop™ heavy-knit polyester designed to absorb ambient light and improve projection contrast.

Impact Screen Material

Premium tightly woven polyester blend with a cabled “floor-to-fairway” design for seamless visuals and reduced bounce-back.

Finish

Matte black anti-glare finish for reduced reflection and a professional studio look.

Approximate Weight

Varies by configuration. Average 180–260 lbs (with fittings and fabric). Pipe kits add approximately 40–80 lbs depending on the chosen enclosure size.

Shipping Method

Ships via standard ground delivery in multiple labeled boxes. Pre-cut pipe kits also ship by ground (no freight required).

Included Accessories


  • Steel frame fittings

  • BlackStop™ fabric enclosure wrap

  • Premium impact screen

  • Ball bungees and zip ties

  • Foam inserts

  • Hook-and-loop fastening system

  • Complete hardware and labeled assembly bags


Optional Add-Ons


  • Pipe Framing Kit

  • Moveable Crossbar

  • Safety Baffles

  • Back Cover Kit

  • Electronic Mount Kits for projector and launch monitors


Maintenance

Wipe screens and fabric gently with a soft, damp cloth. Avoid harsh chemicals, abrasive materials, or pressure washing.

Durability Rating

Built for heavy-duty daily use. Suitable for commercial simulator bays and long-term residential setups.


Getting Started Guide

Getting Started Guide:

Step 1: Measure Your Space

Before you begin, ensure your room meets the recommended dimensions. You’ll need at least 10 ft of ceiling height, 12 ft of width, and 18 ft of depth to safely swing a driver and allow space for your enclosure, projector, and hitting area.

Confirm that the floor is level to ensure the enclosure assembles squarely and the screen tension distributes evenly.


Step 2: Assemble the Frame

Lay out your pre-cut pipes or standard EMT conduit according to the included assembly diagram.


Start by constructing the base and vertical supports, then attach the top and depth sections.

If you purchased the optional Pipe Framing Kit, all pieces are pre-labeled and pre-measured for a faster, tool-assisted setup.

Ensure all fittings are firmly tightened before proceeding.


Step 3: Install the Enclosure Fabric

Unroll the one-piece BlackStop™ fabric and wrap it around the frame.

Attach the top first, then the sides, securing the fabric evenly using the included hook-and-loop flaps and zip ties.

This material is designed to absorb ambient light and enhance image contrast, so make sure it’s pulled smooth and tight for a clean, professional look.


Step 4: Install the Impact Screen

Position the impact screen at the front of your enclosure, aligning it so it sits flat and centered.

Use the ball bungees to attach the screen to the frame, starting at the corners and working toward the center of each side.

The bungees allow slight flex during impact to reduce tension stress and minimize bounce-back.

Adjust screen tightness evenly for a wrinkle-free surface — firm, but not over-stretched.

Keep 12–16 inches of clearance behind the screen to allow the ball’s energy to dissipate safely.


Step 5: Add Foam Inserts & Safety Accessories

Insert the provided foam padding between the frame and fabric to protect against stray shots and dampen sound.

Install optional safety baffles above the screen to prevent high-angle shots from escaping the enclosure.


Step 6: Mount Your Projector and Electronics

Attach the adjustable crossbar (if included) and secure your projector using a compatible mount.

Align the image to fill the screen edge-to-edge, and fine-tune focus, keystone, and brightness.

Position launch monitors (such as Uneekor, SkyTrak, or Foresight) according to the manufacturer’s guidelines for accurate readings.


Step 7: Set Up Your Hitting Area

Place your hitting mat 10–12 ft from the screen to balance accuracy, safety, and bounce-back distance.

Check your launch monitor alignment once more to ensure the hitting zone is properly tracked.


Step 8: Final Check and Calibration

Power on your projector and simulator software.

Hit a few test shots to verify ball tracking, sound levels, and image clarity.

Make any final tension adjustments to the impact screen or fabric panels as needed for a crisp, smooth appearance.

Pro Tip:

For the most immersive visual experience, add the optional Back Cover Kit to block out ambient light and enhance projection contrast.


Product Installation Guide

Setup & Installation Recommendations:

The Pro Enclosure requires slightly more overhead space than standard DIY models due to its heavy-duty fittings and ceiling panel installation.

Please verify that your space meets the following minimum clearances before ordering:


  • Ceiling Height:

    Your ceiling should be at least 6 inches taller than the enclosure height you select.


    Example: A 9 ft-tall Pro Enclosure requires a room height of 9 ft 6 in minimum for proper assembly.


    ⚠️ If your ceiling height is exactly 9 ft, a 9 ft Pro Enclosure will not fit. Select an 8 ft model instead.


  • Side Clearance:

    Maintain 2–3 inches of space on each side of the frame for fabric tensioning and bungee clearance.

  • Rear Clearance:

    Keep 12–16 inches of open space behind the impact screen to allow natural flex and to protect your walls.

  • Tee Position:

    Set your hitting area 10–12 ft from the screen for safe play and accurate ball-flight data.


Installation Video:


Product Manual and User Guides:


Add On's

Add On's:


Back Cover Kit and Back Cover Pipe Kit


Back Cover Kit – Eliminates light leak for better image contrast and a polished, professional appearance.

Back Cover Pipe Kit – Piping not included. You can either cut your own framing pipes locally using standard 2-inch EMT conduit or upgrade to our pre-cut pipe kit, designed for a precise fit and faster assembly


Safety Baffle

Safety Baffles – Ceiling-hung vinyl strips that stop high-angle shots and protect ceilings from mishits.


Pipe Framing Kit


Pipe Framing Kit – Pre-cut and marked 2” pipes shipped to your door — no cutting or measuring required.


Movable Crossbar Kit


Movable Crossbar Kit Future proof adjustable mounting solution that lets you easily reposition or upgrade your launch monitor without needing to rebuild or modify your enclosure.


Configurations

Enclosure Configurations:

Pro Enclosure Standalone:


Pro Enclosure With Baffle:


Pro Enclosure With Baffle and Crossbar:


Pro Enclosure Without Back Cover:


Pro Enclosure With Back Cover:


FAQ's

Frequently Asked Questions:


Q: Does the Pro Golf Enclosure Kit come with pipes?

No, the frame pipes are not included with the standard kit. You can purchase standard 2” EMT conduit from a local hardware store or choose the optional pre-cut pipe kit for faster and more precise assembly.


Q: How much ceiling height do I need?

Your room should have at least 6 inches of height than the enclosure size you select.

For example, a 9 ft tall enclosure requires a room height of at least 9 ft 6 in to allow space for fittings and installation.

If your ceiling is exactly 9 ft high, we recommend selecting the 8 ft enclosure model.


Q: How much space should I leave around the enclosure?

Leave 12–16 inches of open space behind the impact screen for ball impact and air movement.

Maintain 2–3 inches of clearance on the sides of the frame.

Keep your hitting mat positioned 10–12 ft from the screen to ensure safe play and accurate readings.


Q: Can the impact screen be returned or exchanged?

Impact screens are classified as wearable items due to repeated use. Once installed or impacted by a golf ball, they cannot be returned or exchanged.

If your screen arrives damaged or defective, please contact us immediately with photos and your order number.


Q: Is there a warranty on the enclosure or screen?

Because impact screens naturally wear over time, they are not covered under a standard manufacturer warranty.

Replacement components are available for purchase if any individual part needs to be swapped out.


Q: How long will it take to receive my order?

Typical lead time is 5–7 business days before shipping, plus 5–7 business days transit time within the U.S.

You’ll receive tracking information once your shipment is on its way.

International delivery times vary depending on customs and freight routing.


Q: Can I install this myself?

Yes. The Pro Enclosure is designed for DIY assembly using the provided instructions and diagrams. Most customers complete setup within a few hours using standard tools.


Q: What makes the Pro Enclosure different from the DIY Kit?

The Pro Enclosure features a heavy-duty design with thicker framing, upgraded fittings, and a commercial-grade enclosure fabric that reduces light bleed and enhances image contrast. It’s ideal for golfers seeking a cleaner, more finished look or for teaching studios that need long-term durability.


Q: What is the Moveable Crossbar Kit, and why is it recommended?

The optional Moveable Crossbar Kit lets you easily mount launch monitors directly on the enclosure frame — No ceiling mount required. It’s adjustable front to back, accommodates multiple device types, and supports clean cable routing. Because it can adapt to future hardware, it’s often called a future-proof upgrade.


Q: How long does the screen last?

With proper care, most screens last 3–5 years of regular play. Rotate occasionally to extend life.


Q: How do I clean the screen?

Vacuum lightly or spot clean with a mild soap solution. Ensure to dry immediately to avoid water stains. Avoid harsh chemicals or abrasive materials.


Q: Can I customize my size?

Yes — Carl's Place offers custom sizing for the Pro Golf Enclosure overall dimensions.

Contact support@simulatordirect.com for details.

Shipping/Returns & Warranty Policy

Shipping/Returns & Warranty Policy:


Shipping Policy


Simulator Direct processes and ships orders using trusted carriers to ensure reliable delivery and product protection. Orders are typically fulfilled through FedEx or UPS, with freight delivery arranged for oversized products such as full simulator enclosures and pipe framing kits.

Lead Time & Processing:

Orders are generally processed within 5–7 business days, depending on the product type and order volume. Transit time varies between 3–7 business days after shipment. Tracking details will be provided via email once your order is dispatched.

Freight Deliveries & Lift Gate Service:

Larger items such as pipe framing kits and built-in panels are shipped via freight carriers. For non-residential deliveries without a loading dock, we strongly recommend selecting Lift Gate Service. This service allows the freight driver to safely lower your shipment to the ground using a hydraulic platform.


  • Typical lift gate capacity accommodates loads up to 1,000 lbs.

  • This service is especially useful for orders that include pre-cut pipe kits or heavier enclosure frames that arrive on pallets.

  • Lift Gate Service of $185 will be automatically included in the price for any freight deliveries shipped as Residential.

  • Fees for non-residential lift gate service (loading dock required) shall have a flat rate of $185 offered as a product add on option for those who require it.


Freight Handling Information (Curved Golf Simulator Enclosure Kit):

Carl's Place golf simulator Pipe Framing Kits and Back Cover Pipe Kits are custom-fabricated components that ship directly from their manufacturing partner. Due to their size and weight, each kit requires special packaging and insured freight delivery. A flat Freight Handling Fee applies to cover professional packaging, carrier logistics, and safe arrival.

  • Pipe Framing Kit: $700 Freight Handling Fee

  • Back Cover Pipe Kit: $700 Freight Handling Fee

  • Bundle Both: $799 Combined Freight Handling Fee

Rates are averaged nationally to account for regional carrier costs and state taxes. 


Shipping Responsibilities:


  • Customers are responsible for shipping costs on all orders unless otherwise stated.

  • International shipments do not include customs duties, brokerage, or import fees. These must be paid by the recipient.

  • Please inspect all deliveries upon arrival to ensure all boxes and components are received in good condition.


Return Policy

We want you to be satisfied with your purchase. However, due to the custom nature of many of our products listed for resale, certain restrictions apply.

Eligibility:


  • Returns must be requested within 14 days of receiving your order.

  • All items must be unused, in original packaging, and in resalable condition.

  • Return shipping costs are the responsibility of the customer.


Restocking Fees & Non-Returnable Items:


  • Products with custom sizing or configurations may incur a restocking fee of up to 30%.

  • Items incorporating special finishes or non-standard dimensions may not be eligible for return.

  • Wearable items, such as golf impact screens, are non-returnable once used, as natural wear occurs immediately after impact use.

  • Partial kit returns are not accepted; all components must be returned together.


Return Process:


  1. Contact support@simulatordirect.com to initiate your return request.

  2. Include your order number and photos (if applicable).

  3. Once approved, you will receive a return authorization and shipping instructions.

  4. Refunds are issued to the original payment method within 7–10 business days of receiving and inspecting the return.


Order Changes & Cancellations


If you need to change or cancel your order, please contact support@simulatordirect.com as soon as possible.


  • Orders with custom dimensions are subject to a 30% cancellation fee if changed after 24 hours.

  • Orders that include manufacturer-direct products may incur a 5% cancellation fee.

  • Cancellations are not guaranteed after shipment and will follow the standard return policy if fulfilled.


Warranty & Replacements


Carl's Place products are designed for long-term use but are considered wearable items due to their nature and purpose. Therefore, they are not covered under a traditional manufacturer warranty. Some visible wear may occur after the first use and is considered normal.

If you experience damage upon arrival or have performance concerns, please contact our support team with photos and your order number for assistance.

Replacement Parts:

Most components, including enclosure panels and screens, can be replaced individually. To request a replacement part, email support@simulatordirect.com with your order details and the specific item required.