

Carl's Place Premium Golf Impact Screens
Got Questions?
Email: support@simulatordirect.com
Phone: (714) 202-9416
Choose options
- Description
- Product Features
- What's Included
- Product Specifications
- Product Installation Guide
- FAQ's
- Shipping/Returns & Warranty Policy
Carl's Place Premium Golf Impact Screen
Premium projection quality, reduced impact noise, and durable three-layer performance for serious golf simulator builds.
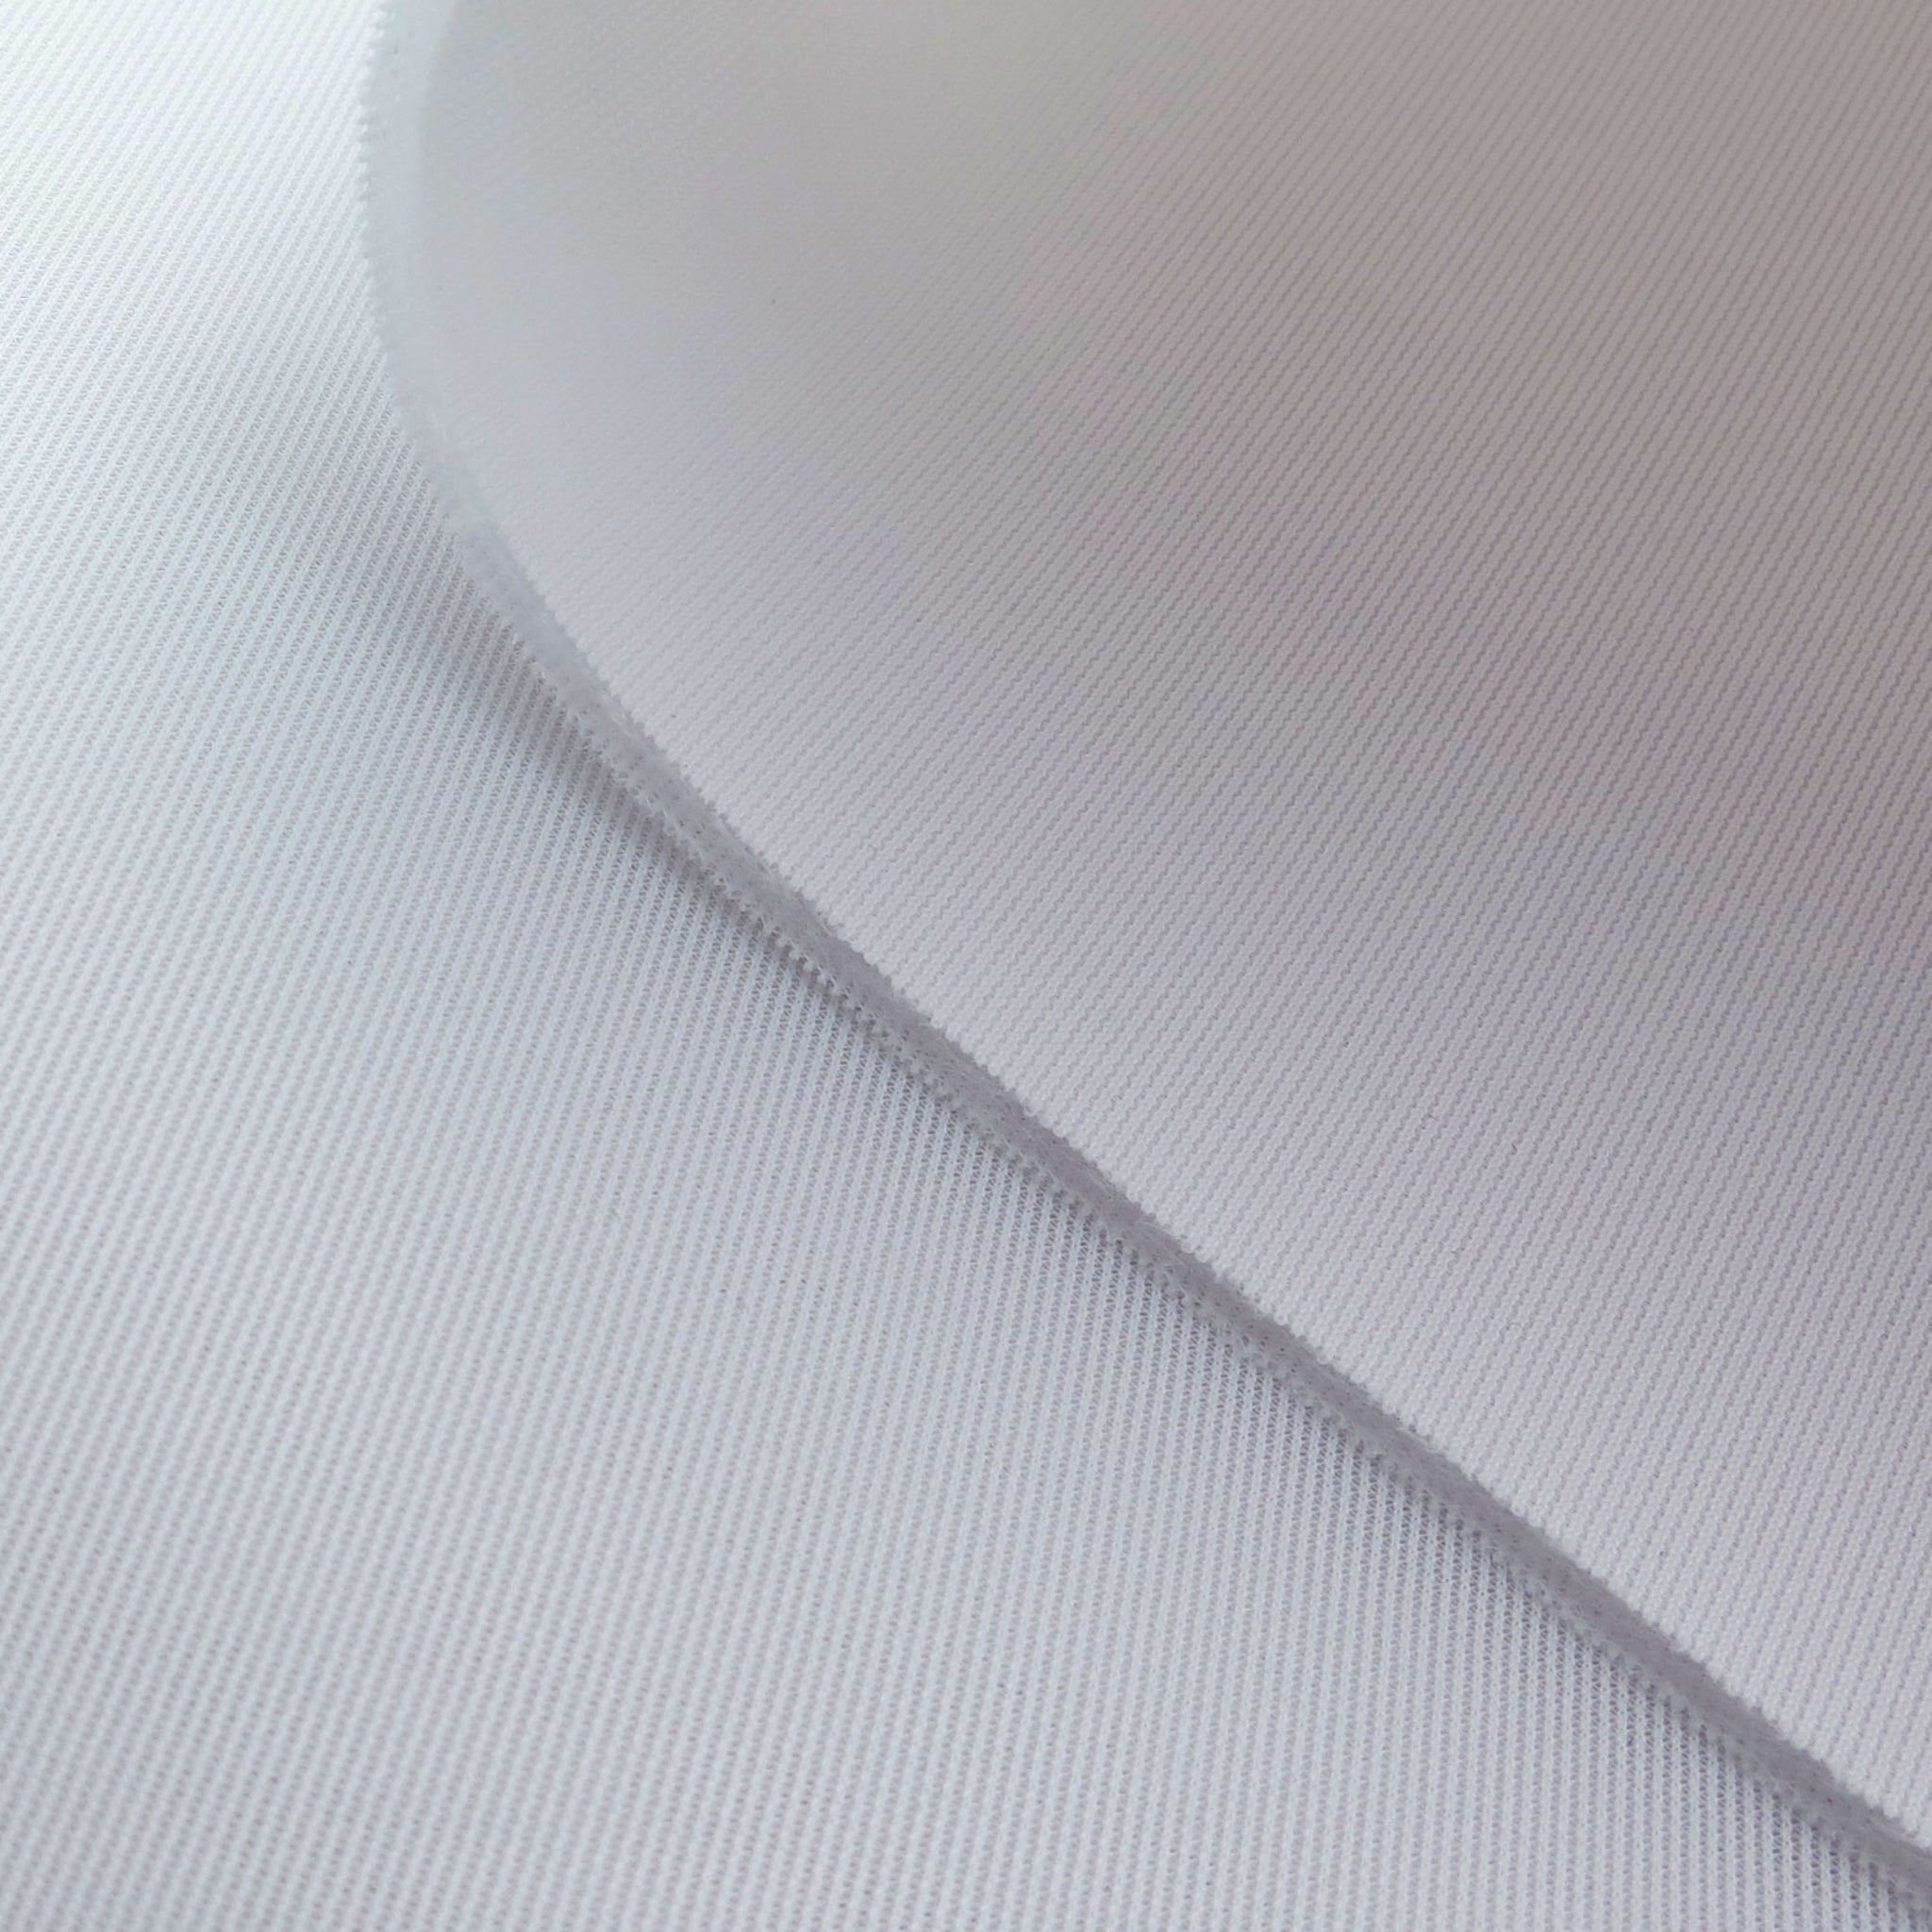
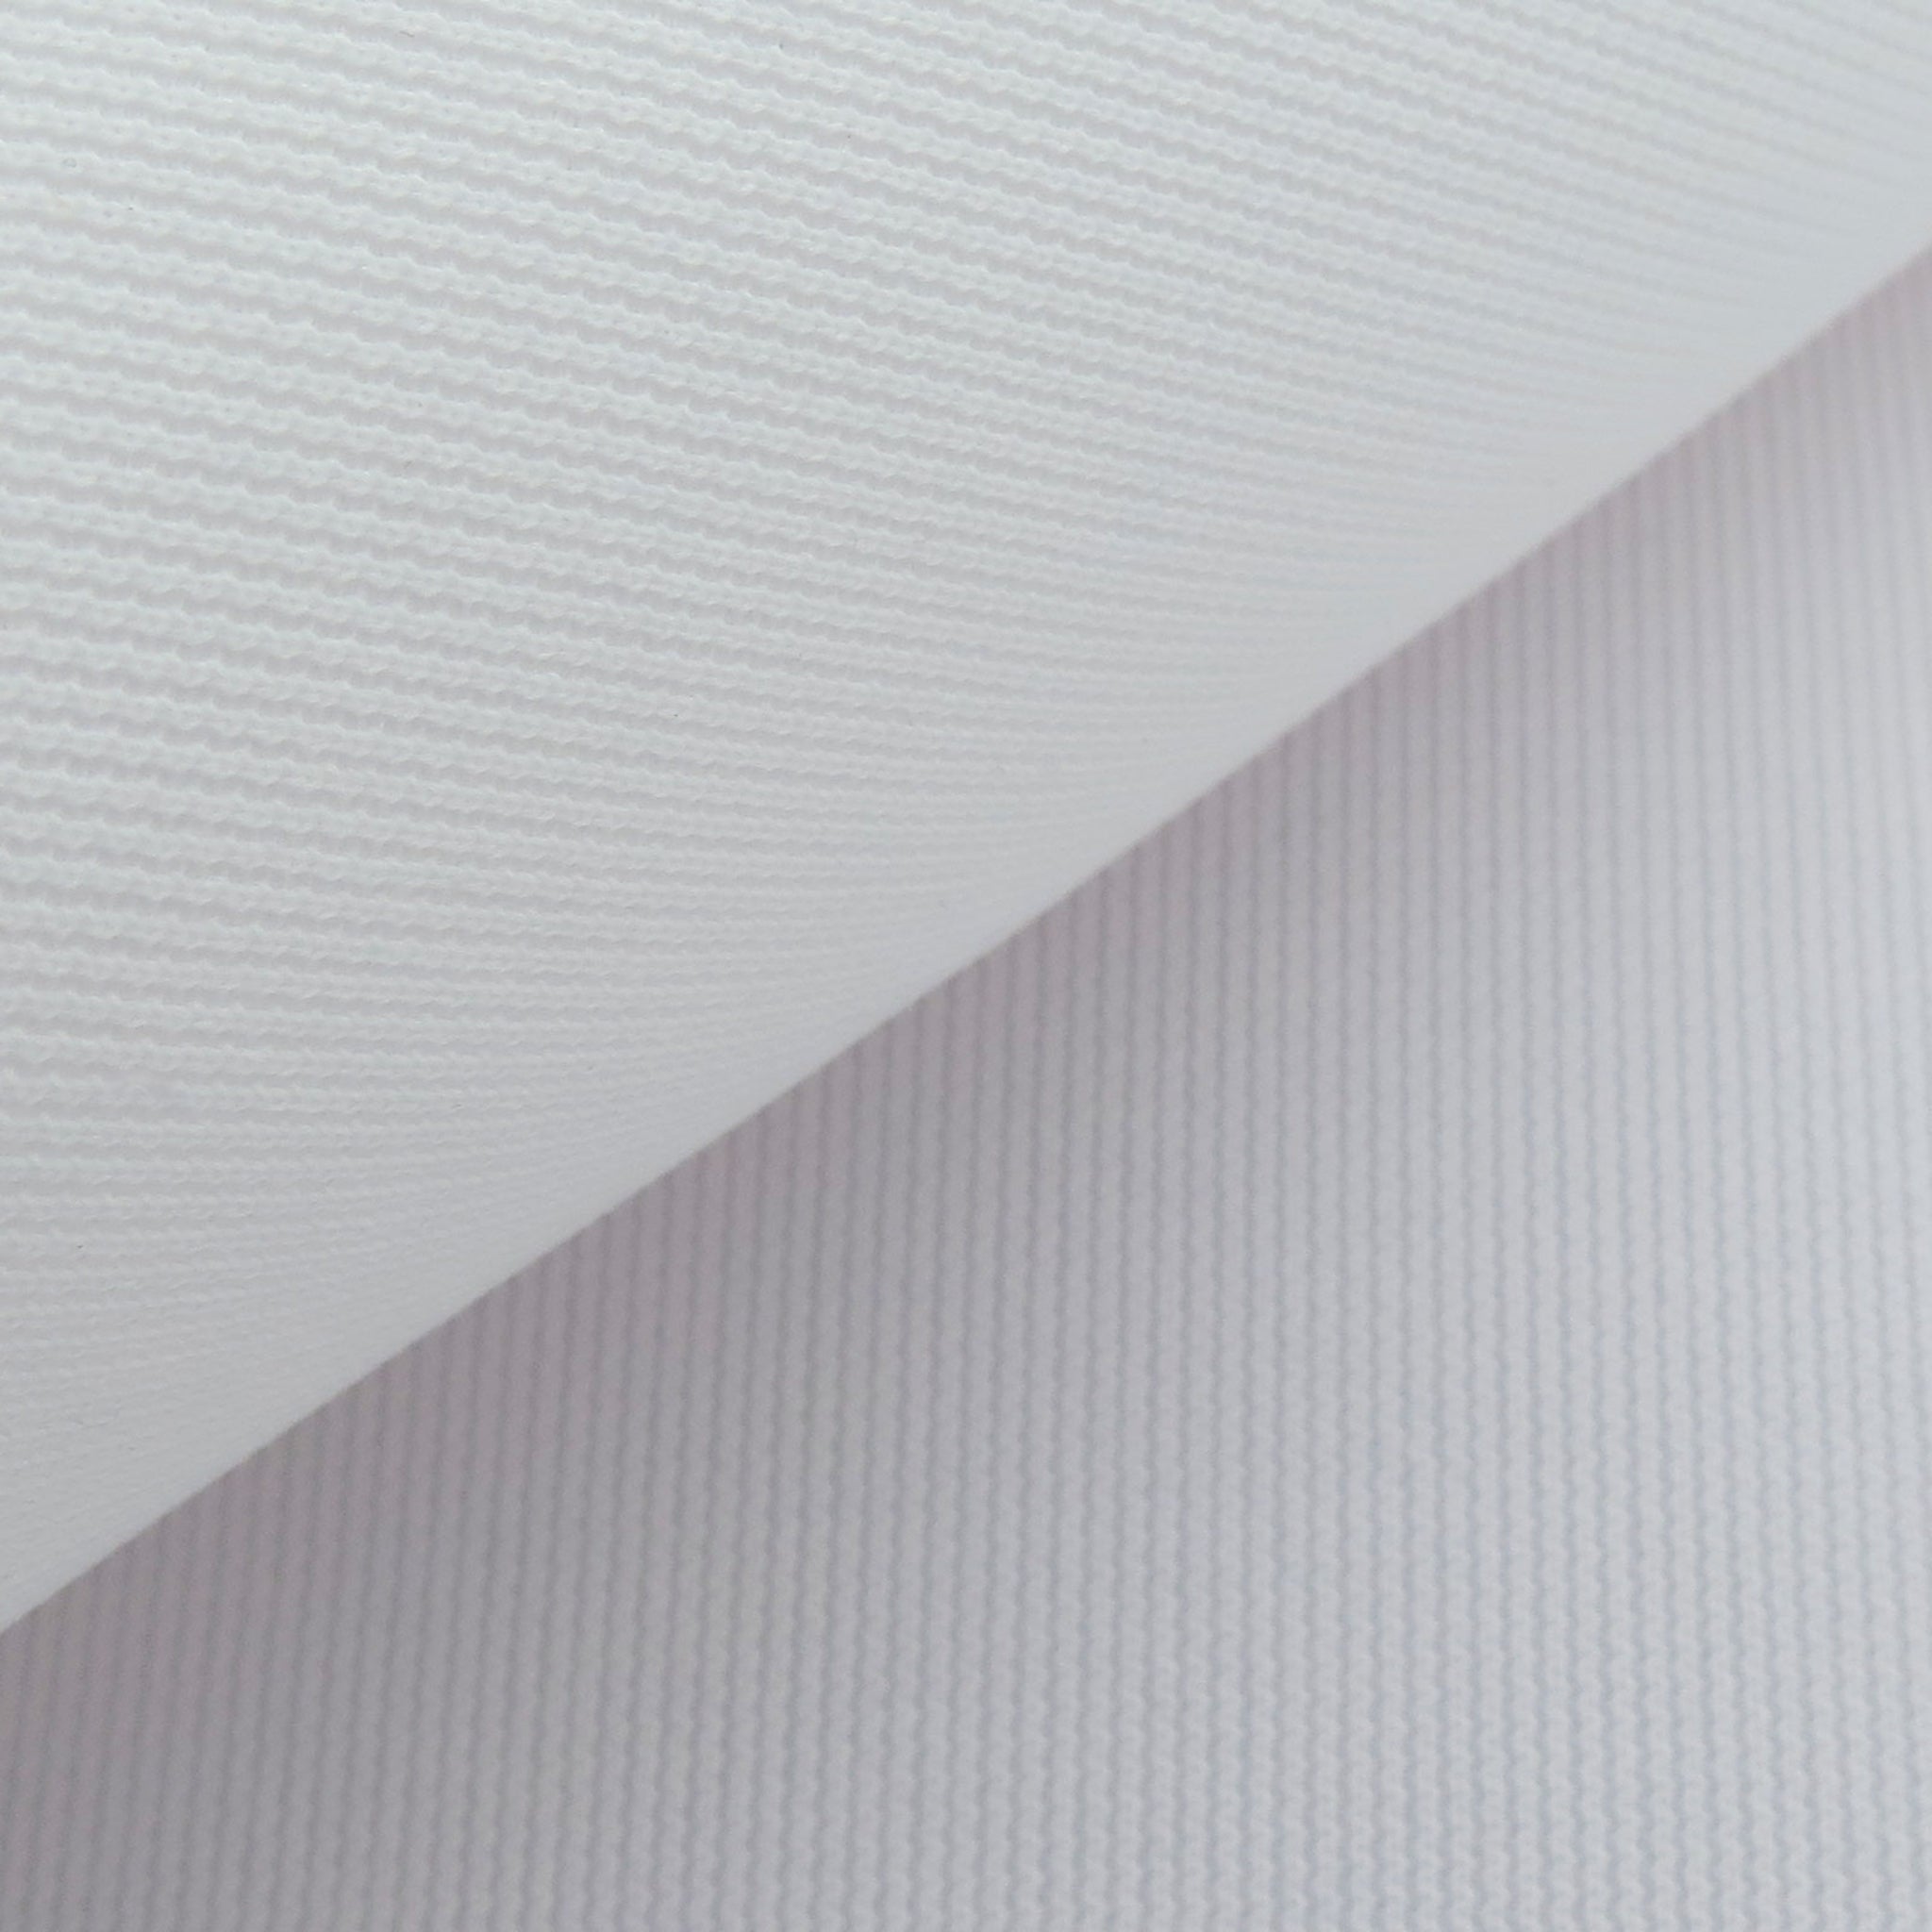
For simulator owners who want top-tier screen performance, the Carl's Place Premium Golf Impact Screen delivers an elevated combination of image clarity, impact durability, and a quieter hitting experience. Built with a three-layer, tight-knit, impact-resistant polyester construction, this screen is designed to handle repeated golf ball impacts while producing crisp, clean projection.
The Premium model is ideal for customers building a high-end home simulator, upgrading from a lower-tier screen, or creating a setup where image quality, reduced bounce-back, and long-term performance matter most.
According to the manufacturer, the Premium screen can handle ball speeds up to 250 mph, making it a strong choice for serious players, frequent practice, and higher-use simulator environments.

Product Features
Premium Three-Layer Performance
| Feature | Details |
|---|---|
| Three-Layer Reinforced Fabric | Engineered with a tight-knit, impact-resistant polyester construction to support crisp visuals and reliable durability during repeated golf ball strikes. |
| Minimal Bounce & Noise | Designed to help reduce rebound and impact sound, creating a smoother and more comfortable indoor simulator experience. |
| High Impact Tolerance | Rated to endure golf ball strikes up to 250 mph, making it suitable for serious practice and higher-use simulator setups. |
| Cleaner Projection Surface | The tighter weave helps reduce hotspots, improve contrast, and support sharper projected imagery compared to lower-tier screen materials. |
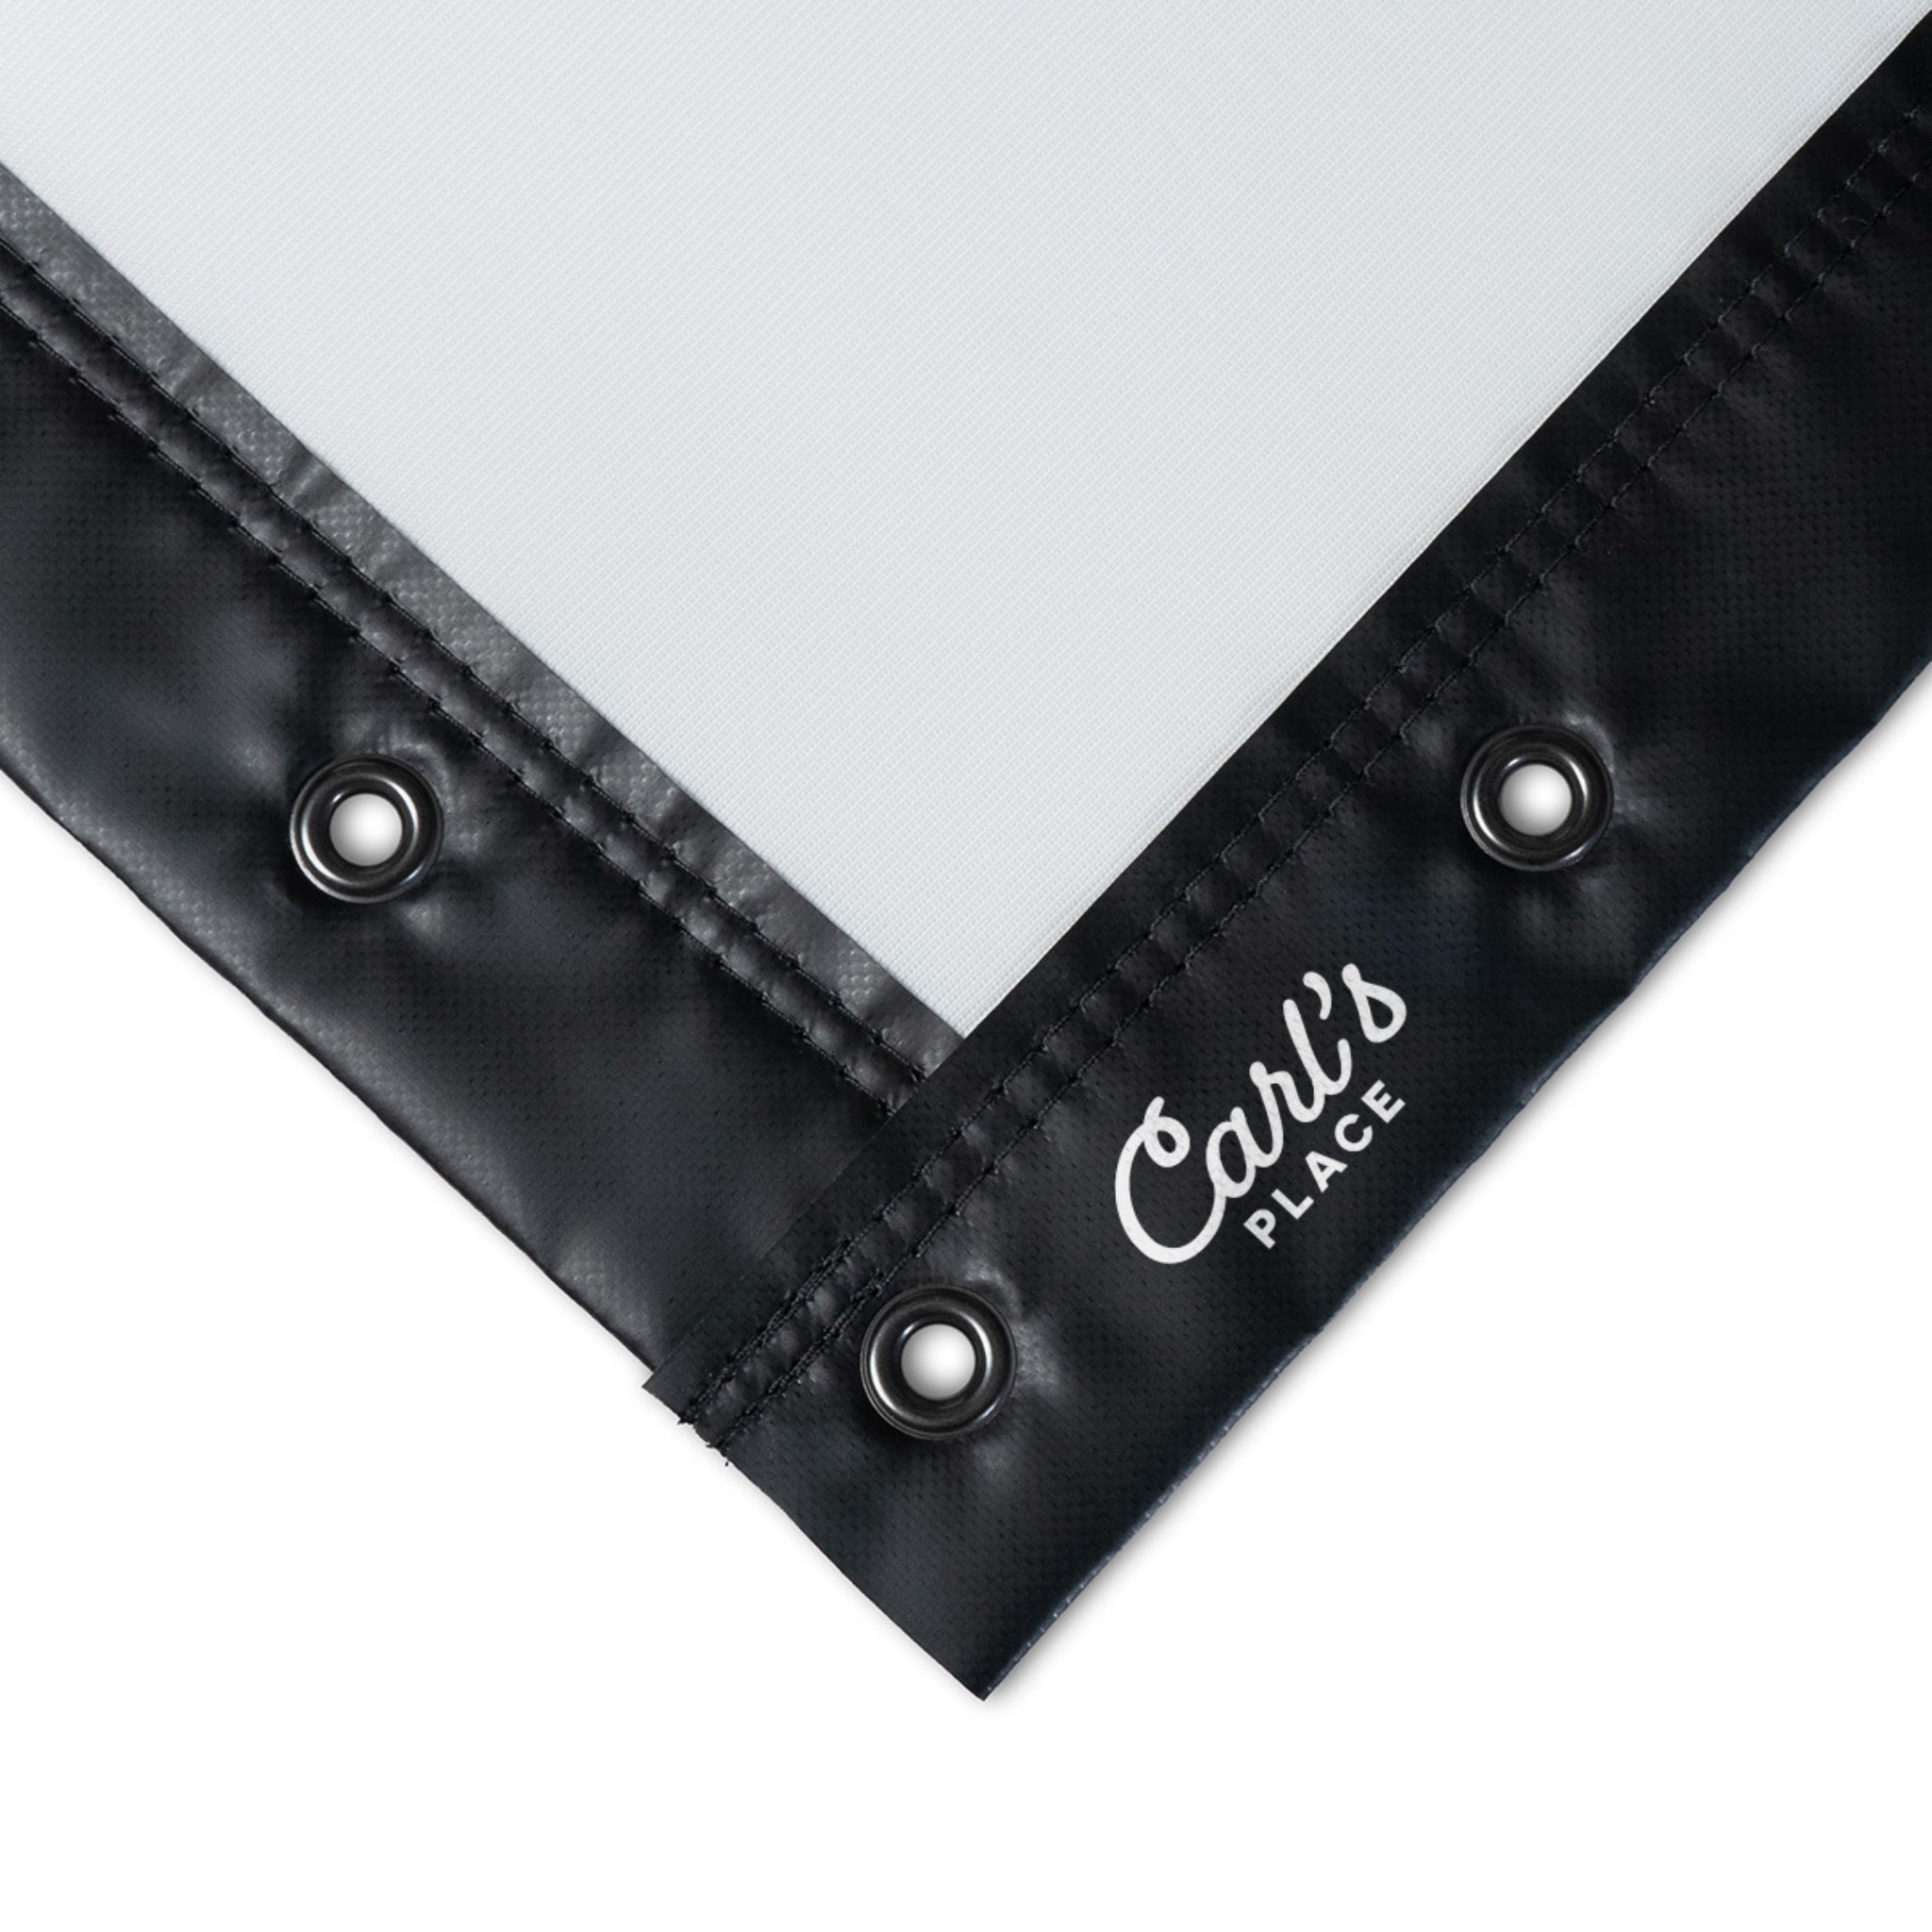
| Custom-Made Fit | Each screen is sewn to order for precision sizing, clean alignment, and a polished simulator appearance. |
| Multiple Finishing Styles | Available with finish options such as Classic, Classic with Flaps, Classic with Loop Fastener, and select custom finishing styles depending on your mounting method. |
Screen Material Options
-
Standard: Best for beginners, casual players, and practice-focused simulator setups.
- Durable and cost-effective for entry-level simulator builds.

-
Preferred: A strong middle-ground option for home and light commercial use.
- Offers smoother texture and clearer HD projection compared to Standard.

-
Premium: This option — professional-grade, triple-layer knit fabric designed for heavy daily use, reduced noise, and the best picture quality available.
- Best choice for golfers who want the highest image quality and strongest screen performance.

Finish Options
-
Classic Finish: 2.5” black vinyl edges with grommets around the screen.
- Best for traditional bungee mounting.
- Great for DIY frames and pipe frame builds.

-
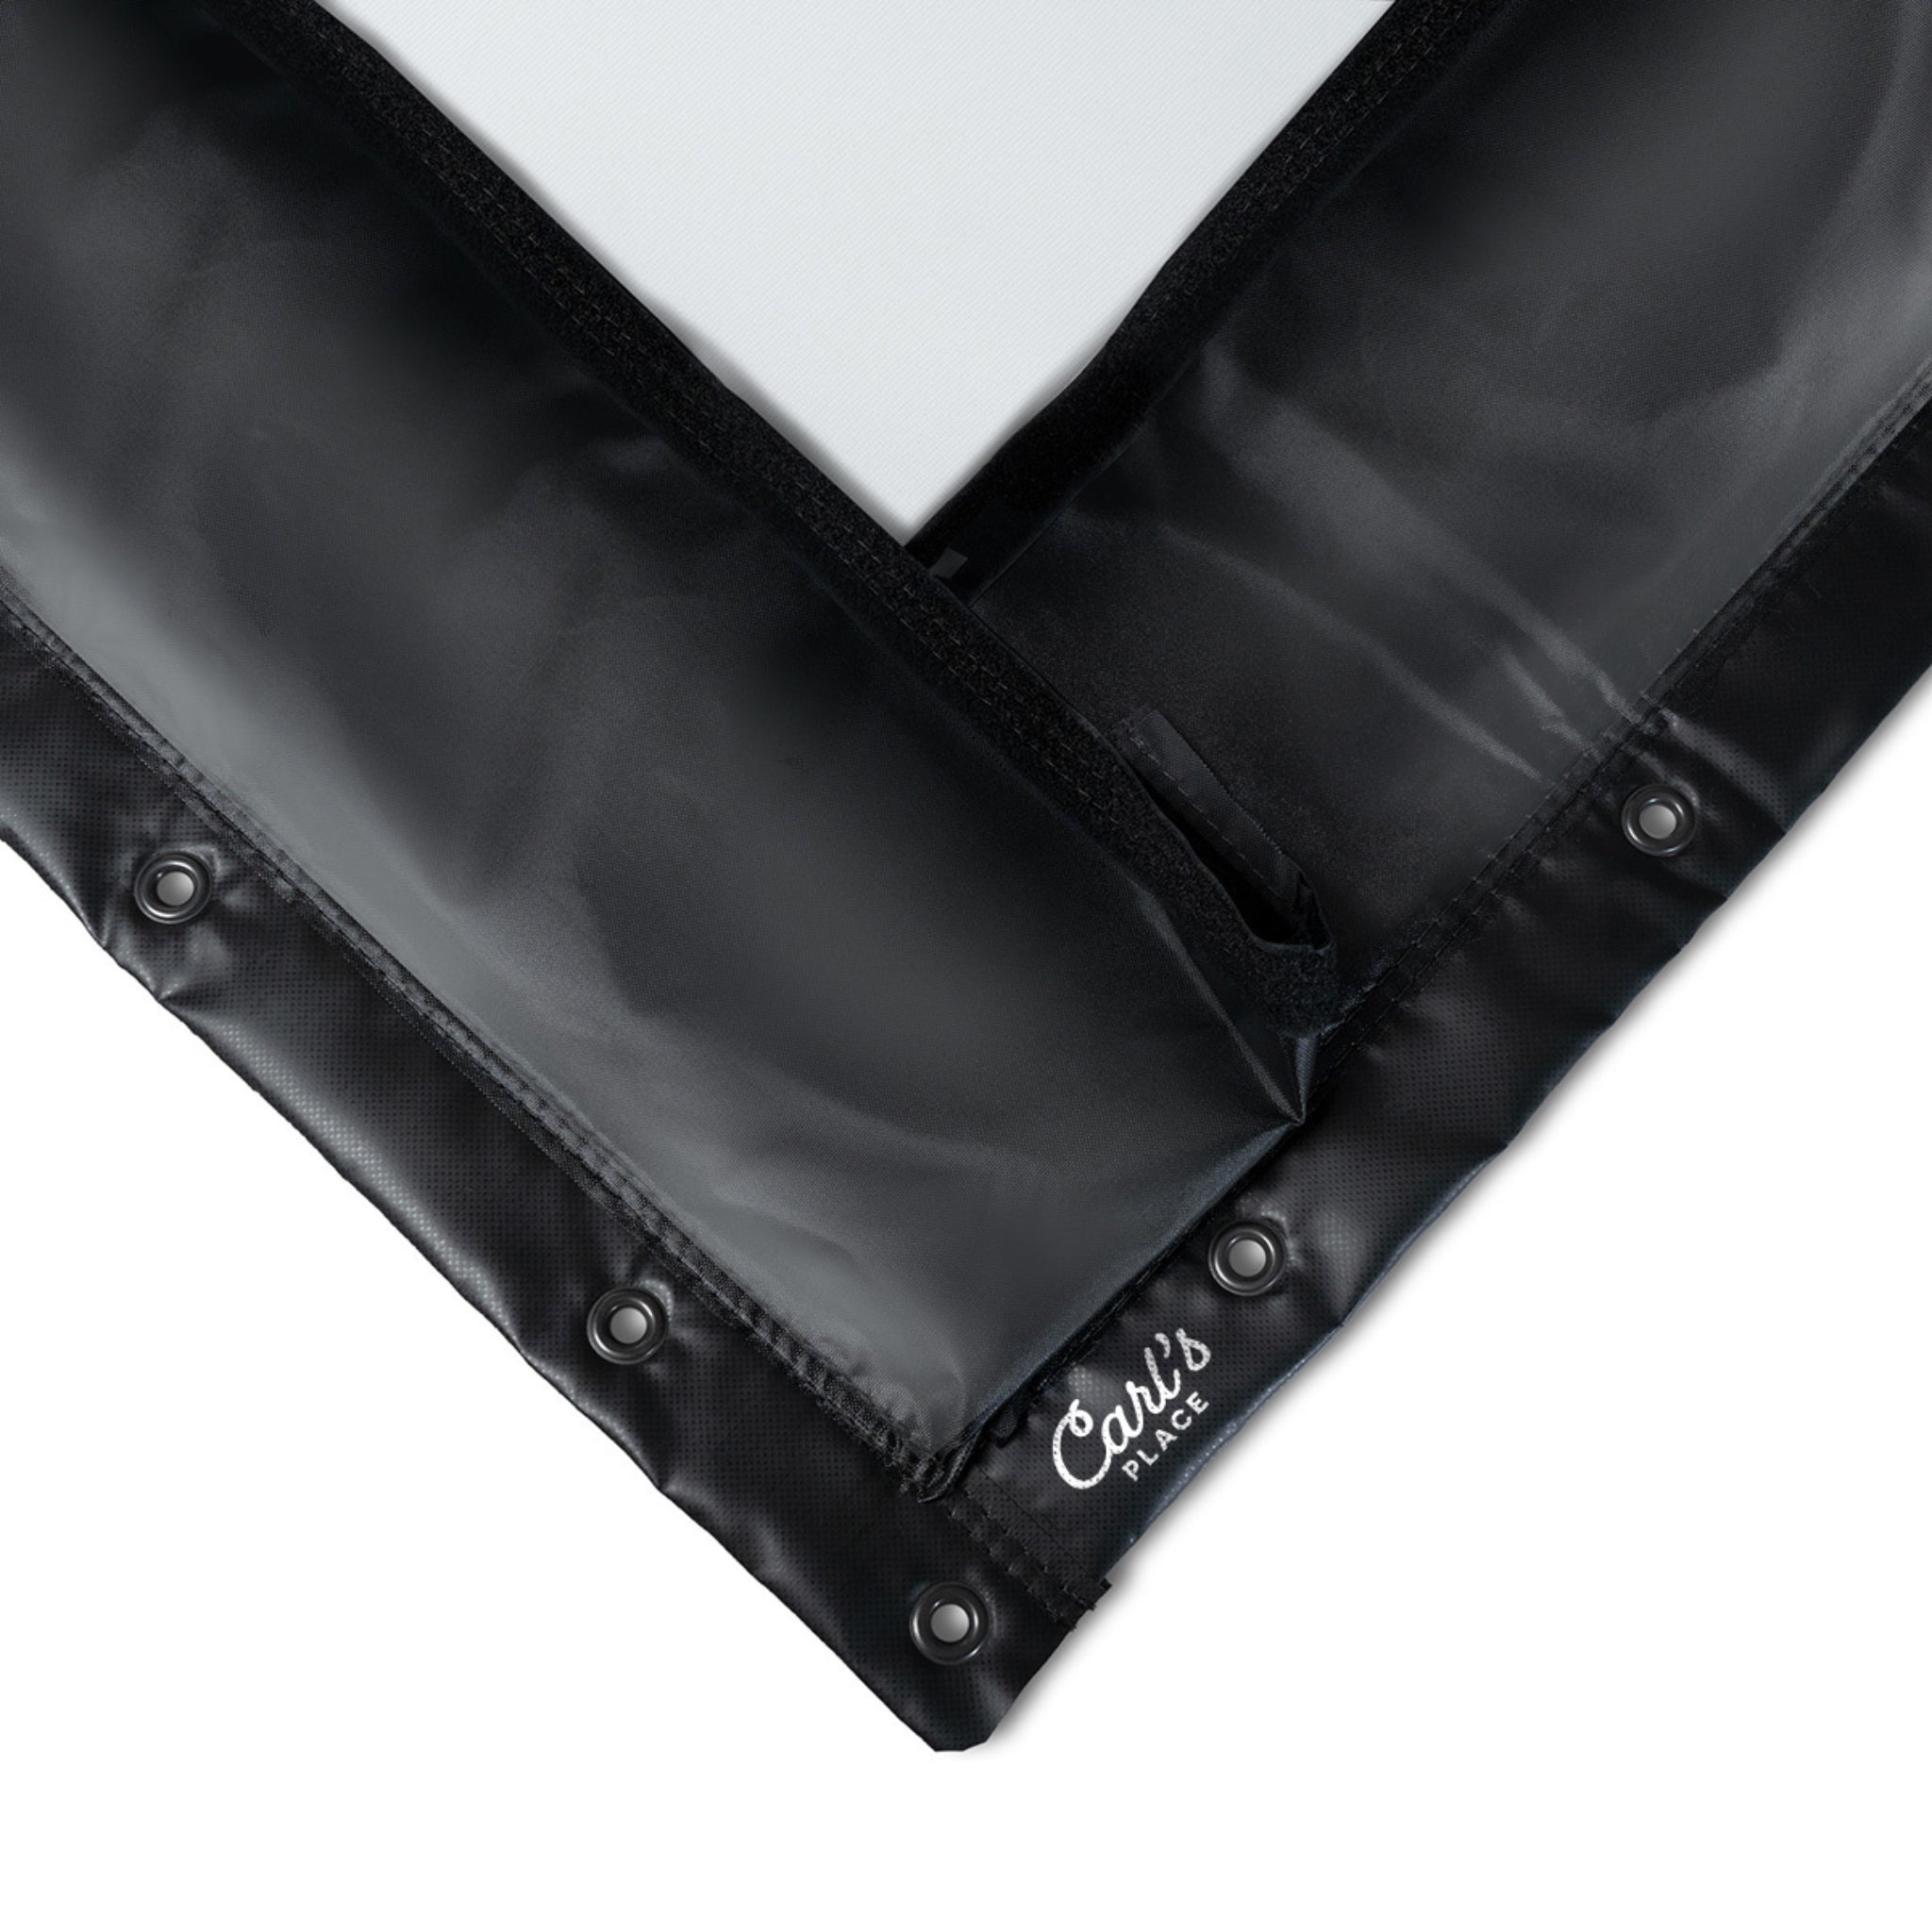
Classic With Flaps: Adds 7” nylon flaps with loop fasteners for easier enclosure integration.
- Helps hide pipes, bungees, and frame edges.
- Useful when integrating the screen into a finished enclosure.

-
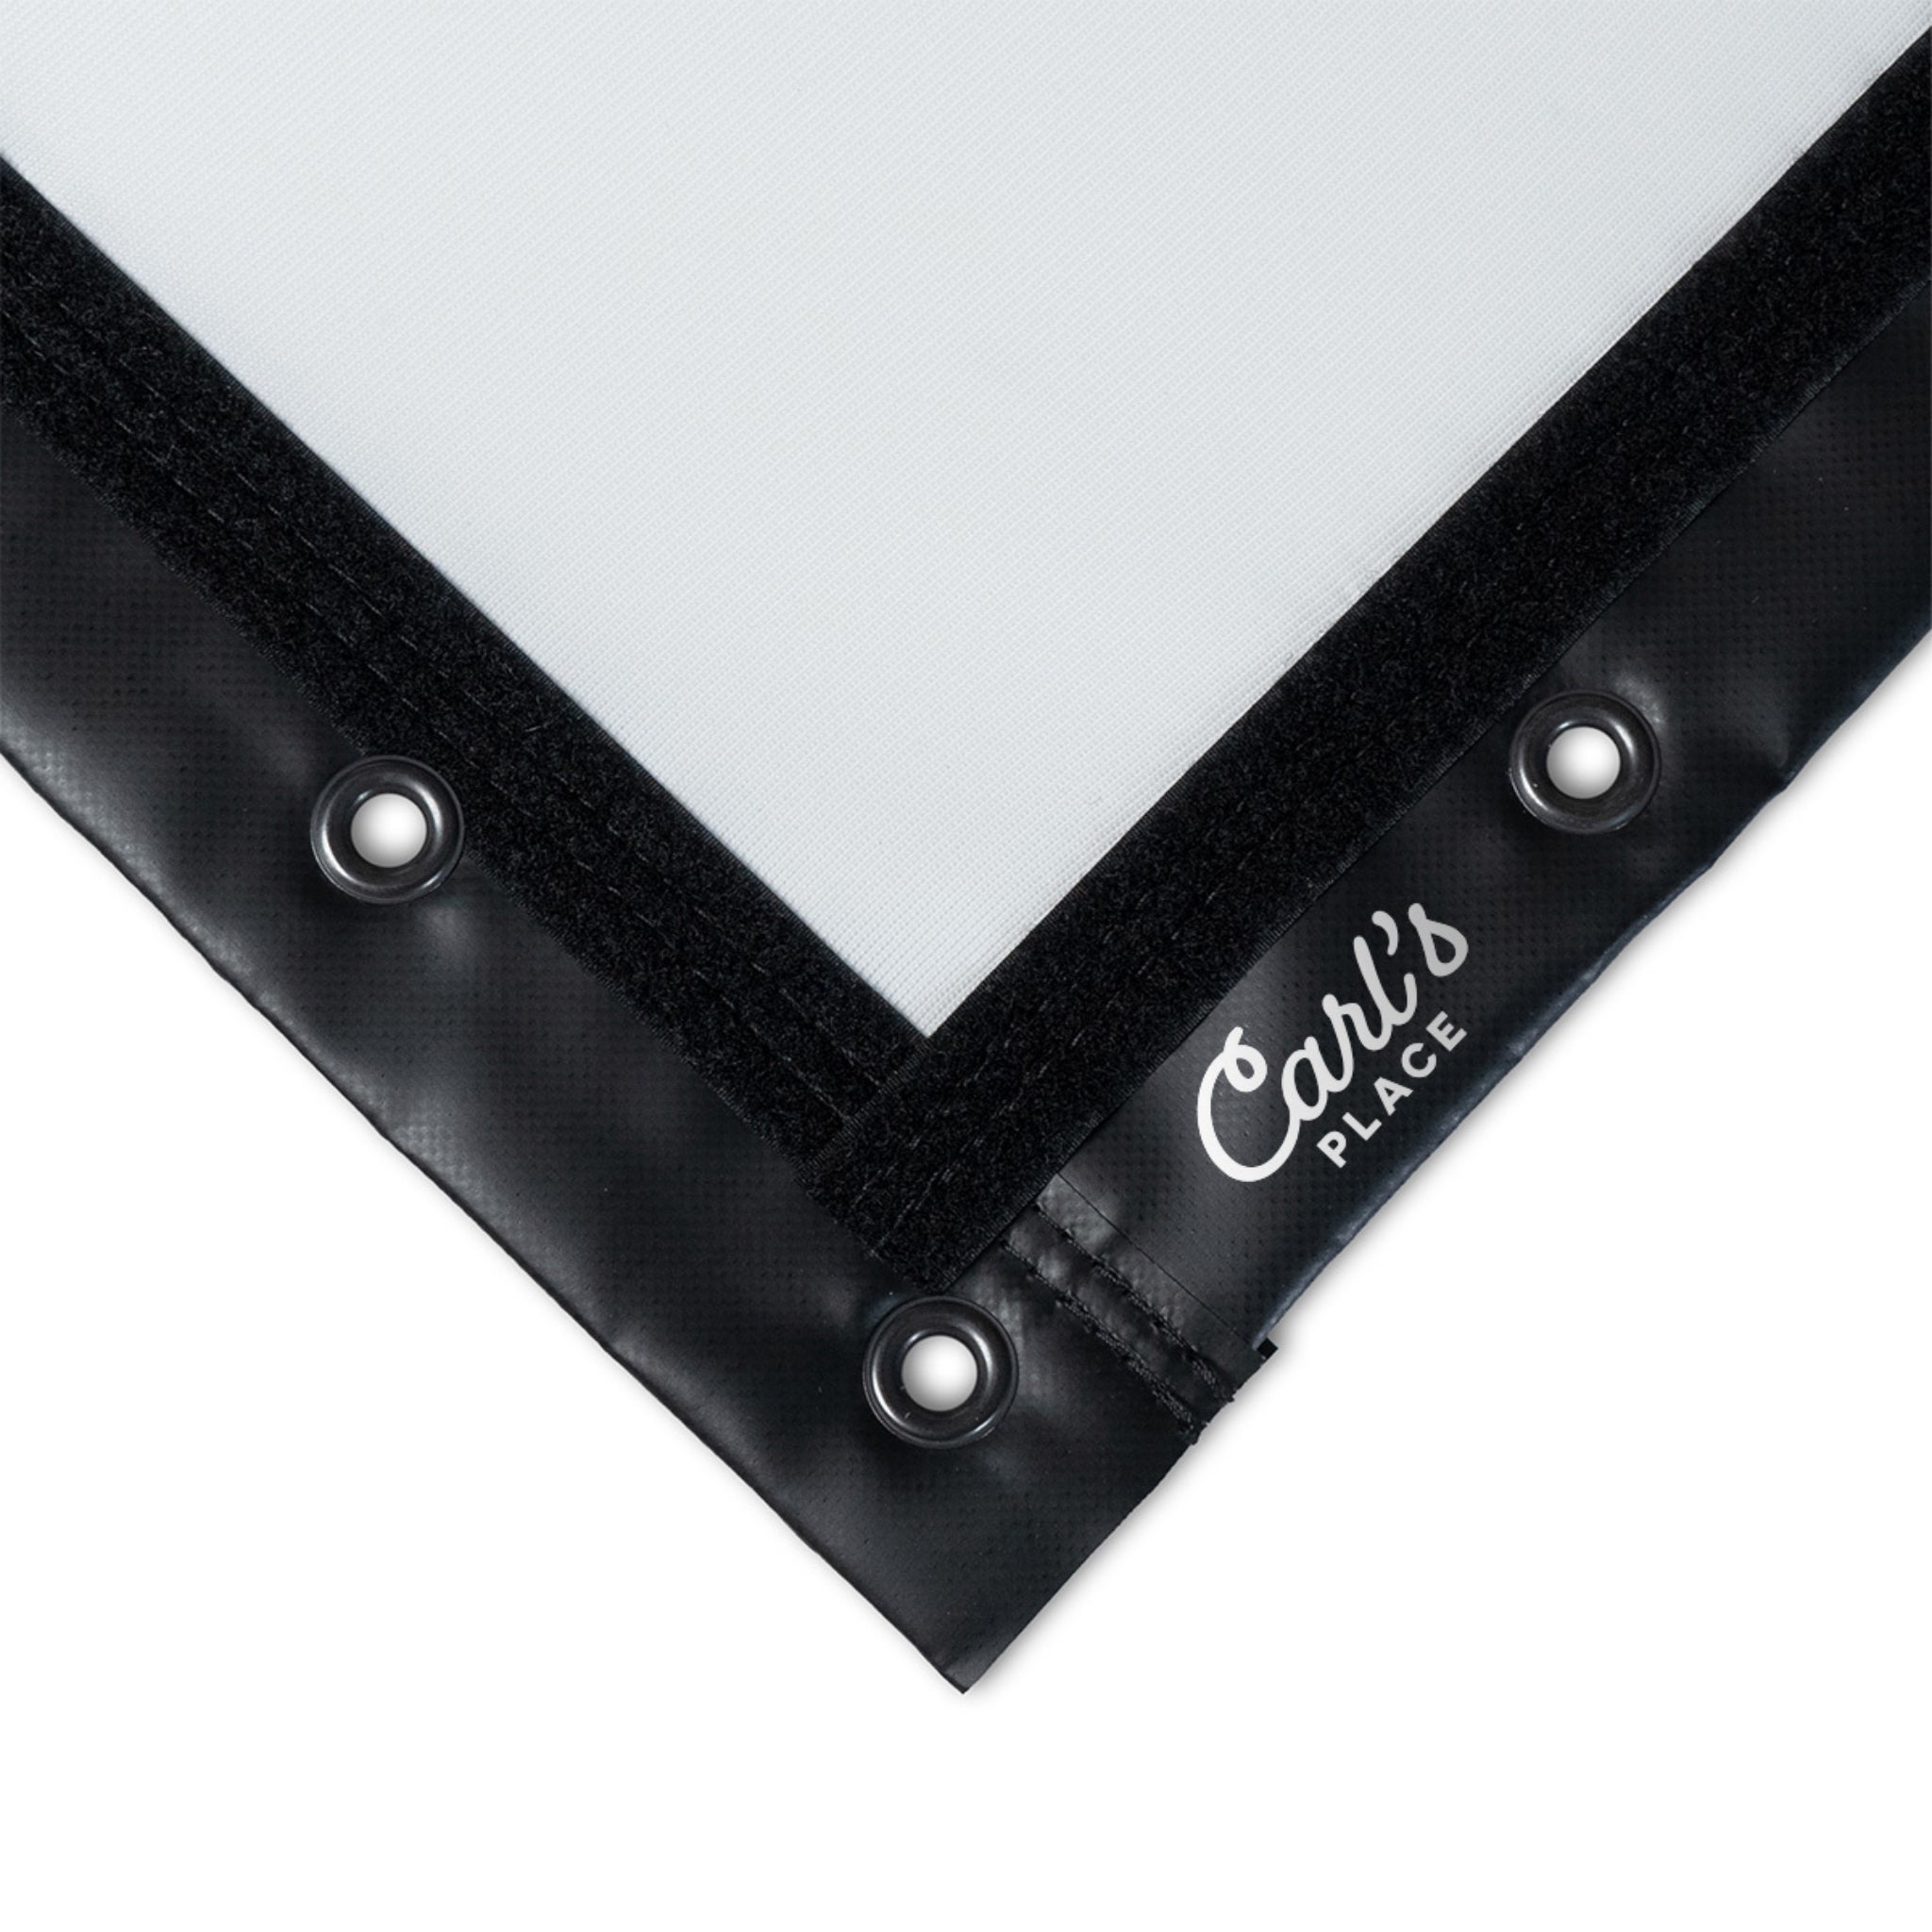
Classic With Loop Fastener: Includes 1” loop fastener strips for compatible hook-and-loop mounting setups.
- Useful for clean enclosure integration.
- Helps create a more finished look around the screen edge.

-
No Grommets / Unfinished: Minimal edge treatment for specialized custom frame setups.
- Best for custom mounting plans.
- Contact support@simulatordirect.com before ordering if you need help confirming fitment.
What's Included
| Item | Description |
|---|---|
| Carl’s Place Premium Golf Impact Screen | One made-to-order Premium impact screen in the size and finish selected at checkout. |
| Selected Edge Treatment | May include grommets, edging, flaps, or loop fasteners depending on the selected finish style. |
| Installation Guidance | Setup guidance to help support proper screen spacing, tension, and mounting. |
Not Included: Mounting hardware, enclosure, pipe framing, bungees, projector, launch monitor, hitting mat, and simulator accessories are sold separately unless specifically included with your selected configuration.

Product Specifications
| Specification | Details |
|---|---|
| Product | Carl’s Place Premium Golf Impact Screen |
| Material | Three-layer high-density impact-resistant polyester |
| Impact Rating | Up to 250 mph ball strikes |
| Available Heights | From approximately 92” up to 120”, with additional custom options available depending on configuration |
| Available Widths | Wide-format sizing available up to approximately 420” in certain aspect options |
| Recommended Frame Oversize | Add approximately 4” to width and height beyond the screen dimensions to allow for tensioning and bungees |
| Clearance Behind Screen | 12–16” of buffer space behind the screen is recommended |
| Top & Side Clearance | 2–3” of buffer at the top and sides for frame clearance |
| Lead Time | Made-to-order; manufacturing time may vary |
| Country of Origin | Made in the USA — cut, sewn, and finished at Carl’s Place facilities |
Setup & Installation Recommendations
- Always leave 12–16 inches behind the screen to prevent contact, friction, and premature wear.
- Allow a 2–3 inch buffer at the top and sides to help prevent the frame or surrounding walls from interfering with the screen.
- Use ball bungees or loop fasteners, depending on finish, to tension the screen evenly.
- Avoid over-tightening the screen, as excessive tension can increase bounce-back.
- Position your mat 10–12 feet away from the screen for safety and proper tracking.
- Use clean, scuff-free golf balls to reduce wear and prevent marks from transferring to the screen.
- Avoid placing rigid objects directly behind the screen because hard surfaces can increase wear, sound, and rebound.
- Unfold and tension the screen soon after delivery to help reduce creasing and allow fold marks to relax.
Screen Finish Video
Product Manual and User Guides
Troubleshooting Tips
Bounce-Back Control
- Adjust the screen tension using zip ties or bungees to balance firmness and rebound.
- Looser tension usually reduces bounce-back.
- Foam inserts can help soften the return if needed.
Wrinkle Removal
- Use a handheld steamer or iron on a low setting on the backside only to relax fold marks after unboxing.
- Do not apply high heat directly to the hitting surface.
- Allow the screen to fully dry before use.
Cleaning
- Wipe with a damp cloth or use a mild soap solution.
- Always dry completely to avoid water spots.
- Avoid harsh chemicals or abrasive cleaning tools.
Wear and Tear
- Over time, small scuffs or light marks are normal.
- Rotate the screen occasionally to distribute wear evenly when possible.
- Using clean golf balls can help extend the screen’s appearance and lifespan.
Frequently Asked Questions
Q. How durable is the Premium screen? Click to expand ▼
A. The Premium screen is built for repeated high-speed golf ball impacts and is rated for ball speeds up to 250 mph while maintaining surface integrity and image clarity under normal use.
Q. Which screen material should I choose? Click to expand ▼
A. The best screen material depends on your budget, usage, and desired projection quality.
- Standard: Best for first-time users or practice-focused setups.
- Preferred: Ideal for golfers seeking a balance of smoother projection and durability.
- Premium: Best for image quality, quieter impact sound, and maximum long-term performance.
Q. Can I get a custom size? Click to expand ▼
A. Yes. Carl’s Place screens are made to order within their available sizing limits. Contact us with your desired dimensions and we can help confirm the best screen size and finish for your setup.
Q. How much space should I leave behind the screen? Click to expand ▼
A. Leave 12–16 inches between the screen and any wall or hard surface behind it. This allows the screen to flex properly and helps reduce wear from impact.
Q. Can I clean my impact screen? Click to expand ▼
A. Yes. Use a soft cloth with mild detergent, then dry the screen immediately with airflow such as a fan or hairdryer on low. Avoid soaking the screen or using harsh chemicals.
Q. How long does the screen last? Click to expand ▼
A. With proper care and clean golf balls, most screens last about 3–5 years under regular play. Lifespan can vary based on frequency of use, swing speed, golf ball condition, and installation method.
Q. Are these screens returnable? Click to expand ▼
A. Because screens are custom-made and considered wearable items, they cannot be returned after use. Contact support if your screen arrives damaged or there is an issue with the order.
Q. Do I need a special projector? Click to expand ▼
A. No special projector is required. Standard and short-throw projectors can both work, although short-throw projectors are commonly preferred for golf simulator rooms because they help reduce shadows and allow better placement in tighter spaces.
Shipping, Returns & Warranty Policy
This policy explains how Simulator Direct handles shipping, freight delivery, returns, cancellations, warranty-related concerns, and replacement part requests for Carl’s Place products sold through Simulator Direct.
Important: Many Carl’s Place products are made-to-order, custom-sized, or considered wearable items due to their intended use in golf simulator environments. Please review this policy carefully before placing an order.
Shipping Policy
Simulator Direct processes and ships orders using trusted carriers to ensure reliable delivery and product protection. Orders are typically fulfilled through FedEx or UPS, with freight delivery arranged for oversized products such as full simulator enclosures, pipe framing kits, and large built-in components.
Lead Time & Processing
- Orders are generally processed within 5–7 business days, depending on product type, supplier lead times, order volume, and customization requirements.
- Made-to-order products may require additional production time.
- Estimated delivery dates are provided in good faith and may vary based on carrier schedules or supplier production timelines.
- Transit time typically ranges from 3–7 business days after shipment.
- Delivery time may vary depending on destination, carrier capacity, weather, holidays, or freight scheduling.
- Tracking details will be provided by email once your order has shipped.
Freight Deliveries & Lift Gate Service
Larger items such as pipe framing kits, built-in panels, and other oversized simulator components may ship via freight carrier. Freight shipments may arrive on pallets or in multiple heavy boxes depending on the product ordered.
- For non-residential deliveries without a loading dock, we strongly recommend selecting Lift Gate Service.
- Lift Gate Service allows the freight driver to safely lower your shipment to the ground using a hydraulic platform.
- This is especially useful for heavy enclosure frames, pre-cut pipe kits, built-in panels, or palletized shipments.
- Typical lift gate capacity accommodates loads up to approximately 1,000 lbs.
- Customers should still be prepared to move the shipment from the drop-off location once delivered.
- Lift Gate Service of $185 will be automatically included in the price for any freight deliveries shipped as Residential.
- For residential freight deliveries, lift gate service is already built into the residential freight option.
- Fees for non-residential lift gate service, where a loading dock is otherwise required, shall have a flat rate of $185 and may be offered as a product add-on option for customers who require it.
- If a business location does not have a loading dock or forklift, Lift Gate Service is strongly recommended.
Freight Handling Information for Curved Golf Simulator Enclosure Kits
Carl's Place golf simulator Pipe Framing Kits and Back Cover Pipe Kits are custom-fabricated components that ship directly from the manufacturing partner. Due to their size and weight, each kit requires special packaging and insured freight delivery. A flat Freight Handling Fee applies to cover professional packaging, carrier logistics, and safe arrival.
| Freight Item | Freight Handling Fee |
|---|---|
| Pipe Framing Kit | $700 Freight Handling Fee |
| Back Cover Pipe Kit | $700 Freight Handling Fee |
| Bundle Both | $700 Combined Freight Handling Fee |
Rates are averaged nationally to account for regional carrier costs and state taxes.
Shipping Responsibilities
- Customers are responsible for shipping costs on all orders unless otherwise stated.
- Shipping charges may vary based on product size, weight, destination, and delivery method.
- International shipments do not include customs duties, brokerage fees, import taxes, or other import-related costs.
- These charges are the responsibility of the recipient.
- International freight shipments may require a broker depending on the destination country.
- Please inspect all deliveries upon arrival to ensure all boxes and components are received in good condition.
- If any item arrives damaged or missing, contact support@simulatordirect.com as soon as possible with photos, tracking details, and your order number.
Return Policy
We want you to be satisfied with your purchase. However, due to the custom nature of many products listed for resale, certain return restrictions apply.
Return Eligibility
- Returns must be requested within 14 days of receiving your order.
- Requests submitted after the return window may not be eligible for approval.
- All items must be unused, in original packaging, and in resalable condition.
- Items that show signs of use, installation, damage, wear, or missing packaging may be refused or subject to additional fees.
- Return shipping costs are the responsibility of the customer.
- Original shipping costs are generally non-refundable unless the return is due to an approved shipping or fulfillment error.
- High-value orders are processed shortly after purchase.
- Cancellations must be requested promptly to avoid production, processing, cancellation, or restocking fees.
Restocking Fees & Non-Returnable Items
- Products with custom sizing or configurations may incur a restocking fee of up to 30%.
- This may apply to custom impact screens, custom enclosures, and made-to-order products.
- Items incorporating special finishes, unique finishing styles, or non-standard dimensions may not be eligible for return.
- Because these items are made specifically for the customer, they may not be resalable once produced.
- Wearable items, such as golf impact screens, are non-returnable once used.
- Natural wear may occur immediately after golf ball impact use.
- Visible marks, scuffs, or wear from normal use are not considered returnable defects.
- Partial kit returns are not accepted.
- All components must be returned together in the original packaging and condition.
Return Process
- Contact support@simulatordirect.com to initiate your return request.
- Please include your order number and the reason for the return.
- Include photos if applicable.
- Photos may be required for damaged items, shipping concerns, incorrect items, or product condition review.
- Once approved, you will receive return authorization and shipping instructions.
- Do not ship items back without return authorization.
- Refunds are issued to the original payment method within 7–10 business days of receiving and inspecting the return.
- Refund timing may vary depending on your bank, credit card provider, or payment processor.
Order Changes & Cancellations
If you need to change or cancel your order, please contact support@simulatordirect.com as soon as possible.
- Orders with custom dimensions are subject to a 30% cancellation fee if changed after 24 hours.
- Custom products may enter production shortly after order placement.
- Orders that include manufacturer-direct products may incur a 5% cancellation fee.
- This may apply when the supplier has already begun processing, preparing, or fulfilling the order.
- Cancellations are not guaranteed after shipment.
- If the order has already shipped, it will follow the standard return policy if eligible.
Warranty & Replacements
Carl's Place products are designed for long-term use but are considered wearable items due to their nature and purpose. Therefore, they are not covered under a traditional manufacturer warranty. Some visible wear may occur after the first use and is considered normal.
If you experience damage upon arrival or have performance concerns, please contact our support team with photos and your order number for assistance.
Replacement Parts
- Most components, including enclosure panels and screens, can be replaced individually.
- Replacement availability may vary depending on product type, age, model, and supplier availability.
- To request a replacement part, email support@simulatordirect.com with your order details and the specific item required.
- Please include photos if the replacement request is related to damage, fitment, or performance concerns.

Newsletter
Exclusive Updates. Delivered Before Anyone Else.