Skip to content

Limited-Time Offer: Get 20% Off The SportScreen Products - Sale ends 12/5.

Cart

Your cart is empty

Carl's Place Preferred Golf Impact Screens

Sale price$384.95

Finishing Style:
Size:

Fast, Secure Shipping

Orders are processed promptly and shipped directly from trusted suppliers for safe, reliable delivery.

Lowest Price Guarantee

Found a better price? We’ll match it — Guaranteed.

Simulator Expertise

Talk to a Real Expert
(714) 202-9416
Mon–Sat 8AM–5PM PST

Description

Carl's Place Preferred Golf Impact Screen


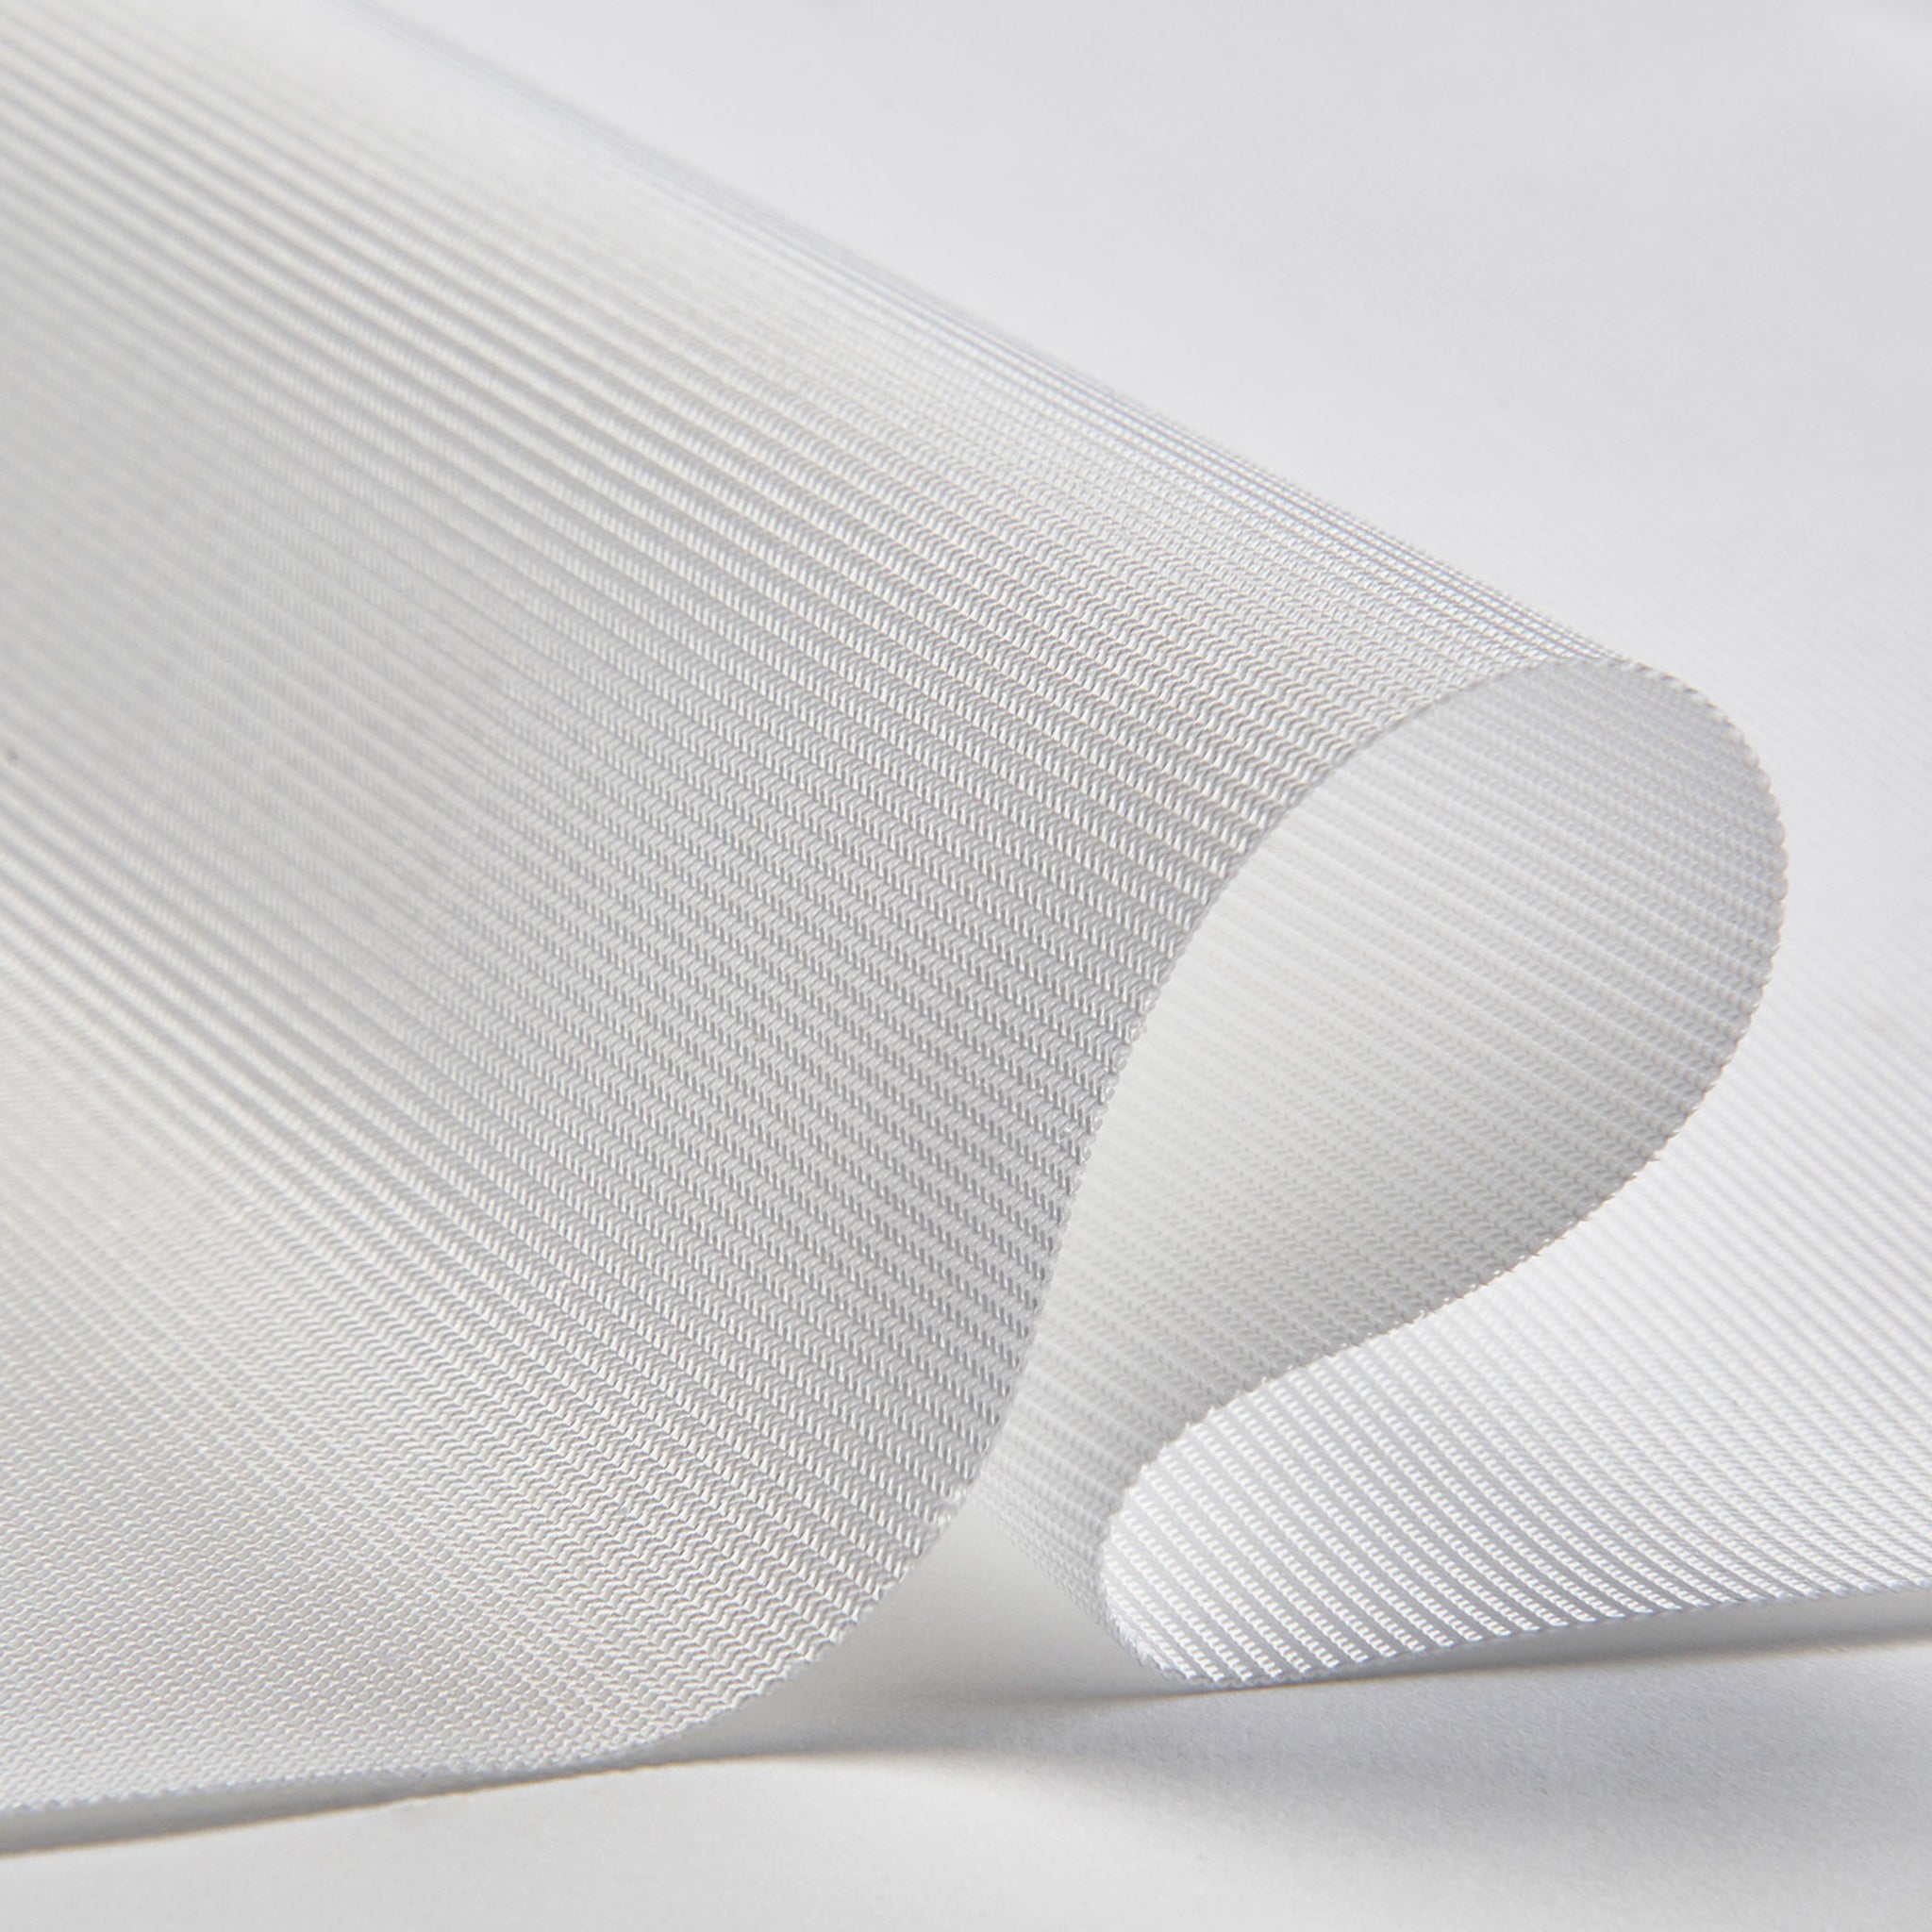
Elevate your simulator setup with the Carl's Place Preferred Golf Impact Screen — A perfect balance of image clarity, impact resilience, and value. Built from tight-knit, reinforced polyester, this screen is designed for both home and light commercial use. It delivers sharper visuals without compromising strength, withstanding golf ball speeds up to 250 mph. 


Tailored for serious golfers who want pro-level visuals without going full premium, the Preferred model gives you: smoother texture, reinforced durability, and a clean, high-definition projection surface.


Product Features

Product Features:


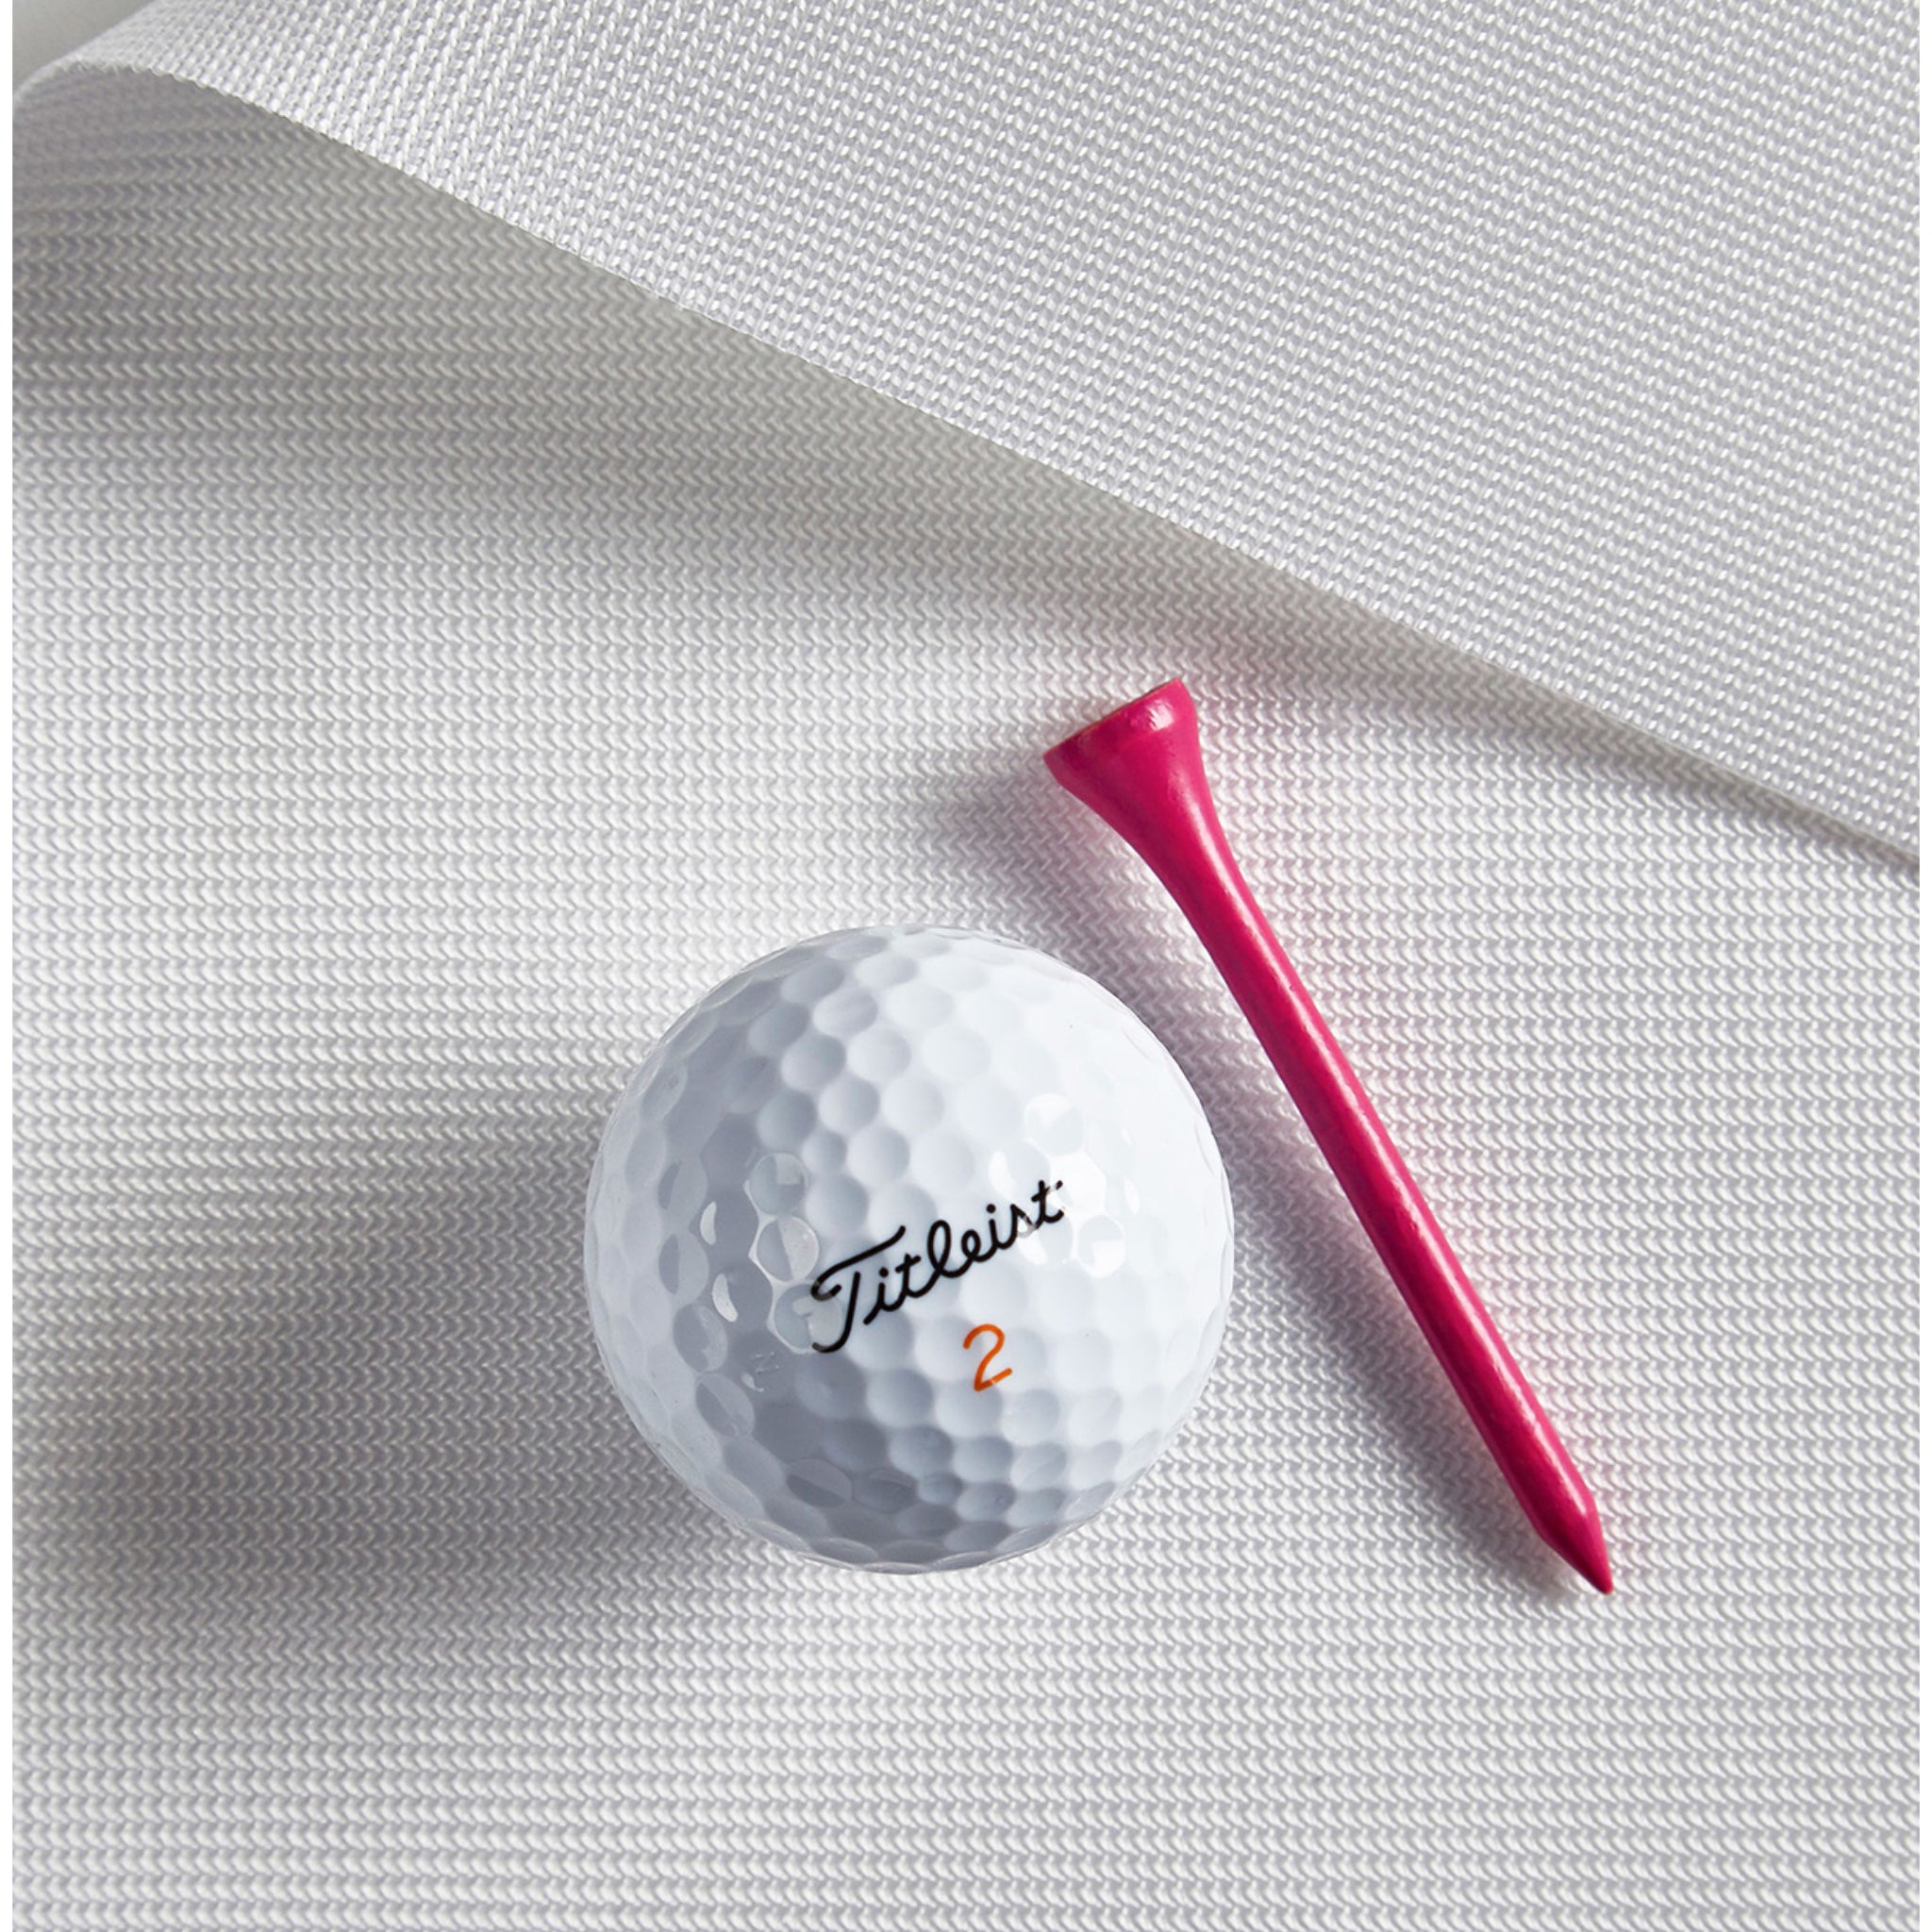
  • Tightly Woven Construction: Reinforced polyester with silicone support gives a smoother surface for sharper, cleaner images. 

  • Impact-Resilient: Rated to handle real golf ball impacts of up to 250 mph.
     

  • Three Material Options:


    • Standard  – Best for beginners; durable and cost-effective for casual play.


    • Preferred (This Option) – Perfect for both home and light commercial use; offers smoother texture and clearer HD projection.


    • Premium – Professional-grade, triple-layer knit fabric designed for heavy daily use, reduced noise, and the best picture quality available.


  • Custom-Made Fit – Each screen is sewn to order in-house for precision sizing and a clean, professional finish.
     

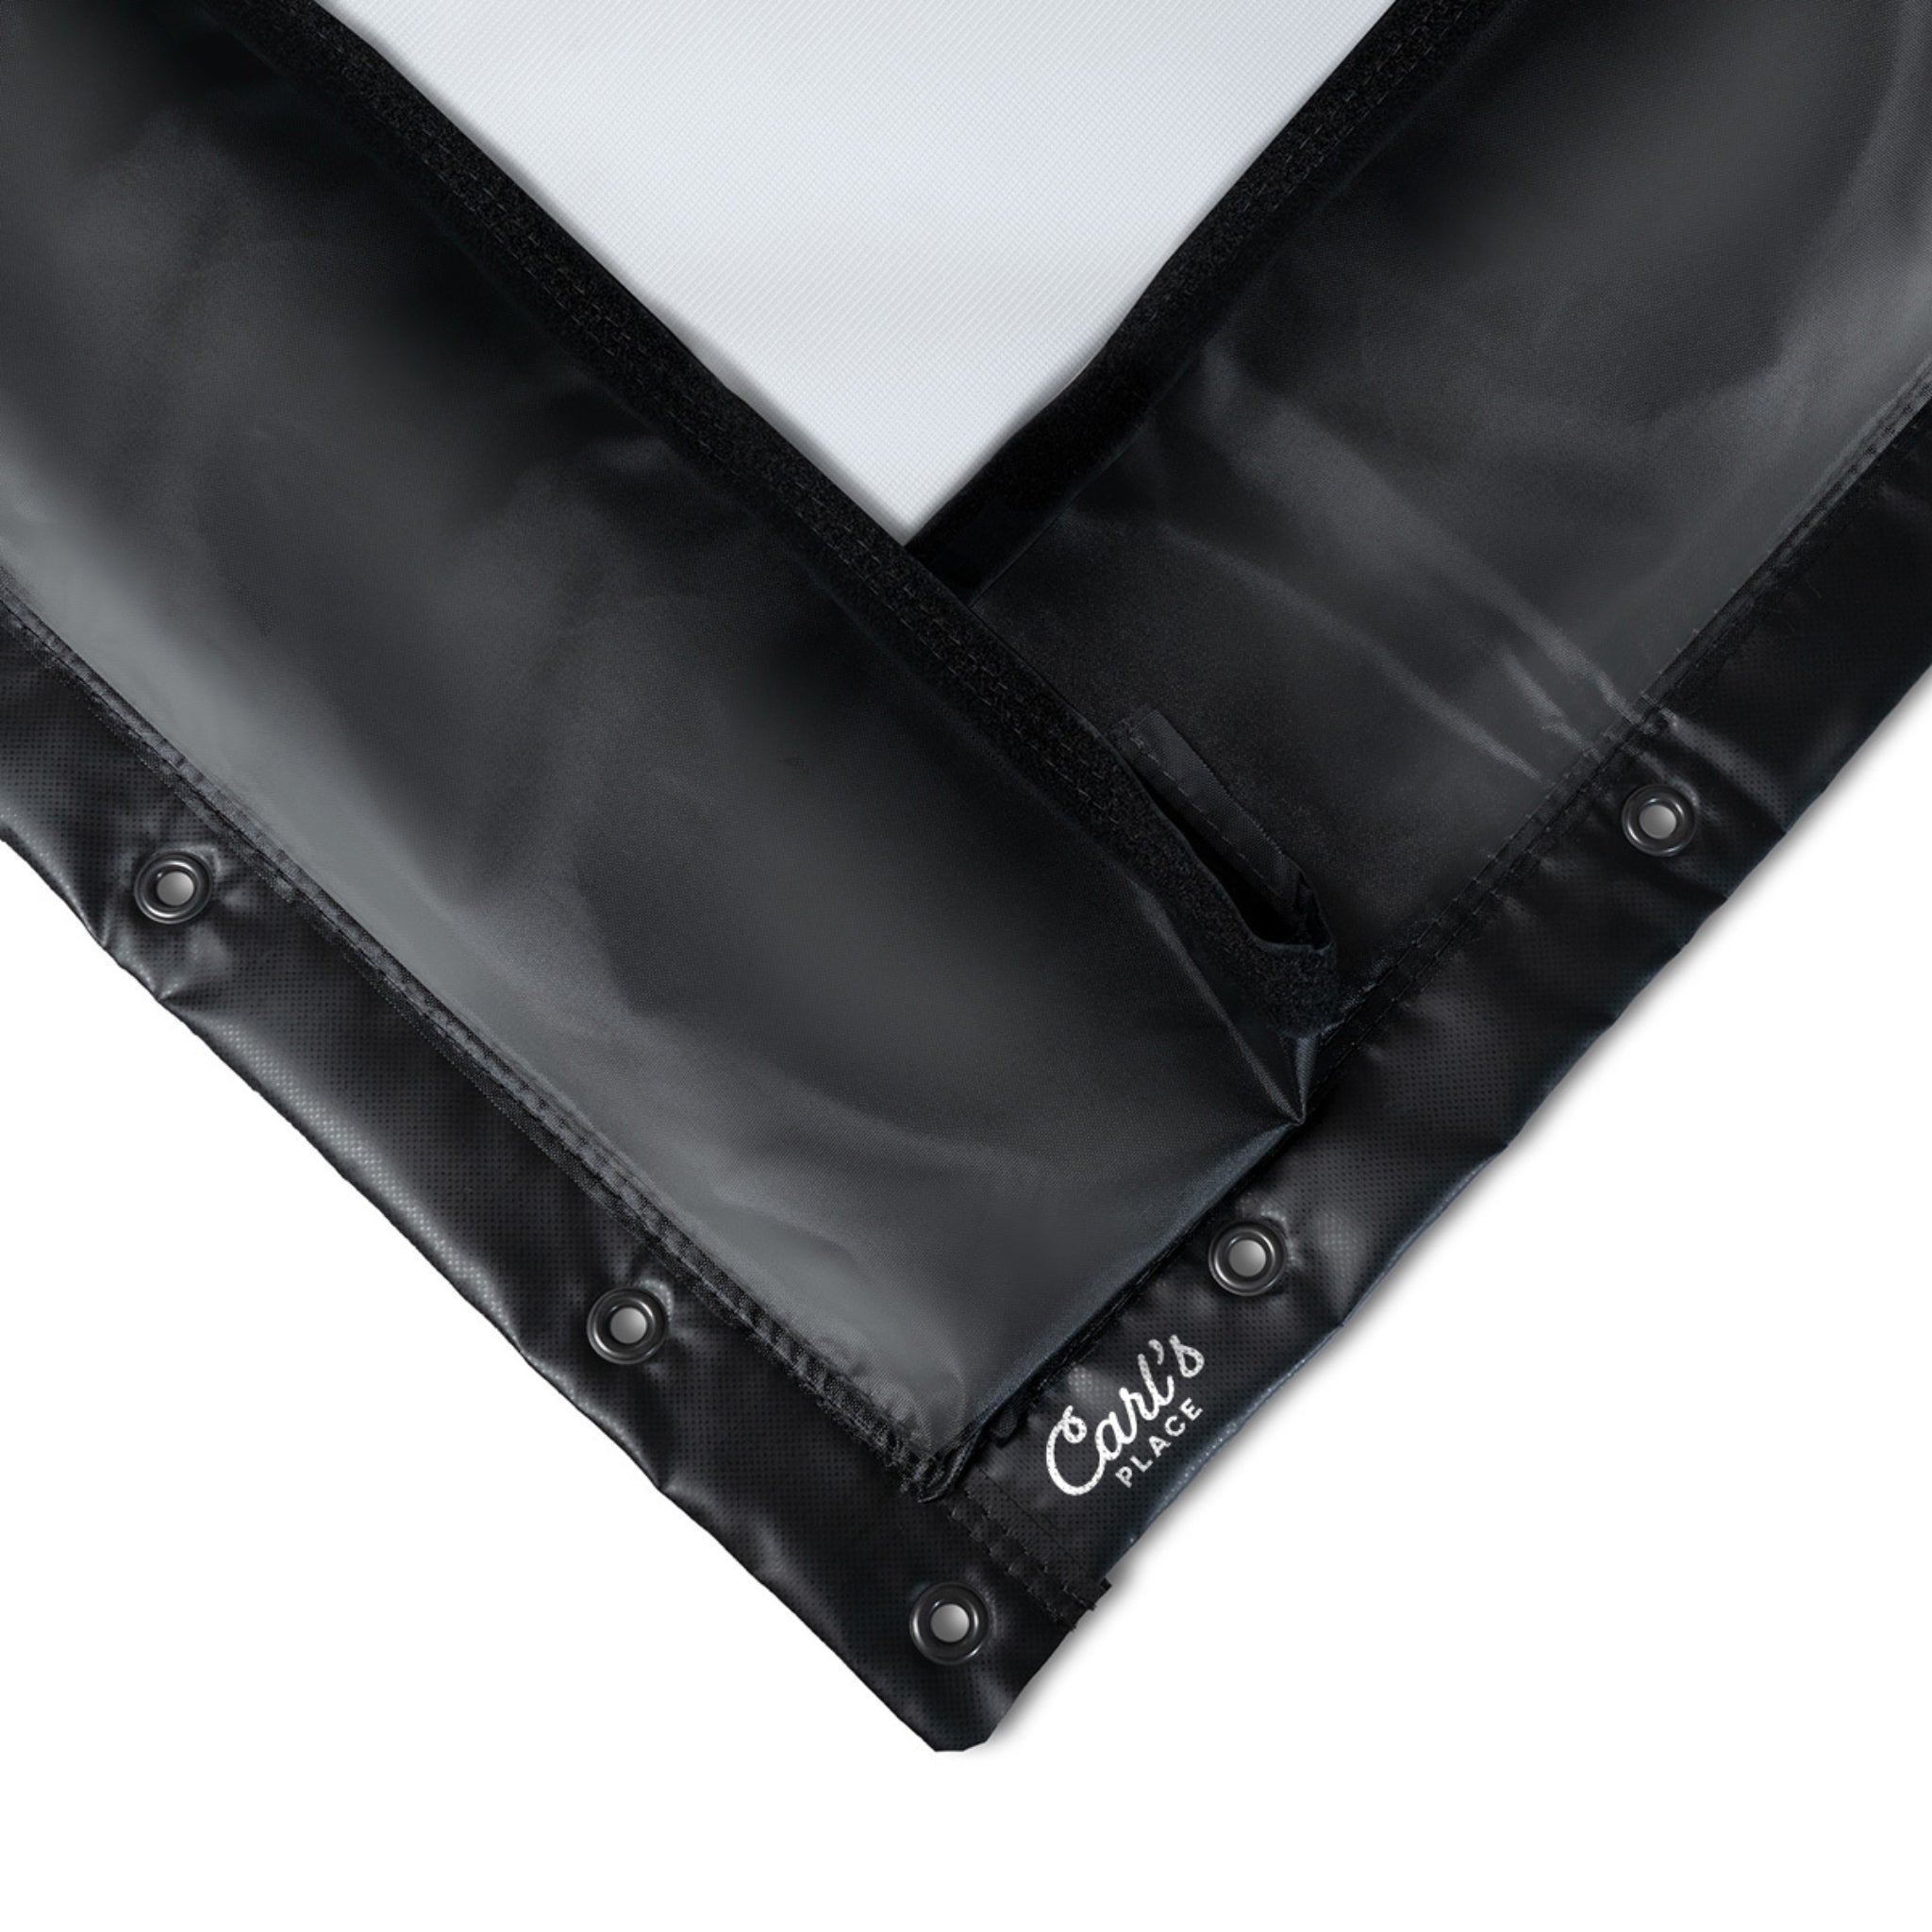
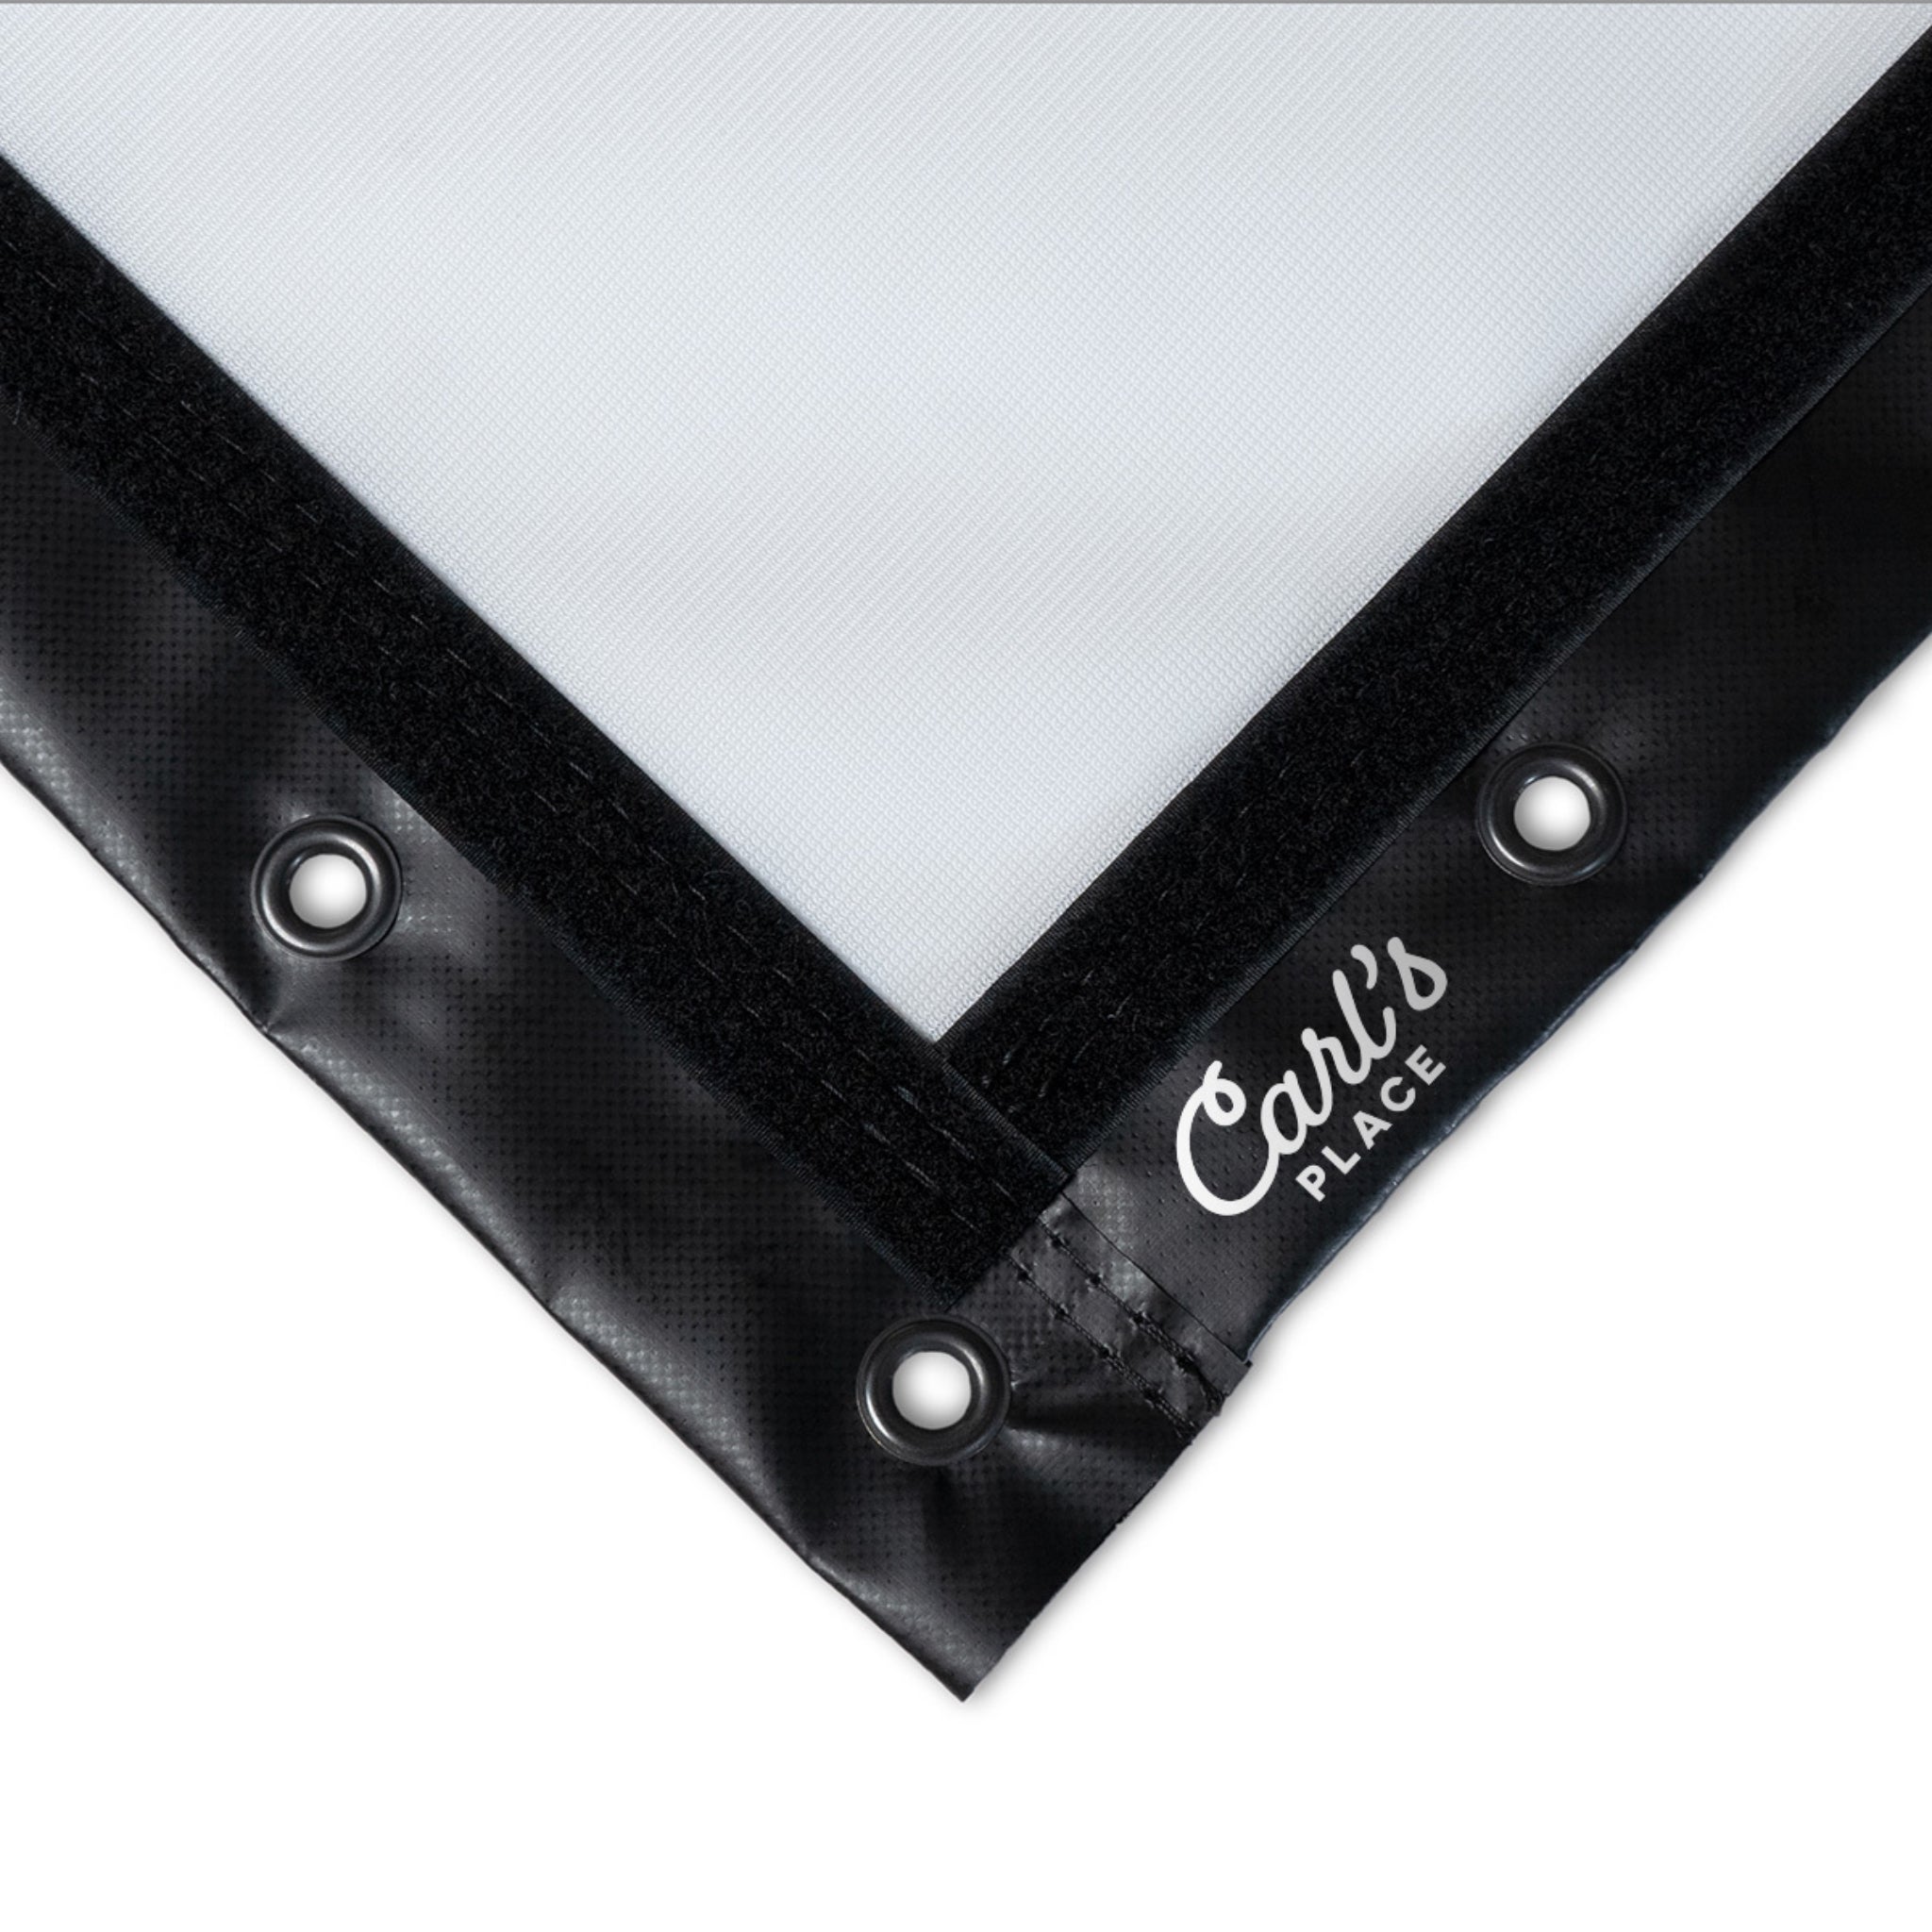
  • Edge Reinforcements: Strong vinyl edging and sewn grommets (or loop-fastener options) make mounting easier and secure.

  • Handcrafted Quality – Every screen is produced by skilled technicians to ensure tight stitching, perfect alignment, and long-term reliability.

  • Multiple Finishing Styles:


    • Classic Finish: 2.5” black vinyl edges with grommets all around.


    • Classic With Flaps: Adds 7” nylon flaps with loop fasteners for easy attachment to enclosures.


    • Classic With Loop Fastener: 1” loop fastener strips for mounting accessories or add-ons.


    • No Grommets / Unfinished: Minimal edge treatments for users building fully custom frames. Contact support@simulatordirect.com for details.


  • Versatile for Any Build – Works with 1” EMT or 2” EMT conduit frames, DIY enclosures, or custom mounting systems.

  • Cleaner Projection: The smoother weave reduces grain and hotspots for better image consistency.


What's Included

What's Included:


  • 1x Carl’s Place Preferred Golf Impact Screen (with your chosen finish style)

  • Grommets and edging (if applicable based on finish style)

  • Detailed installation guide

  • Optional accessories: Bungees (available separately)


Product Specifications

Product Specifications:


  • Material: 100% heavy-duty polyester with silicone reinforcement 

  • Impact Rating: Up to 250 mph ball strikes 

  • Finishing Options: Classic, Classic + Flaps, Classic + Loop Fastener 

  • Recommended Frame Margin: Add ~4” height & 4” width to screen
    dimensions for proper tensioning 

  • Clearance Guidelines: Leave 12–16” behind the screen and 2–3” top/side buffer for proper installation (for full stretch) 

  • Manufacturing Lead Time: This item is made-to-order; production time may vary based on volume
     

  • Assembly Time: 1–2 hours for most DIY setups

  • Made in the USA – Cut, sewn, and finished at Carl’s Place facilities


Getting Started Guide

Getting Started Guide:

Step 1: Measure Your Space

Measure the width, height, and depth of your simulator area. Be sure to account for at least 12–16 inches of clearance behind the screen and 2–3 inches on the sides and top.


Step 2: Choose Your Screen Size

Select a standard size that fits your space, or request a custom-sized screen for a precise fit.


Step 3: Pick Your Finish Style

Choose from Classic, Classic with Flaps, or Classic with Loop Fasteners based on your mounting needs and aesthetic preference.


Step 4: Prepare the Frame

Use 1” or 2” EMT conduit to build your frame. Make it approximately 4 inches wider and taller than your screen for proper bungee tension.


Step 5: Mount the Screen

Attach your impact screen using ball bungees or loop fasteners (depending on finish style). Start from the center and work outward for even tension.


Step 6: Adjust the Fit

Ensure the screen surface is smooth and wrinkle-free. Adjust bungee tension as needed to balance firmness and bounce-back.


Step 7: Set Up Your Projector and Launch Monitor

Position your projector according to its throw ratio, and align the image on the screen. For best results, use short-throw projectors and adjust brightness to match your lighting conditions.


Step 8: Test and Fine-Tune

Take a few test shots. Check for image alignment, bounce-back comfort, and sound levels. Make small adjustments until the setup feels perfect.


Step 9: Enjoy Your Simulator

You’re ready to play! Step onto your hitting mat, launch your favorite sim software, and experience realistic, high-definition golf simulation in your own space.


Product Installation Guide

Setup & Installation Recommendations:


  • Keep 12–16” of free space behind the screen so there’s no interference with mounting, airflow, or back-surface pressure.

  • Leave 2–3” clearance around top and sides to protect edges from rubbing against frames or walls.

  • Use 6” or 9” ball bungees (depending on frame geometry) to evenly tension the screen.

  • Aim to place your hitting mat 10–12 ft in front of the screen for safe, clear shots.

  • Use clean, scuff-free golf balls to avoid premature wear on the surface.

  • Store and handle the screen carefully — Do not drag across rough surfaces.


Screen Finish Video:


Product Manual and User Guides:


Troubleshooting Tips:


Bounce-Back Control:

Adjust the screen tension using zip ties or bungees to balance firmness and rebound. Add foam inserts if needed to reduce ricochet.


Wrinkle Removal:

Use a handheld steamer or iron on a low setting (backside only) to relax fold marks after unboxing.


Cleaning:

Wipe with a damp cloth or use a mild soap solution. Always dry completely to avoid water spots.


Wear and Tear:

Over time, small scuffs or light marks are normal. Rotate the screen occasionally to distribute wear evenly.


FAQ's

Frequently Asked Questions:

Q: How durable is the Preferred screen?

It’s built to take high-speed strikes (up to 250 mph) while maintaining surface integrity and image clarity.

Q: Which screen material should I choose?

  • Standard: Best for first-time users or practice-only setups.

  • Preferred: Ideal for golfers seeking a balance of smooth projection and durability.

  • Premium: Best-in-class image quality, quiet impact sound, and maximum lifespan.

Q: Can I get a custom size?

Yes. Carl’s builds to order within their standard limits — contact us with your dimensions and we’ll work with Carl’s to produce your custom screen.

Q: How much space should I leave behind the screen?

Leave 12–16 inches between the screen and any wall or surface behind it for safety and screen longevity.


Q: Can I clean my impact screen?

Yes. Use a soft cloth with mild detergent and dry immediately with a fan or hairdryer on low. Avoid soaking or leaving moisture on the surface.


Q: How long does the screen last?

With proper care and use of clean golf balls, most screens last 3–5 years under regular play.


Q: Are these screens returnable?

Because screens are custom-made and considered a wearable item, they cannot be returned after use. Contact support if your screen arrives damaged.


Q: Do I need a special projector?

No special projector is required. Standard or short-throw models work best for clear, full-width coverage.


Shipping/Returns & Warranty Policy

Shipping/Returns & Warranty Policy:


Shipping Policy


Simulator Direct processes and ships orders using trusted carriers to ensure reliable delivery and product protection. Orders are typically fulfilled through FedEx or UPS, with freight delivery arranged for oversized products such as full simulator enclosures and pipe framing kits.


Lead Time & Processing:

Orders are generally processed within 5–7 business days, depending on the product type and order volume. Transit time varies between 3–7 business days after shipment. Tracking details will be provided via email once your order is dispatched.


Freight Deliveries & Lift Gate Service:

Larger items such as pipe framing kits and built-in panels are shipped via freight carriers. For residential or business deliveries without a loading dock, we strongly recommend selecting Lift Gate Service. This service allows the freight driver to safely lower your shipment to the ground using a hydraulic platform.


  • Typical lift gate capacity accommodates loads up to 1,000 lbs.

  • This service is especially useful for orders that include pre-cut pipe kits or heavier enclosure frames that arrive on pallets.

  • Fees for lift gate service vary based on carrier and location; please contact us for a quote if needed.


Shipping Responsibilities:


  • Customers are responsible for shipping costs on all orders unless otherwise stated.

  • International shipments do not include customs duties, brokerage, or import fees. These must be paid by the recipient.

  • Please inspect all deliveries upon arrival to ensure all boxes and components are received in good condition.


Return Policy

We want you to be satisfied with your purchase. However, due to the custom nature of many of our products listed for resale, certain restrictions apply.


Eligibility:


  • Returns must be requested within 14 days of receiving your order.

  • All items must be unused, in original packaging, and in resalable condition.

  • Return shipping costs are the responsibility of the customer.


Restocking Fees & Non-Returnable Items:


  • Products with custom sizing or configurations may incur a restocking fee of up to 30%.

  • Items incorporating special finishes or non-standard dimensions may not be eligible for return.

  • Wearable items, such as golf impact screens, are non-returnable once used, as natural wear occurs immediately after impact use.

  • Partial kit returns are not accepted; all components must be returned together.


Return Process:


  1. Contact support@simulatordirect.com to initiate your return request.

  2. Include your order number and photos (if applicable).

  3. Once approved, you will receive a return authorization and shipping instructions.

  4. Refunds are issued to the original payment method within 7–10 business days of receiving and inspecting the return.


Order Changes & Cancellations


If you need to change or cancel your order, please contact support@simulatordirect.com as soon as possible.


  • Orders with custom dimensions are subject to a 30% cancellation fee if changed after 24 hours.

  • Orders that include manufacturer-direct products may incur a 5% cancellation fee.

  • Cancellations are not guaranteed after shipment and will follow the standard return policy if fulfilled.


Warranty & Replacements


Carl's Place products are designed for long-term use but are considered wearable items due to their nature and purpose. Therefore, they are not covered under a traditional manufacturer warranty. Some visible wear may occur after the first use and is considered normal.


If you experience damage upon arrival or have performance concerns, please contact our support team with photos and your order number for assistance.


Replacement Parts:

Most components, including enclosure panels and screens, can be replaced individually. To request a replacement part, email support@simulatordirect.com with your order details and the specific item required.