
Carl's Place Pipes for DIY Enclosure Kit
Got Questions?
Email: support@simulatordirect.com
Phone: (714) 202-9416
Choose options
- Description
- Product Features
- What's Included
- Product Specifications
- Product Installation Guide
- FAQ's
- Shipping/Returns & Warranty Policy
Carl’s Place Pipes for DIY Enclosure Kit
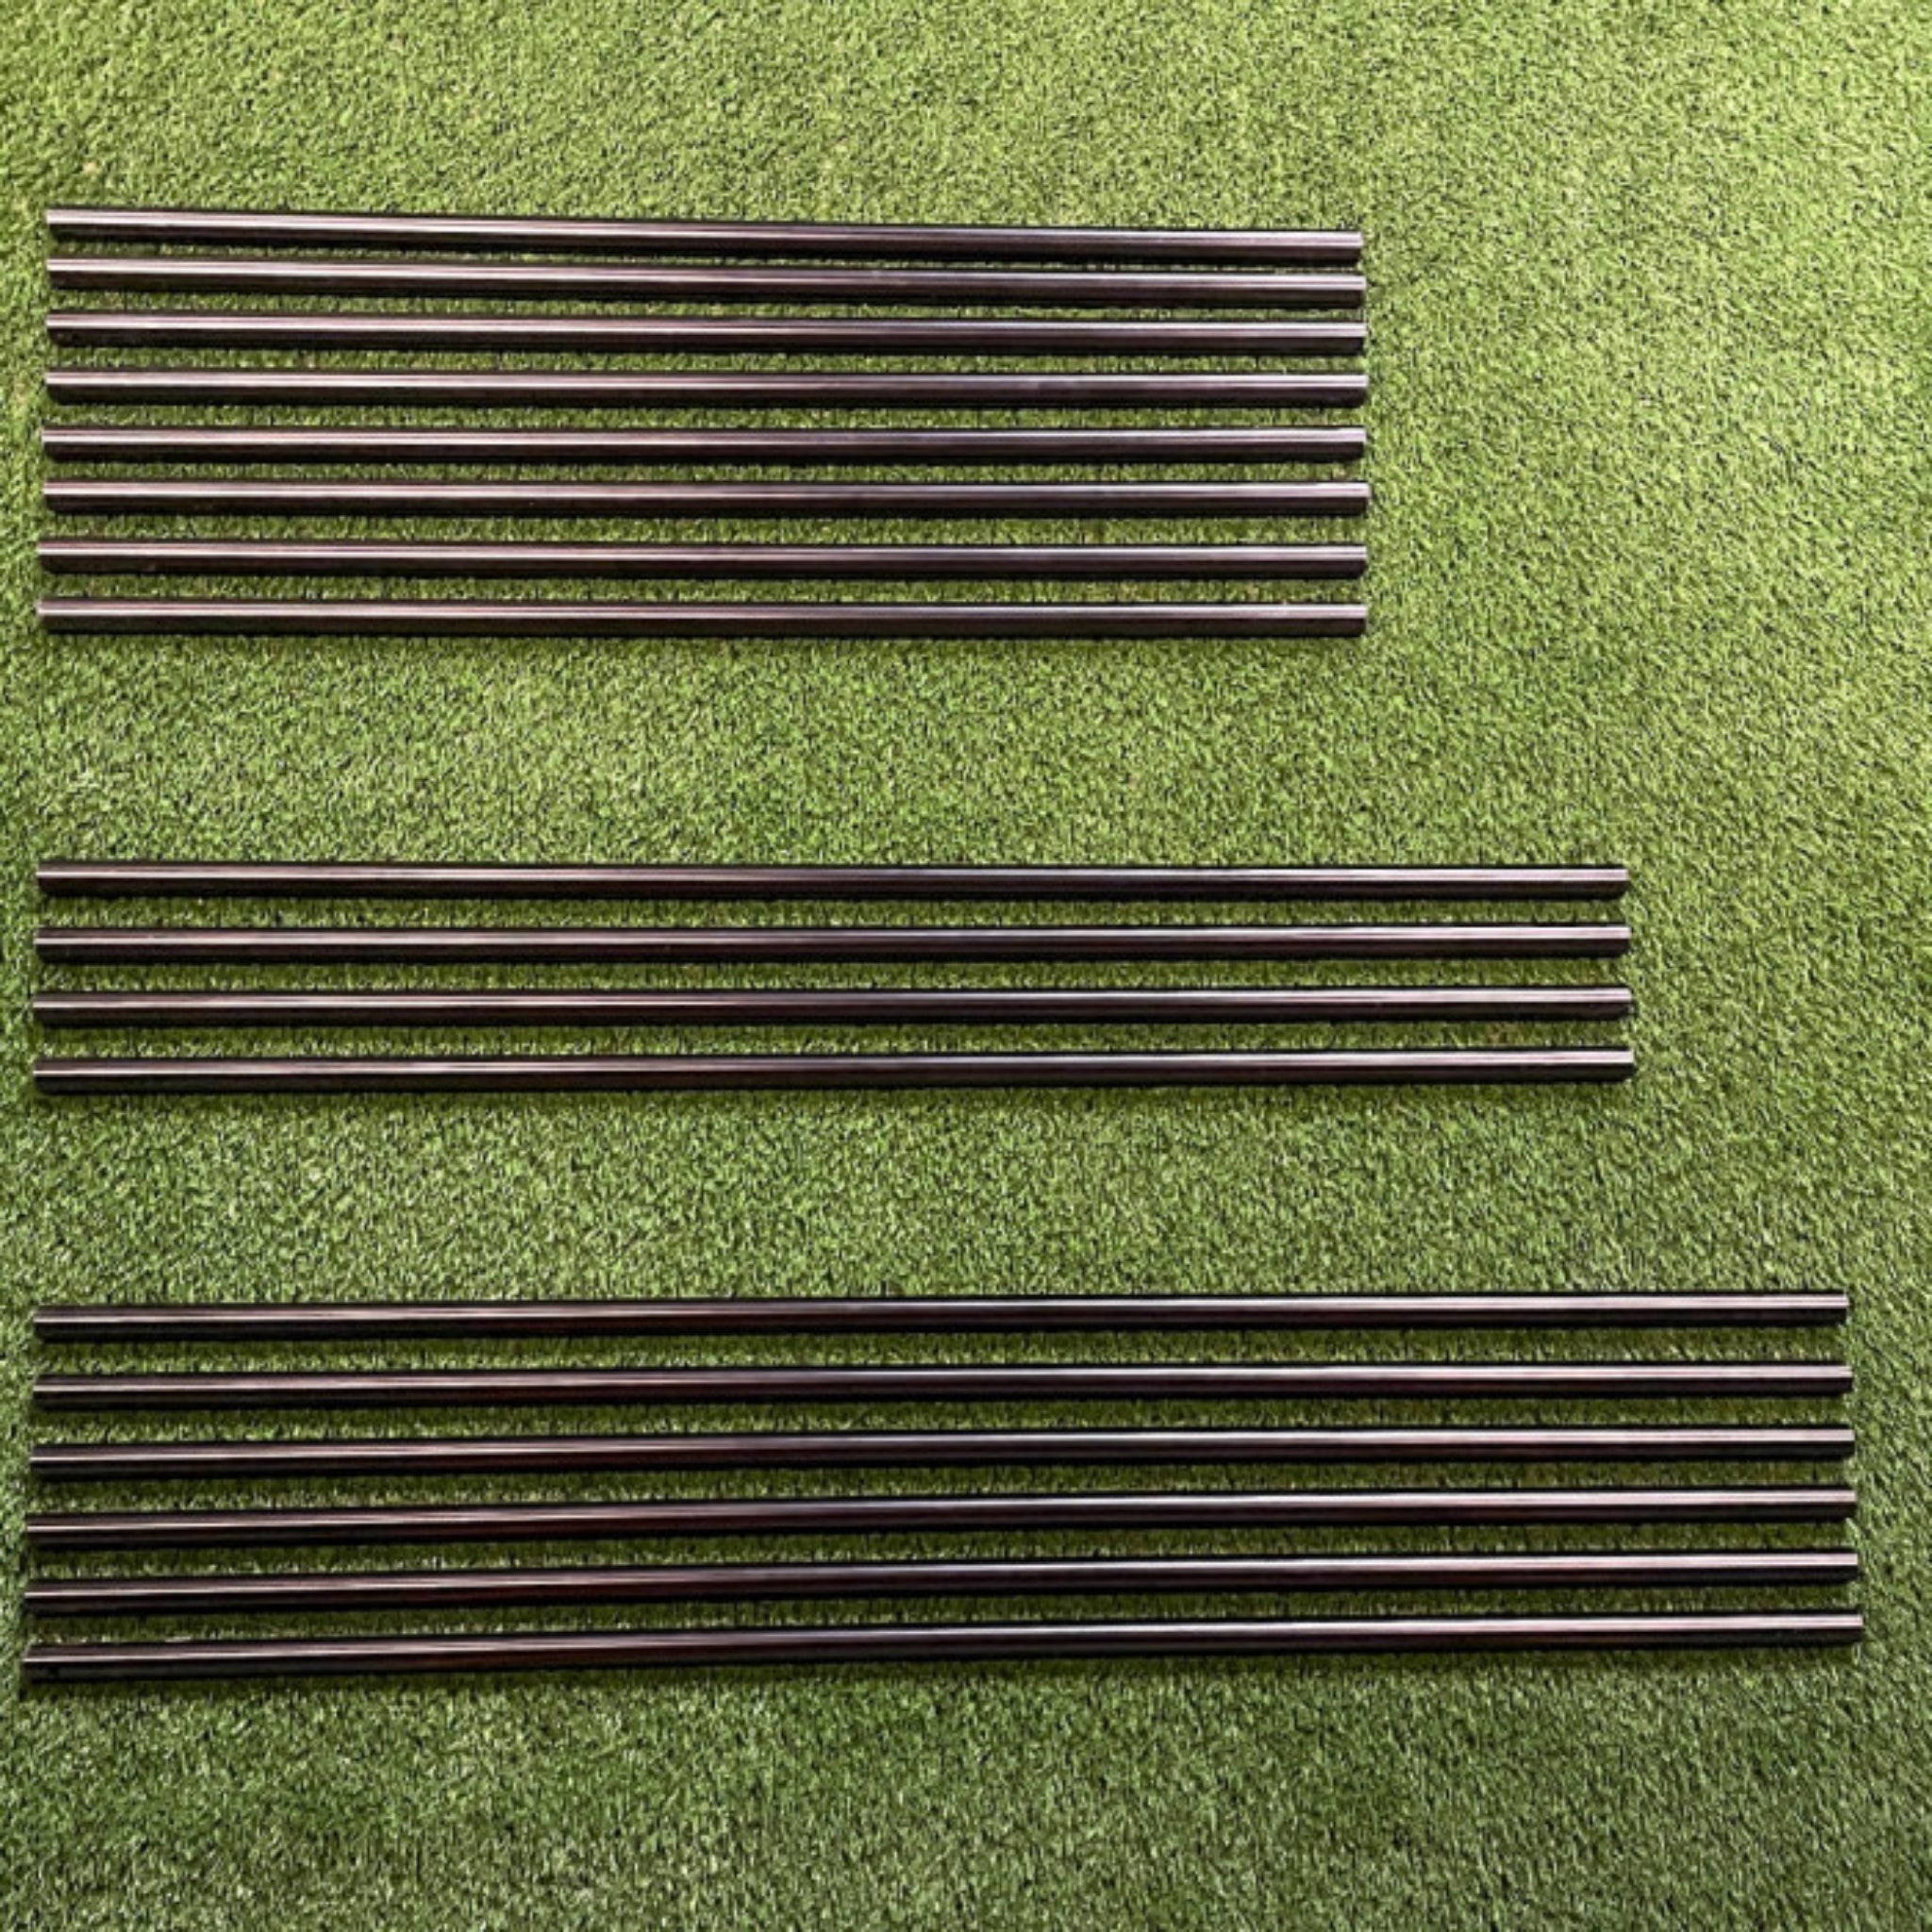
Skip the trip to the hardware store — the Carl’s Place Pipes for DIY Enclosure Kit delivers pre-cut, powder-coated pipe segments tailored for your selected DIY Enclosure dimensions. Designed to integrate with Carl’s DIY Golf Simulator Enclosure systems, this kit helps you build a professional, durable frame without measuring, cutting, or hauling your own EMT.
Whether you’re building in a garage, basement, or spare room, this pipe kit helps you get started faster and more accurately while minimizing mistakes and wasted material.

Product Features
Pre-Cut Pipe Kit for DIY Golf Enclosures
-
Pre-Cut & Labeled Pipes: All pipe lengths are cut to spec and labeled for easier assembly.
- Helps reduce measuring mistakes during frame construction.
- Makes it easier to identify each pipe location during setup.
-
Powder-Coated Finish: Black coating provides a clean, professional appearance and added rust protection.
- Helps the frame blend into a finished simulator bay.
- Creates a cleaner appearance than raw EMT conduit.
-
Designed for Standard Kits: Made to match Carl’s DIY Enclosure outer dimensions and frame geometry.
- Pairs with compatible DIY enclosure fittings and connector hardware.
- Helps create a more precise frame build compared to cutting pipes manually.
-
No Pipe Cutting Required: Everything arrives ready to install.
- No pipe cutter, measuring, or hardware store transport needed.
- Helpful for customers who want a faster and cleaner setup process.
-
Compatible with Existing Kits: Works with your enclosure’s fittings and connector hardware.
- Designed specifically to support Carl’s DIY Enclosure frame system.
-
Strong & Straight: High-quality EMT tubing resists bending or warping during assembly.
- Provides a sturdy foundation for the enclosure frame.
- Best handled carefully during installation to preserve straightness and finish.
What's Included
-
Pre-Cut Black EMT Pipe Segments
- Pipe lengths are matched to your selected enclosure size.
-
Pipe Labels
- Labels identify each section, such as left side, top front, and other frame locations.
-
Assembly Diagram and Instructions
- Provides guidance for matching pipe segments to the enclosure frame layout.
Not Included: Connector fittings, impact screen, enclosure fabric, bungees, foam inserts, and other DIY Enclosure Kit components are sold separately unless specifically included with your selected product configuration.
Product Specifications
| Specification | Details |
|---|---|
| Product | Carl’s Place Pipes for DIY Enclosure Kit |
| Pipe Material | 1” EMT electrical metal tubing with standard tubing wall thickness |
| Finish | Black powder coat |
| Pipe Lengths | Varies by selected enclosure size; all pieces arrive pre-cut |
| Compatibility | Designed to work with Carl’s DIY Enclosure hardware and frame geometry |
| Intended Use | Frame construction only; does not include screen, fittings, or enclosure materials |
| Primary Benefit | Eliminates local pipe sourcing, measuring, cutting, and transport |
Setup & Installation Recommendations
-
Use Compatible Fittings: Use your enclosure’s fitting set, including corners, T-joints, and connector hardware.
- Confirm your pipes match the fitting size before beginning assembly.
-
Square the Frame First: Before fully tightening, make sure the frame is square and level.
- Early misalignment can create screen tensioning or enclosure fitment issues later.
-
Rear Clearance: Allow buffer space behind the rear pipe region.
- Approximately 12 inches is recommended so there is clearance for screen flex.
-
Protect the Finish: Avoid scratching or damaging the powder-coated finish during assembly.
- Use protective gloves or place pipes on a soft surface while assembling.
-
Handle Longer Pipes Carefully: For longer pipe runs, handle pipes carefully to avoid bending or warping.
- Having an extra person assist can make assembly easier and safer.
Frequently Asked Questions
Q. Does this kit include connector fittings or screen? Click to expand ▼
A. No. This kit provides only the pipe segments. You will still need the connectors, impact screen, enclosure fabric, and other components from your DIY Enclosure Kit.
Q. Why purchase a pipe kit instead of sourcing my own EMT? Click to expand ▼
A. The kit simplifies the process. Every pipe is pre-cut and labeled, so there is no measuring, cutting, or waste. It is especially helpful if you do not want to haul raw pipe or rent cutting tools.
Q. Can I use this kit with a custom size enclosure? Click to expand ▼
A. This kit is intended to match Carl’s standard DIY enclosure sizes. If your build deviates significantly, contact us before ordering so we can help confirm pipe length requirements.
Q. What pipe dimension is used? Click to expand ▼
A. This kit uses 1-inch EMT conduit, which is the standard size for Carl’s DIY enclosure systems.
Q. Is the powder coating durable? Click to expand ▼
A. Yes. The powder-coated finish is designed to resist scuffs and corrosion for normal indoor use. Avoid dragging pipes across rough surfaces during setup to help preserve the finish.
Q. How long does frame assembly take? Click to expand ▼
A. With all pieces in hand and basic tools ready, frame-only assembly for standard sizes typically takes around 1 hour, depending on room layout and installer experience.
Shipping, Returns & Warranty Policy
This policy explains how Simulator Direct handles shipping, freight delivery, returns, cancellations, warranty-related concerns, and replacement part requests for Carl’s Place products sold through Simulator Direct.
Important: Many Carl’s Place products are made-to-order, custom-sized, or considered wearable items due to their intended use in golf simulator environments. Please review this policy carefully before placing an order.
Shipping Policy
Simulator Direct processes and ships orders using trusted carriers to ensure reliable delivery and product protection. Orders are typically fulfilled through FedEx or UPS, with freight delivery arranged for oversized products such as full simulator enclosures, pipe framing kits, and large built-in components.
Lead Time & Processing
- Orders are generally processed within 5–7 business days, depending on product type, supplier lead times, order volume, and customization requirements.
- Made-to-order products may require additional production time.
- Estimated delivery dates are provided in good faith and may vary based on carrier schedules or supplier production timelines.
- Transit time typically ranges from 3–7 business days after shipment.
- Delivery time may vary depending on destination, carrier capacity, weather, holidays, or freight scheduling.
- Tracking details will be provided by email once your order has shipped.
Freight Deliveries & Lift Gate Service
Larger items such as pipe framing kits, built-in panels, and other oversized simulator components may ship via freight carrier. Freight shipments may arrive on pallets or in multiple heavy boxes depending on the product ordered.
- For non-residential deliveries without a loading dock, we strongly recommend selecting Lift Gate Service.
- Lift Gate Service allows the freight driver to safely lower your shipment to the ground using a hydraulic platform.
- This is especially useful for heavy enclosure frames, pre-cut pipe kits, built-in panels, or palletized shipments.
- Typical lift gate capacity accommodates loads up to approximately 1,000 lbs.
- Customers should still be prepared to move the shipment from the drop-off location once delivered.
- Lift Gate Service of $185 will be automatically included in the price for any freight deliveries shipped as Residential.
- For residential freight deliveries, lift gate service is already built into the residential freight option.
- Fees for non-residential lift gate service, where a loading dock is otherwise required, shall have a flat rate of $185 and may be offered as a product add-on option for customers who require it.
- If a business location does not have a loading dock or forklift, Lift Gate Service is strongly recommended.
Freight Handling Information for Curved Golf Simulator Enclosure Kits
Carl's Place golf simulator Pipe Framing Kits and Back Cover Pipe Kits are custom-fabricated components that ship directly from the manufacturing partner. Due to their size and weight, each kit requires special packaging and insured freight delivery. A flat Freight Handling Fee applies to cover professional packaging, carrier logistics, and safe arrival.
| Freight Item | Freight Handling Fee |
|---|---|
| Pipe Framing Kit | $700 Freight Handling Fee |
| Back Cover Pipe Kit | $700 Freight Handling Fee |
| Bundle Both | $700 Combined Freight Handling Fee |
Rates are averaged nationally to account for regional carrier costs and state taxes.
Shipping Responsibilities
- Customers are responsible for shipping costs on all orders unless otherwise stated.
- Shipping charges may vary based on product size, weight, destination, and delivery method.
- International shipments do not include customs duties, brokerage fees, import taxes, or other import-related costs.
- These charges are the responsibility of the recipient.
- International freight shipments may require a broker depending on the destination country.
- Please inspect all deliveries upon arrival to ensure all boxes and components are received in good condition.
- If any item arrives damaged or missing, contact support@simulatordirect.com as soon as possible with photos, tracking details, and your order number.
Return Policy
We want you to be satisfied with your purchase. However, due to the custom nature of many products listed for resale, certain return restrictions apply.
Return Eligibility
- Returns must be requested within 14 days of receiving your order.
- Requests submitted after the return window may not be eligible for approval.
- All items must be unused, in original packaging, and in resalable condition.
- Items that show signs of use, installation, damage, wear, or missing packaging may be refused or subject to additional fees.
- Return shipping costs are the responsibility of the customer.
- Original shipping costs are generally non-refundable unless the return is due to an approved shipping or fulfillment error.
- High-value orders are processed shortly after purchase.
- Cancellations must be requested promptly to avoid production, processing, cancellation, or restocking fees.
Restocking Fees & Non-Returnable Items
- Products with custom sizing or configurations may incur a restocking fee of up to 30%.
- This may apply to custom impact screens, custom enclosures, and made-to-order products.
- Items incorporating special finishes, unique finishing styles, or non-standard dimensions may not be eligible for return.
- Because these items are made specifically for the customer, they may not be resalable once produced.
- Wearable items, such as golf impact screens, are non-returnable once used.
- Natural wear may occur immediately after golf ball impact use.
- Visible marks, scuffs, or wear from normal use are not considered returnable defects.
- Partial kit returns are not accepted.
- All components must be returned together in the original packaging and condition.
Return Process
- Contact support@simulatordirect.com to initiate your return request.
- Please include your order number and the reason for the return.
- Include photos if applicable.
- Photos may be required for damaged items, shipping concerns, incorrect items, or product condition review.
- Once approved, you will receive return authorization and shipping instructions.
- Do not ship items back without return authorization.
- Refunds are issued to the original payment method within 7–10 business days of receiving and inspecting the return.
- Refund timing may vary depending on your bank, credit card provider, or payment processor.
Order Changes & Cancellations
If you need to change or cancel your order, please contact support@simulatordirect.com as soon as possible.
- Orders with custom dimensions are subject to a 30% cancellation fee if changed after 24 hours.
- Custom products may enter production shortly after order placement.
- Orders that include manufacturer-direct products may incur a 5% cancellation fee.
- This may apply when the supplier has already begun processing, preparing, or fulfilling the order.
- Cancellations are not guaranteed after shipment.
- If the order has already shipped, it will follow the standard return policy if eligible.
Warranty & Replacements
Carl's Place products are designed for long-term use but are considered wearable items due to their nature and purpose. Therefore, they are not covered under a traditional manufacturer warranty. Some visible wear may occur after the first use and is considered normal.
If you experience damage upon arrival or have performance concerns, please contact our support team with photos and your order number for assistance.
Replacement Parts
- Most components, including enclosure panels and screens, can be replaced individually.
- Replacement availability may vary depending on product type, age, model, and supplier availability.
- To request a replacement part, email support@simulatordirect.com with your order details and the specific item required.
- Please include photos if the replacement request is related to damage, fitment, or performance concerns.

Newsletter
Exclusive Updates. Delivered Before Anyone Else.