

Carl's Place Net Wall Extensions for Golf Simulator Enclosure
Choose options


Fast, Secure Shipping
Orders are processed promptly and shipped directly from trusted suppliers for safe, reliable delivery.
Lowest Price Guarantee
Found a better price? We’ll match it — Guaranteed.
Simulator Expertise
Talk to a Real Expert
(714) 202-9416
Mon–Sat 8AM–5PM PST
- Description
- Product Features
- What's Included
- Product Specifications
- Getting Started Guide
- Product Installation Guide
- FAQ's
- Shipping/Returns & Warranty Policy
Carl's Place Net Wall Extensions for Golf Simulator Enclosure
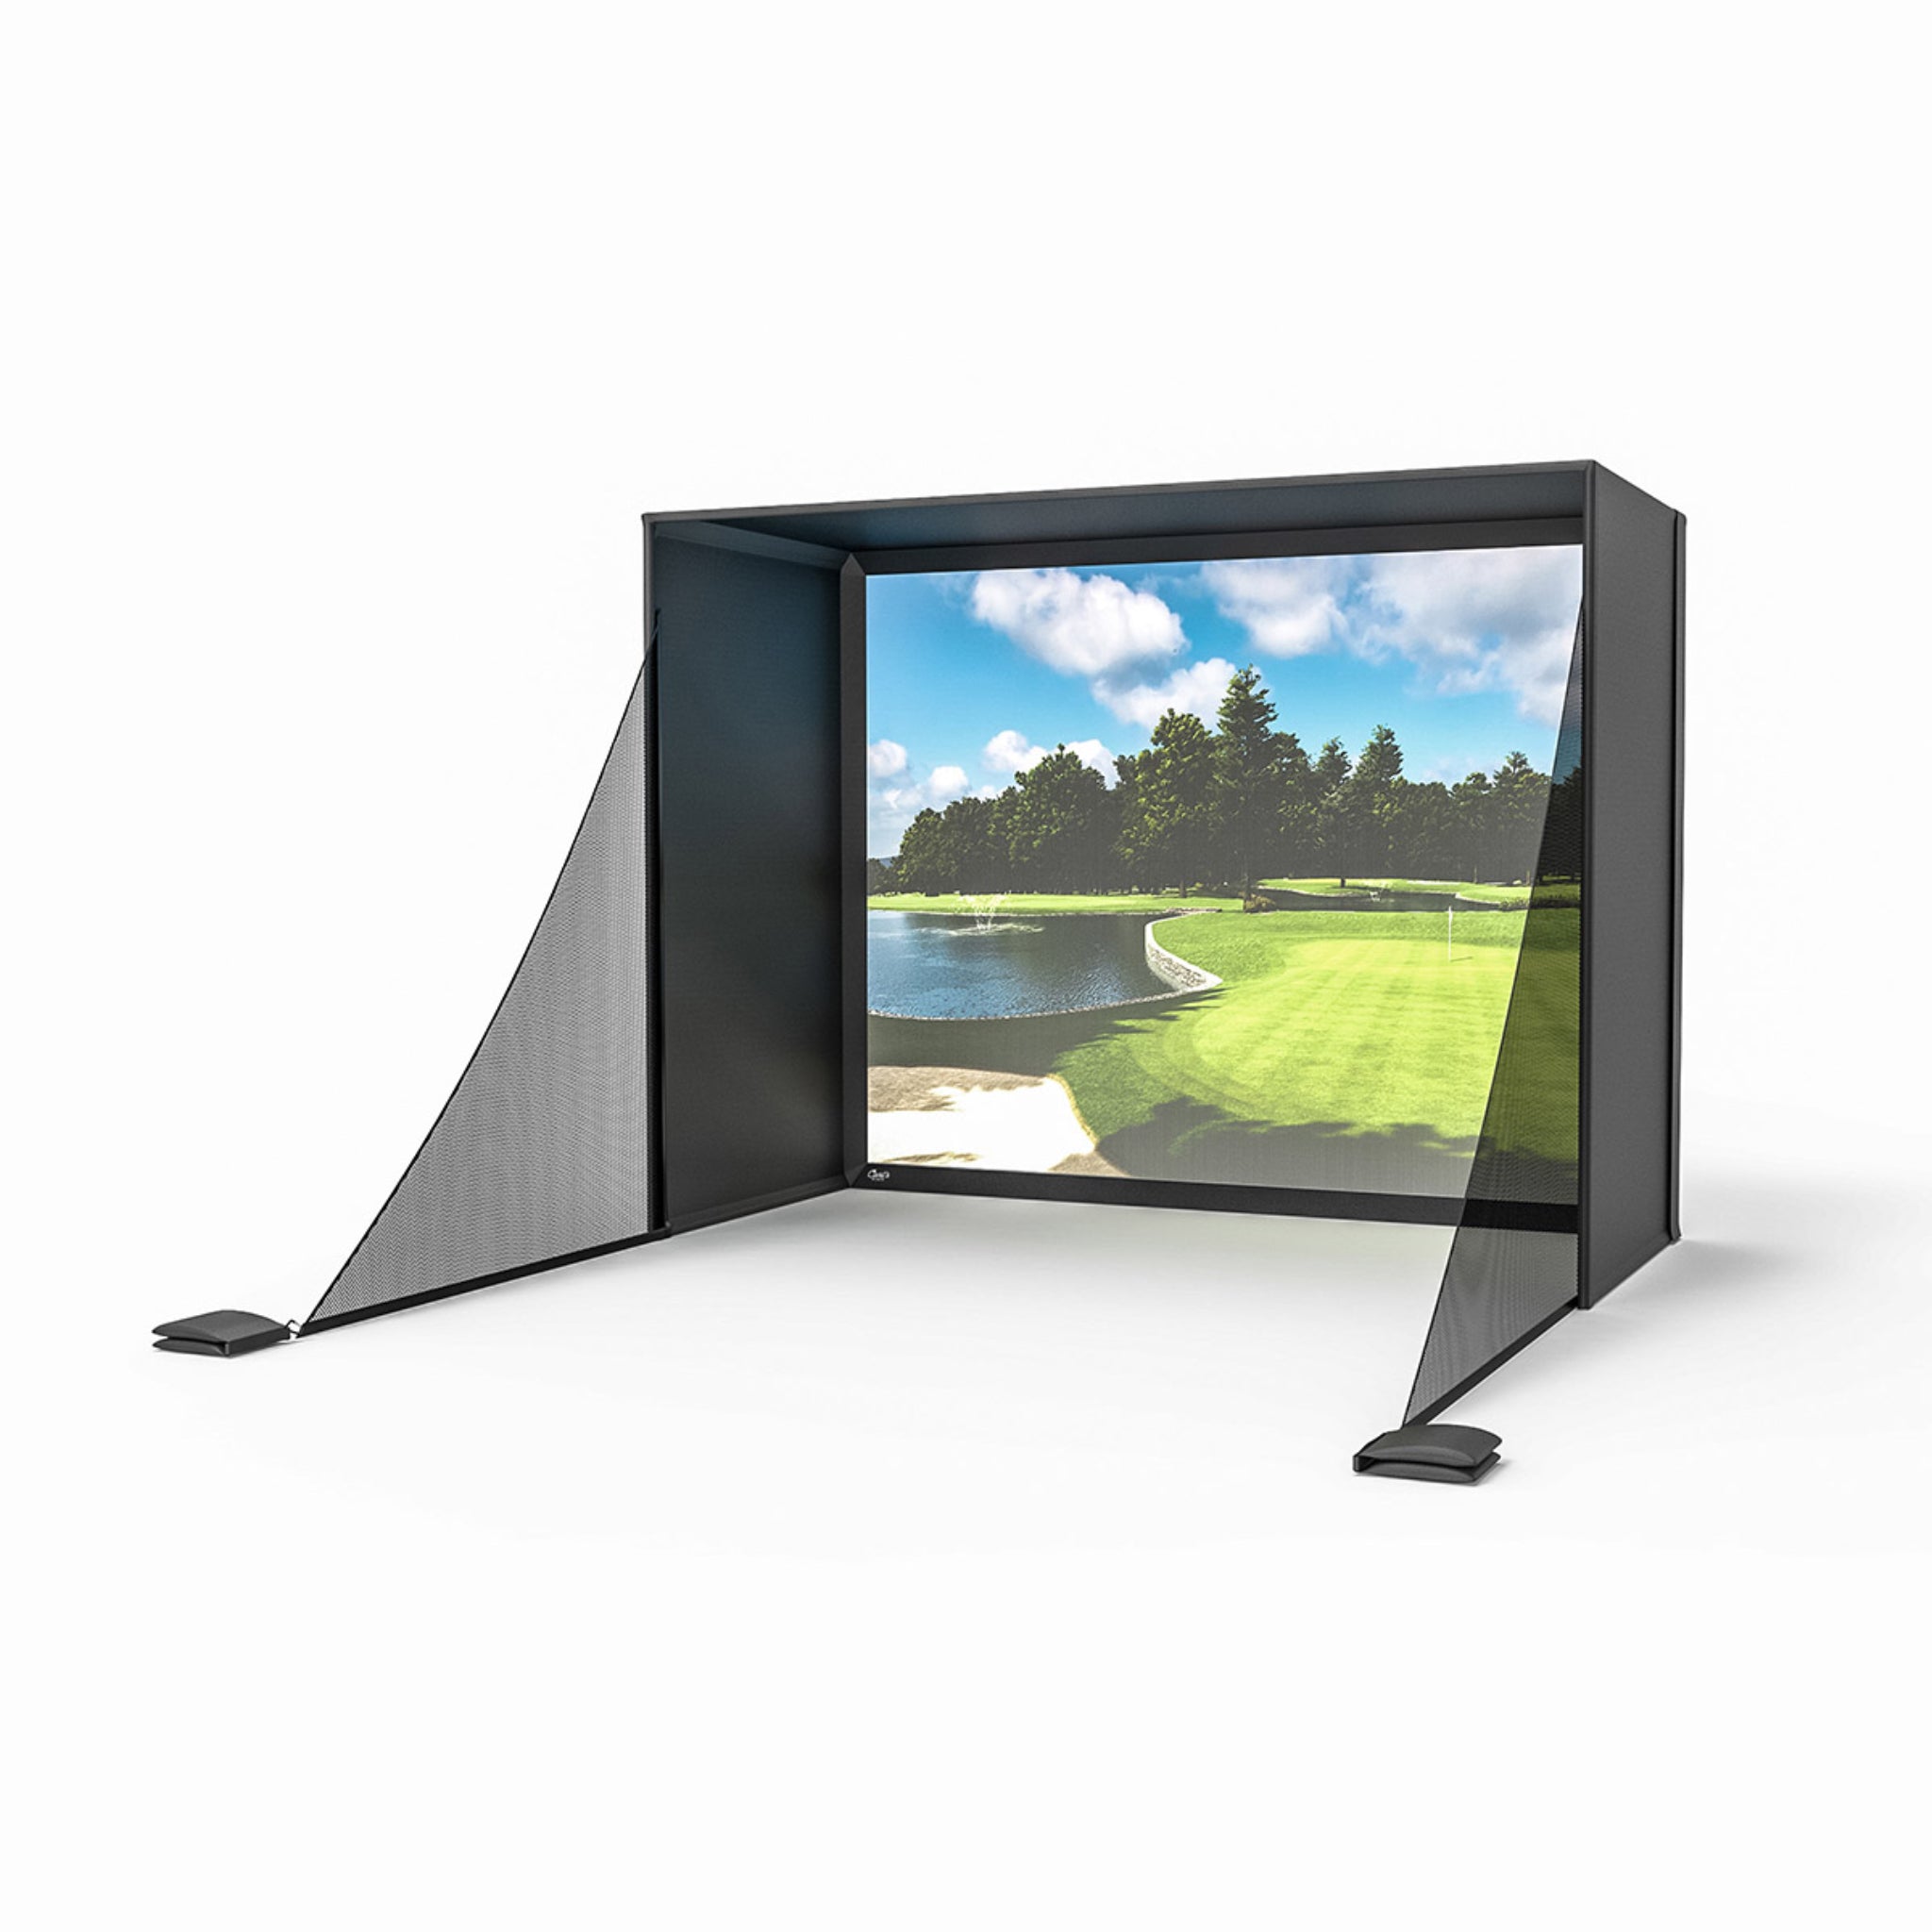
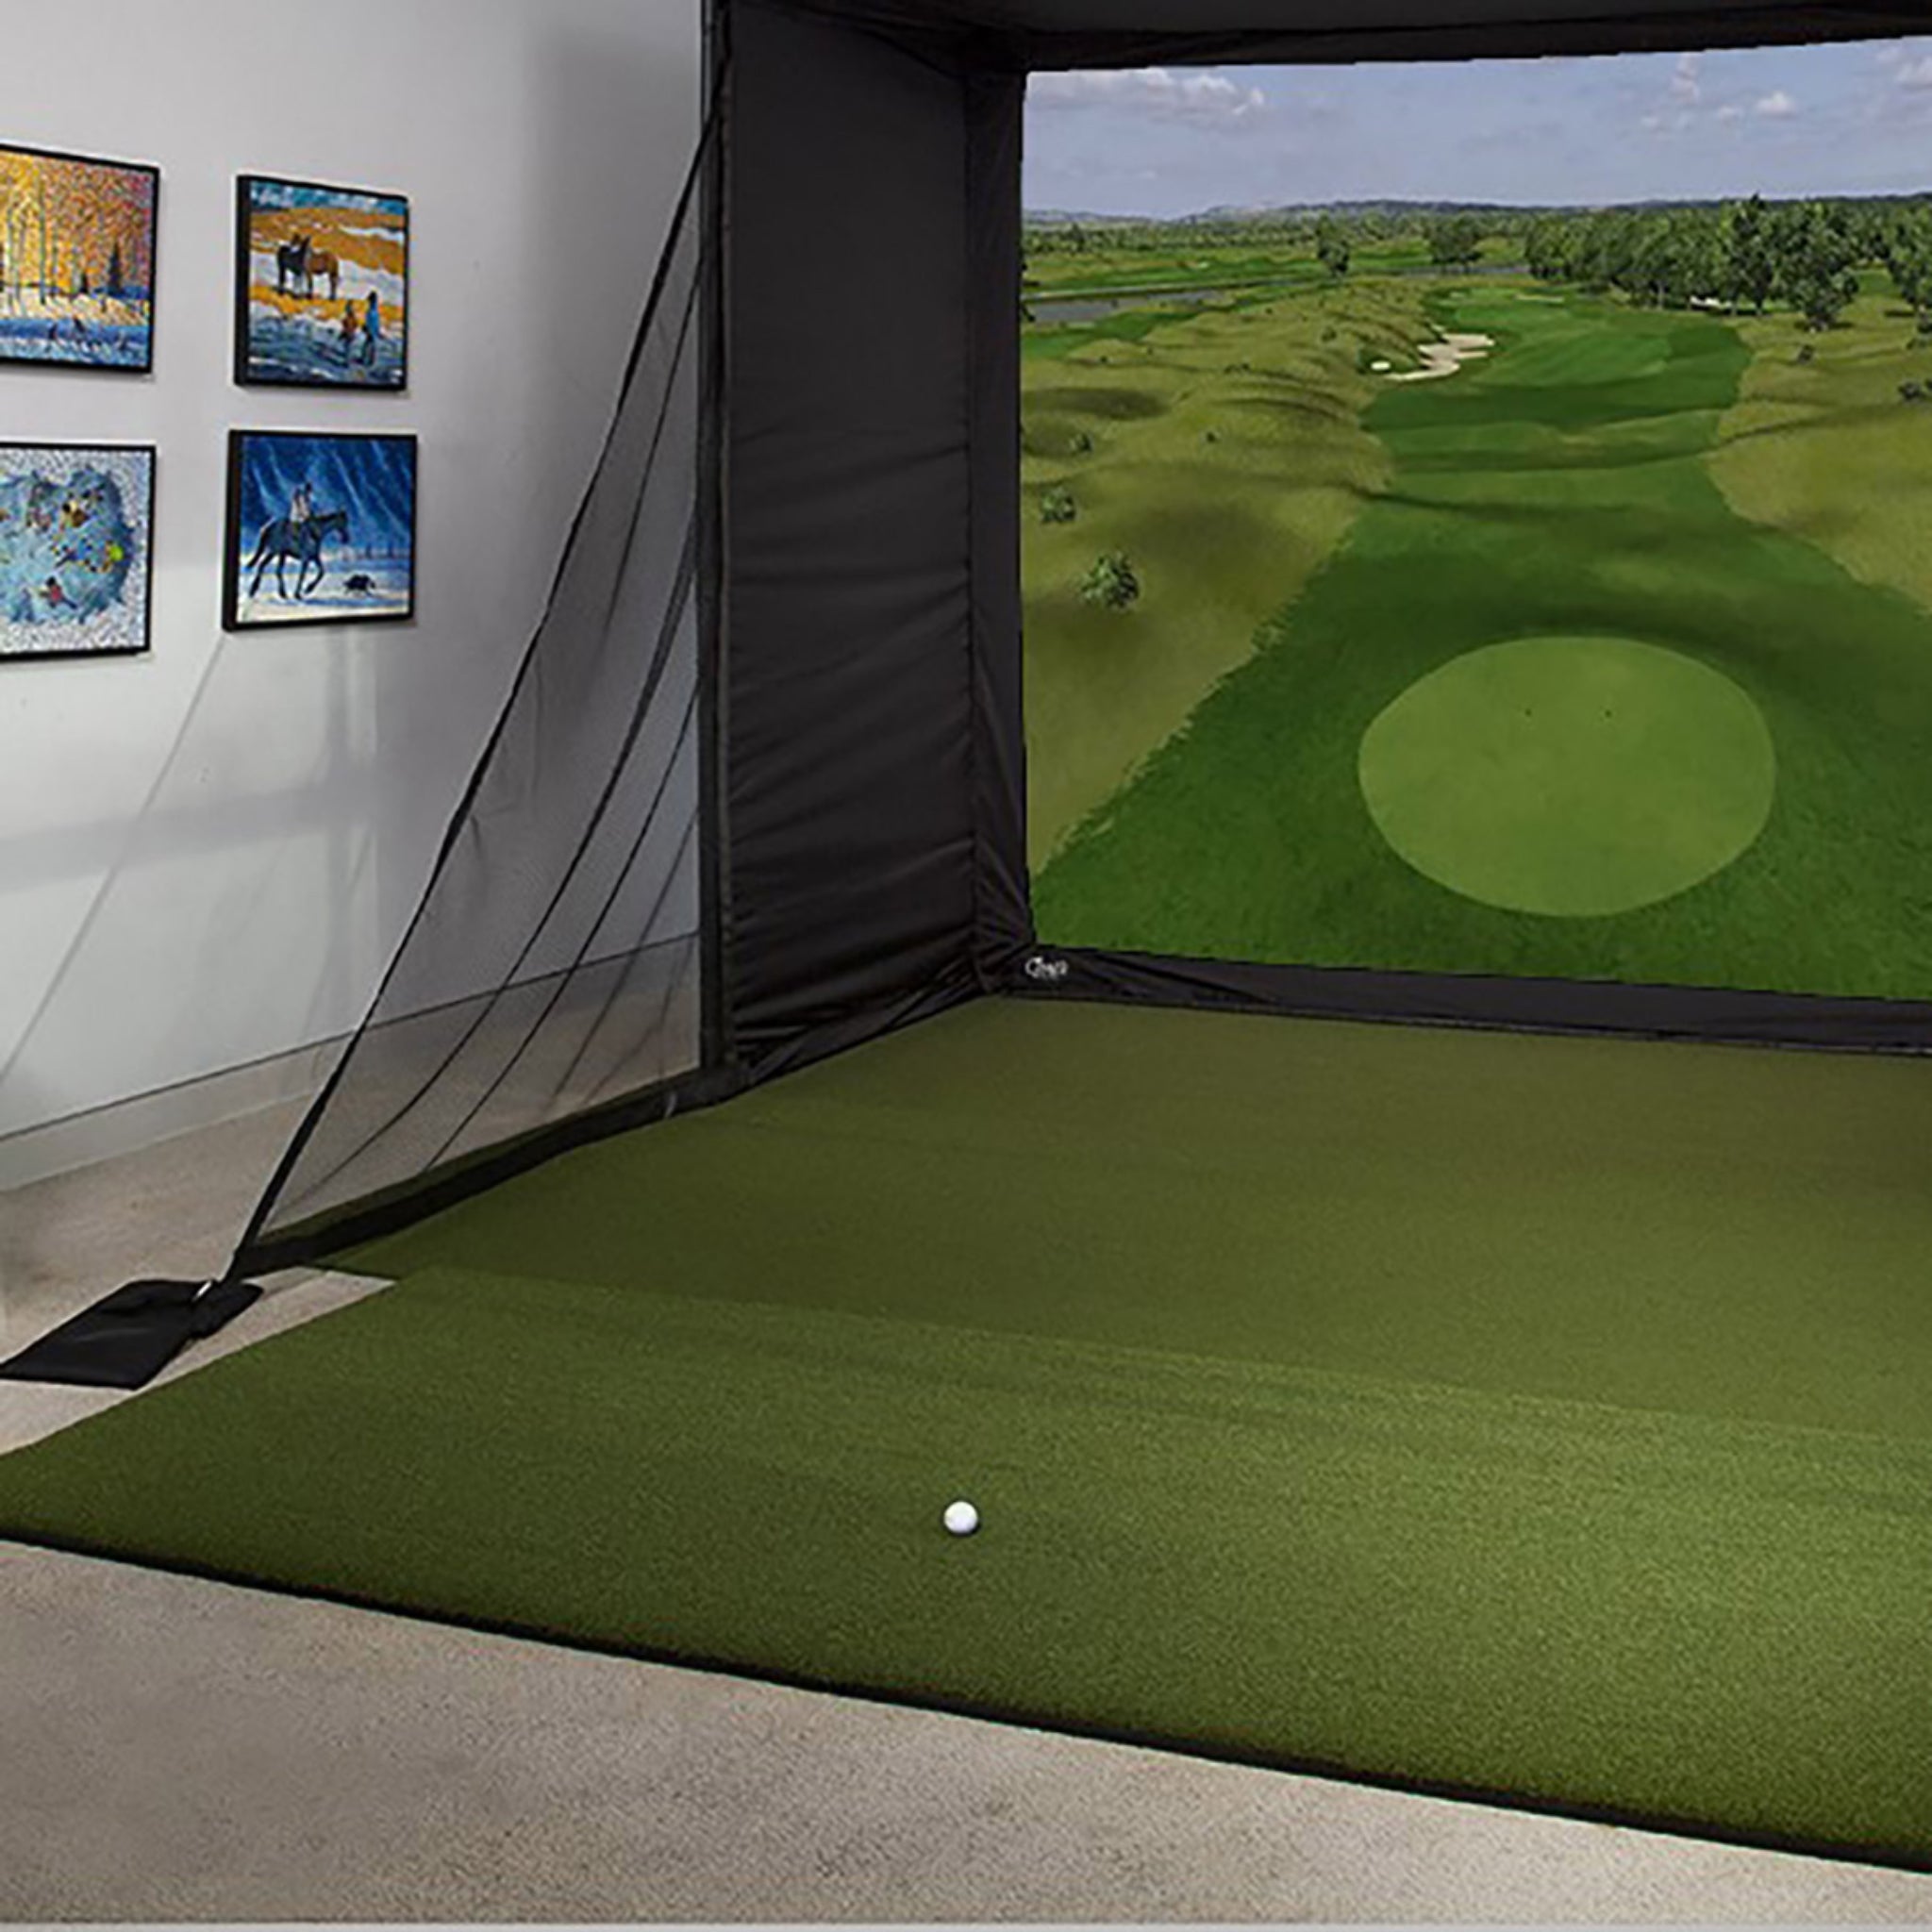
Worried about stray golf balls damaging walls or escaping your simulator space? The Carl’s Place Net Wall Extensions provide an extra defensive barrier that keeps shots contained within the hitting area. These side extensions mount seamlessly to your enclosure’s frame to increase depth protection while maintaining a clean, integrated look.
Available in multiple depths — 6 ft, 8 ft, or 10 ft — the net extensions are designed to match your simulator width and help prevent errant shots from going wide or backward.

Product Features:
-
Multiple Depth Options: Choose from 6′, 8′, or 10′ extension depths to suit your bay size and protection needs.
-
Uniform Height: Each net wall stands at 92″ tall to maintain consistent coverage and alignment with most simulator enclosures.
-
Hook & Loop Mounting: Easy, tool-free attachment to your existing frame using integrated hook & loop strips. No drilling or additional hardware needed.
-
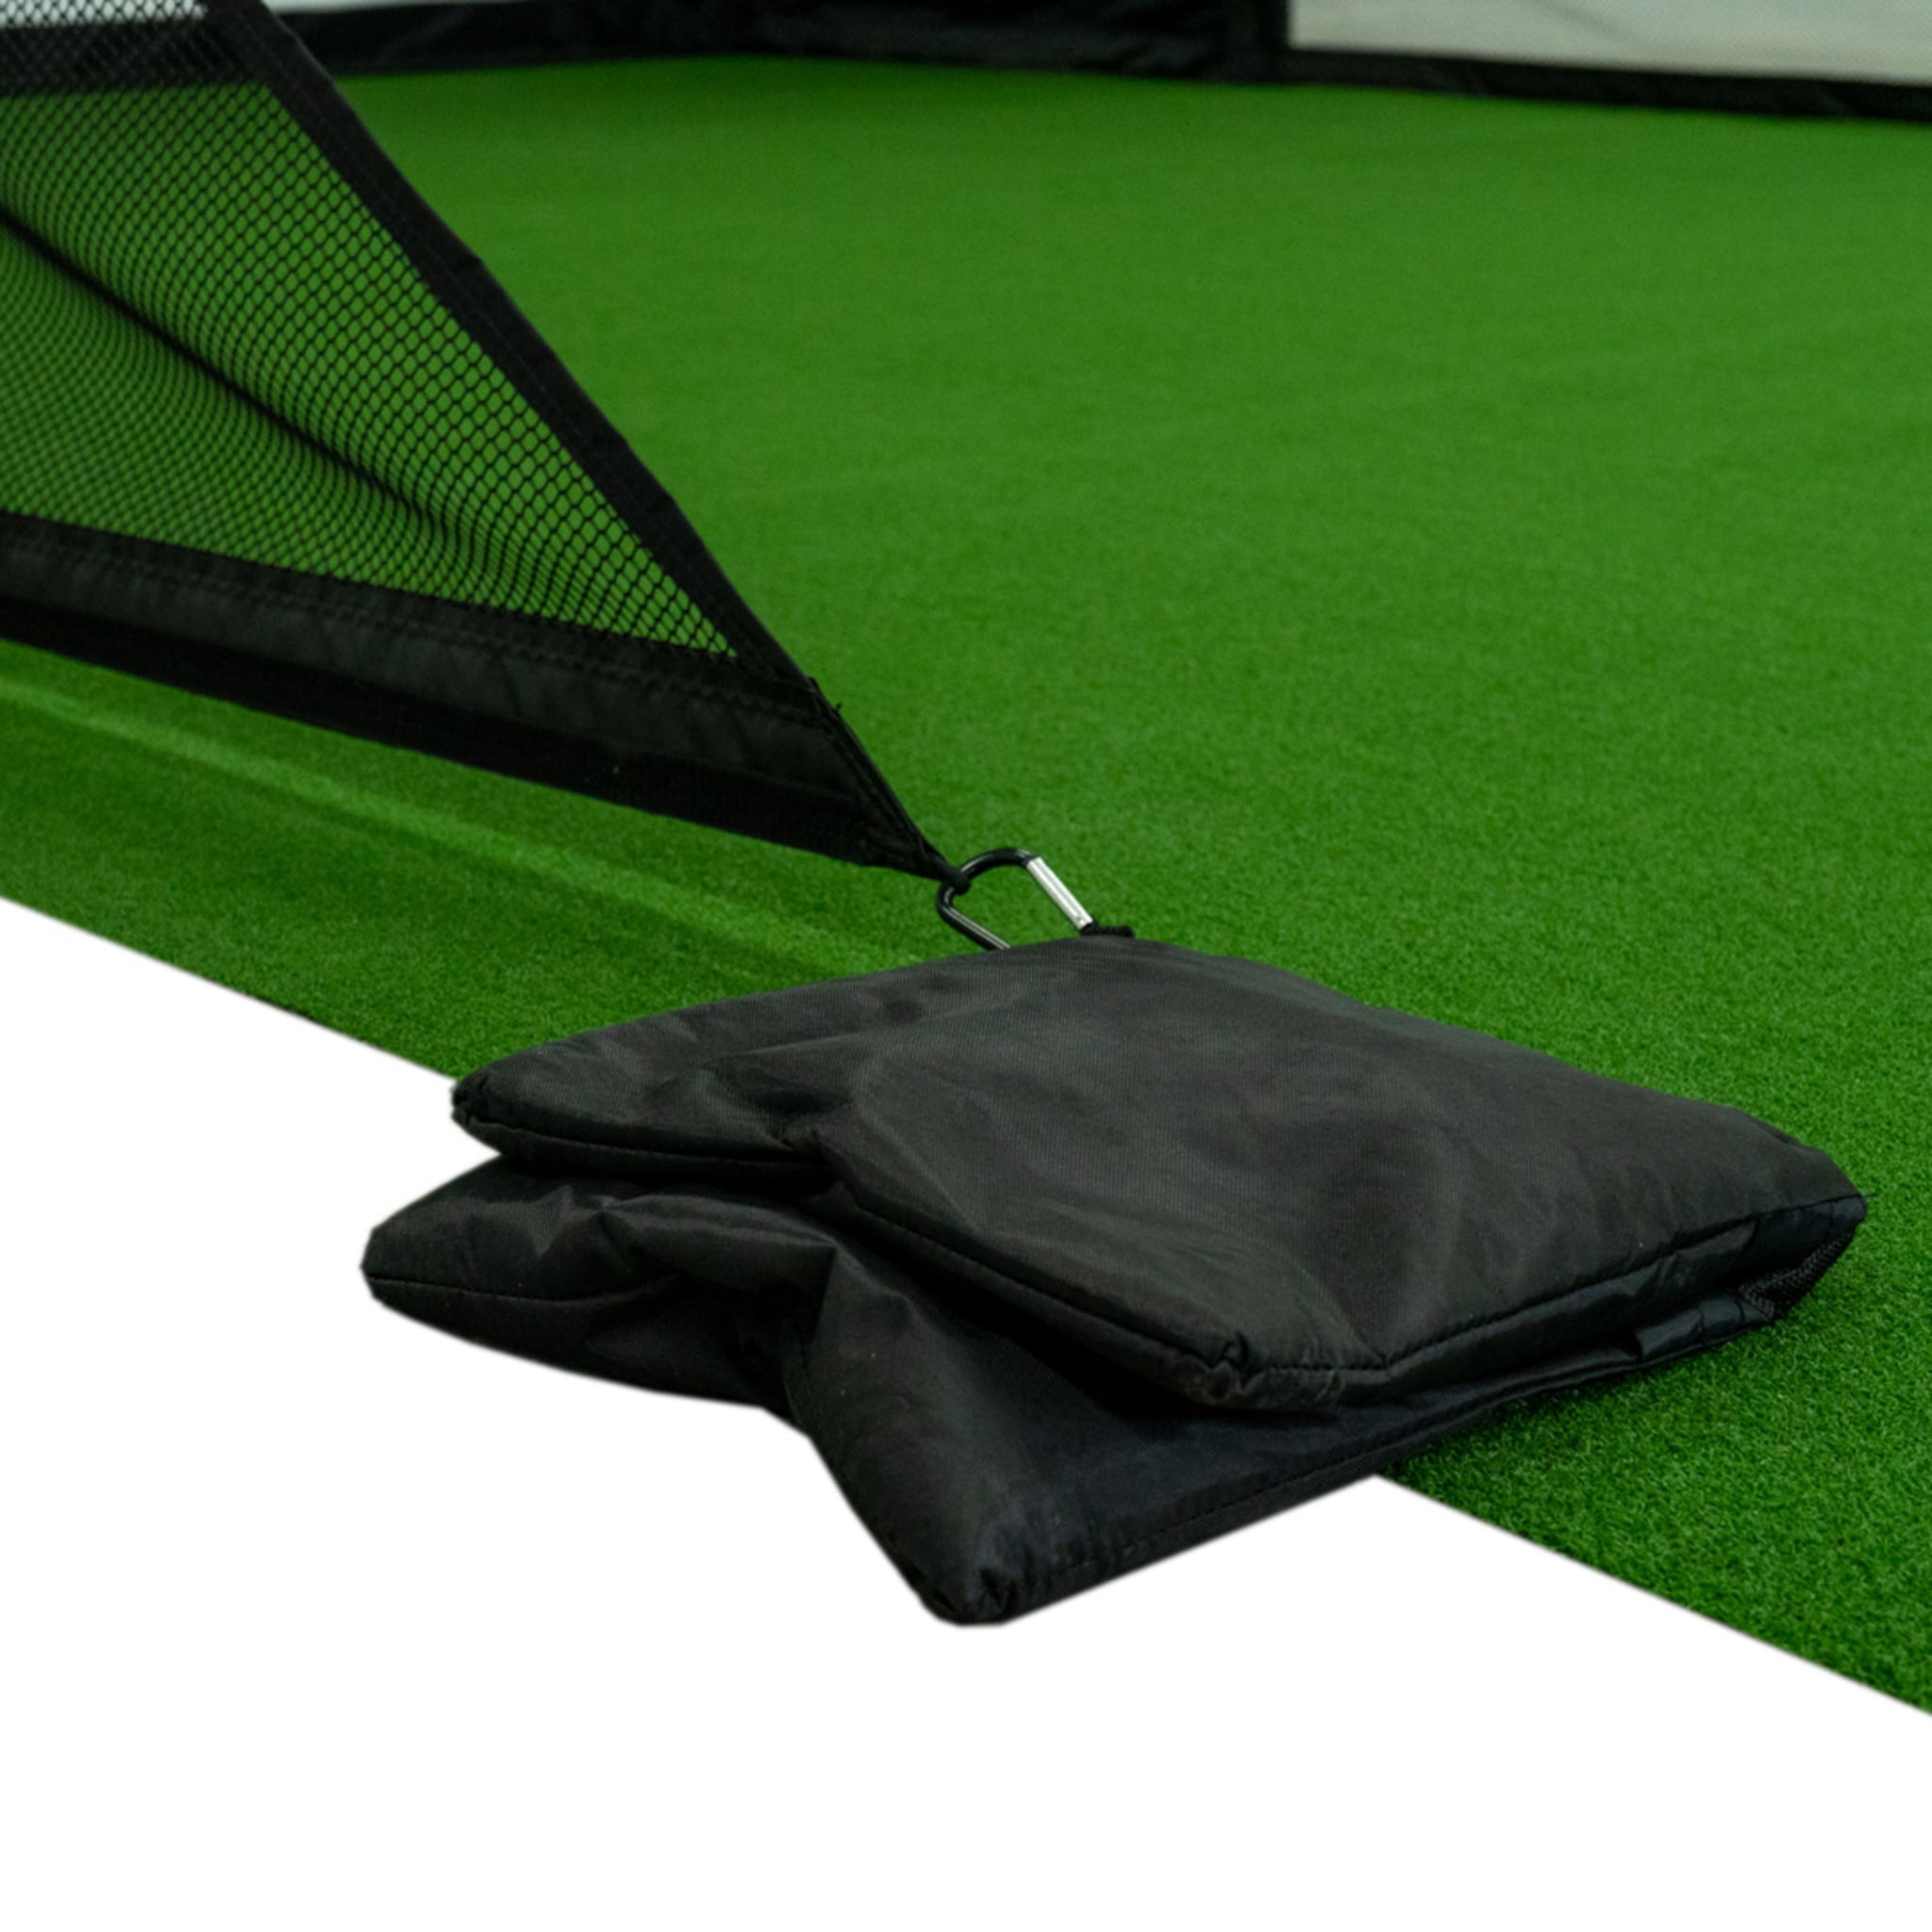
Weighted Base Support: Includes bottom sandbag pockets (fill not included) that help anchor the net in place and reduce movement.
-
Safety Barrier: Adds protection by catching high-angle shots, so missed strokes are less likely to harm nearby surfaces or objects.
-
DIY-Friendly: Designed to integrate with Carl’s C-Series DIY and other enclosure kits with minimal effort.
What's Included:
-
2 net wall extension panels (left + right)
-
Hook & loop fasteners sewn into the edges for frame attachment
-
Sandbag pockets at base (sand or fill material not included)
-
Installation instructions
Product Specifications:
-
Height: 92″ (standard across all variants)
-
Depth Options: 6 ft, 8 ft, or 10 ft
-
Mounting Method: Hook & loop (velcro style) to existing enclosure frame
-
Weighting: Sandbag base pockets (fill required)
-
Compatibility: Works with Carl’s C-Series DIY Enclosures and other DIY frame setups
Getting Started Guide:
Step 1: Choose Your Depth
Select the extension depth that fits your bay: 6 ft, 8 ft, or 10 ft. Match the depth to your enclosure and how much side protection you want.
Step 2: Prep the Area
Clear the sides of your simulator. Confirm standard clearances: about 12–16” behind the main impact screen and a clean path along each side frame post.
Step 3: Unpack & Identify Parts
Lay both net panels flat (left and right). Locate the integrated hook-and-loop (velcro) edges and the sandbag pockets at the bottom.
Step 4: Dry Fit
Hold each net up to its side frame to confirm orientation (hook-and-loop faces the frame; pockets at the base).
Step 5: Attach the Top Edge
Starting at the front/top corner of your enclosure, press the top hook-and-loop strip firmly onto the top frame tube. Work your way across so the top is straight and level.
Step 6: Secure the Vertical Edges
Wrap the side hook-and-loop strips around the front and rear vertical posts. Press firmly down the entire length for a smooth, taut connection.
Step 7: Weight the Base
Fill the bottom pockets with sand (or pea gravel) to anchor the nets and reduce sway. Add weight evenly to both sides.
Step 8: Tension & Square Up
Check that both panels hang straight and don’t bow inward. Re-press any hook-and-loop areas that need more grip. Adjust until the nets are even front to back.
Step 9: Test Coverage
Hit a few off-center shots or gently toss balls toward the sides to confirm the nets catch and contain them without interfering with your hitting zone.
Step 10: Final Check & Maintenance
Verify launch monitor sightlines are clear. Recheck hook-and-loop adhesion after your first session, and periodically inspect seams, pockets, and attachment points. Replace or re-weight as needed.
Setup & Installation Recommendations:
-
Leave at least 12″ of space behind the main impact screen so the net extension doesn’t interfere with ball trajectories.
-
Use a rigid frame (EMT or steel) to support net attachments without sagging.
-
When filling sandbag pockets, use coarse sand or pea gravel to balance weight and stability.
-
Check that the hook & loop edges are fully flattened and pressed against frame surfaces — gaps reduce effectiveness.
-
Periodically inspect the net fabric and seams, especially after heavy usage, to catch any frays or loosening.
Frequently Asked Questions:
Q: Why add net wall extensions to my simulator?
They catch off-center or deflected shots, protecting walls, objects, or people outside your simulator zone.
Q: Can I use these nets with my current enclosure?
Yes. They’re compatible with Carl’s C-Series DIY and many DIY frame systems using hook & loop mounts.
Q: How much space do I need behind the screen?
Maintain standard buffer clearance of ~12″ behind the impact screen for safety and room for net flex.
Q: Is sand included for the base pockets?
No — you’ll need to provide your own fill material (sand, gravel, or similar).
Q: Are these nets tall enough?
Yes, all models are 92″ in height to align with typical golf simulator enclosures.
Q: Do they block shot tracking or interfere with launch monitors?
No, when placed lateral to the main screen, they do not obstruct the hitting path or line-of-sight of launch monitors.
Shipping/Returns & Warranty Policy:
Shipping Policy
Simulator Direct processes and ships orders using trusted carriers to ensure reliable delivery and product protection. Orders are typically fulfilled through FedEx or UPS, with freight delivery arranged for oversized products such as full simulator enclosures and pipe framing kits.
Lead Time & Processing:
Orders are generally processed within 5–7 business days, depending on the product type and order volume. Transit time varies between 3–7 business days after shipment. Tracking details will be provided via email once your order is dispatched.
Freight Deliveries & Lift Gate Service:
Larger items such as pipe framing kits and built-in panels are shipped via freight carriers. For residential or business deliveries without a loading dock, we strongly recommend selecting Lift Gate Service. This service allows the freight driver to safely lower your shipment to the ground using a hydraulic platform.
-
Typical lift gate capacity accommodates loads up to 1,000 lbs.
-
This service is especially useful for orders that include pre-cut pipe kits or heavier enclosure frames that arrive on pallets.
-
Fees for lift gate service vary based on carrier and location; please contact us for a quote if needed.
Shipping Responsibilities:
-
Customers are responsible for shipping costs on all orders unless otherwise stated.
-
International shipments do not include customs duties, brokerage, or import fees. These must be paid by the recipient.
-
Please inspect all deliveries upon arrival to ensure all boxes and components are received in good condition.
Return Policy
We want you to be satisfied with your purchase. However, due to the custom nature of many of our products listed for resale, certain restrictions apply.
Eligibility:
-
Returns must be requested within 14 days of receiving your order.
-
All items must be unused, in original packaging, and in resalable condition.
-
Return shipping costs are the responsibility of the customer.
Restocking Fees & Non-Returnable Items:
-
Products with custom sizing or configurations may incur a restocking fee of up to 30%.
-
Items incorporating special finishes or non-standard dimensions may not be eligible for return.
-
Wearable items, such as golf impact screens, are non-returnable once used, as natural wear occurs immediately after impact use.
-
Partial kit returns are not accepted; all components must be returned together.
Return Process:
-
Contact support@simulatordirect.com to initiate your return request.
-
Include your order number and photos (if applicable).
-
Once approved, you will receive a return authorization and shipping instructions.
-
Refunds are issued to the original payment method within 7–10 business days of receiving and inspecting the return.
Order Changes & Cancellations
If you need to change or cancel your order, please contact support@simulatordirect.com as soon as possible.
-
Orders with custom dimensions are subject to a 30% cancellation fee if changed after 24 hours.
-
Orders that include manufacturer-direct products may incur a 5% cancellation fee.
-
Cancellations are not guaranteed after shipment and will follow the standard return policy if fulfilled.
Warranty & Replacements
Carl's Place products are designed for long-term use but are considered wearable items due to their nature and purpose. Therefore, they are not covered under a traditional manufacturer warranty. Some visible wear may occur after the first use and is considered normal.
If you experience damage upon arrival or have performance concerns, please contact our support team with photos and your order number for assistance.
Replacement Parts:
Most components, including enclosure panels and screens, can be replaced individually. To request a replacement part, email support@simulatordirect.com with your order details and the specific item required.

Newsletter
Exclusive Updates. Delivered Before Anyone Else.
